- HubPages»
- Home and Garden»
- Home Improvement»
- Kitchen Improvements
Wood Kitchen Counters on a Budget

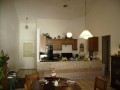
My wife had been asking for wood counter tops in our kitchen since we bought the house. While I have built a lot of things for her, I avoided this one for a while. This was my first attempt at any kind of wood counter top. I thought it was going to be a bigger project than it was.It turns out that it wasn’t too difficult, just some time and sanding power!!
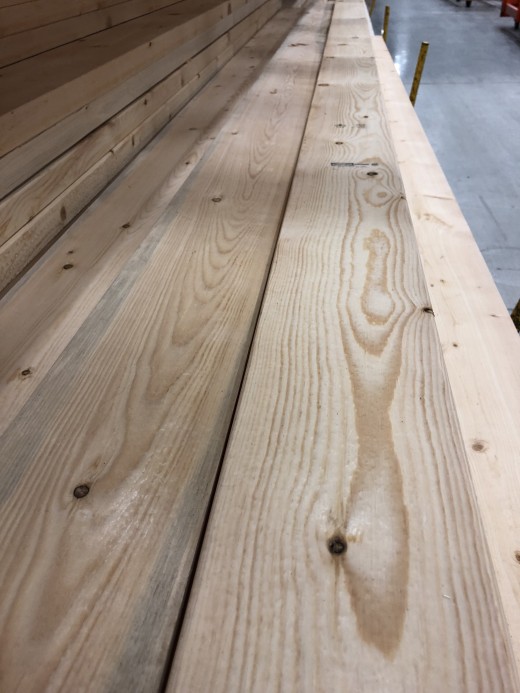
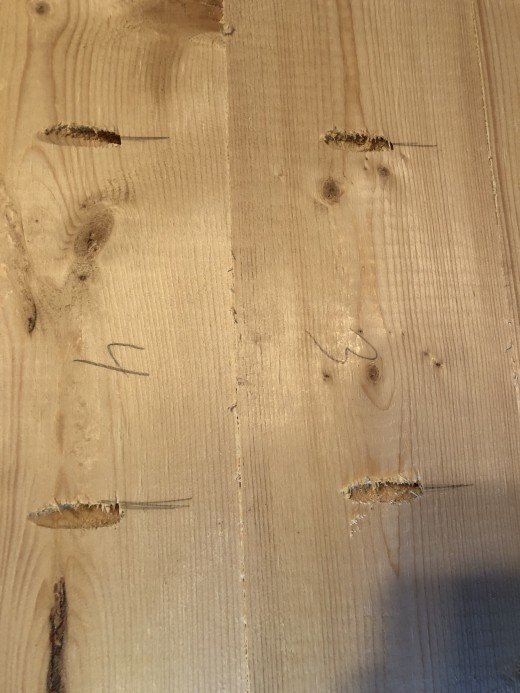
We chose 2” x 6” white pine as our board of choice. The size board gave the look she wanted and 5 boards gave the depth counter top we needed for the cabinets.
Materials List
5 - 2” x 6” x 12’ for the long counter top
2 – 2” x 6” x 8’ for the short counter top
80 grit and 120 grit sandpaper for belt sander
220 grit sandpaper for orbital sander
Minwax Jacobean Stain
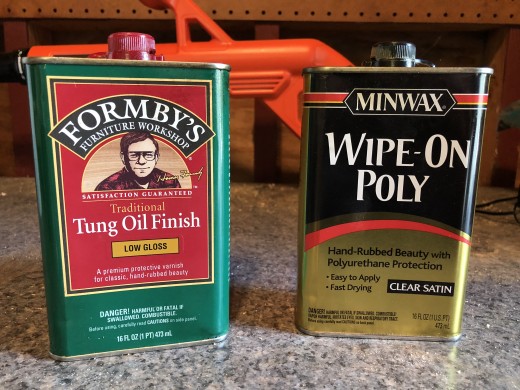
Tung Oil Finish
Minwax Wipe On Polyurethane
Wood Glue
Tools Used
Table Saw
Circular Saw
Jig Saw
Kreg Jig
Belt Sander
Orbital (Palm) Sander
The Process
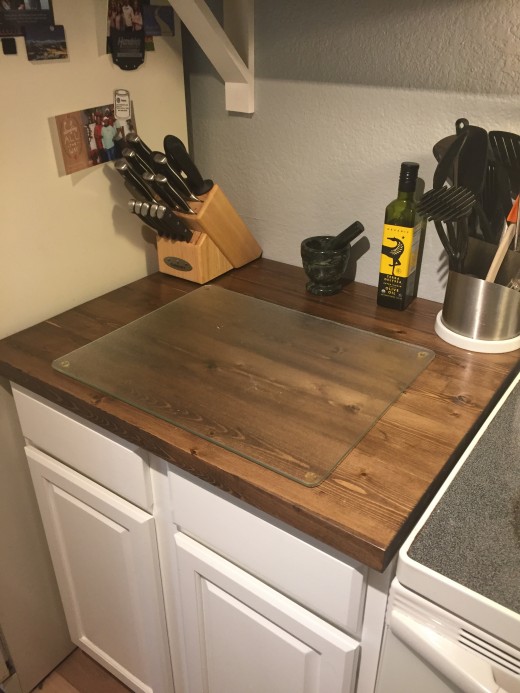
I started with the small counter top first. After cutting the boards to length, I ran them through a table saw and cut about 1/4” off each side. This accomplished two things: 1. It took the round edge off that comes on the boards and made the joining process easier. 2. It made the width of all the boards together the perfect width for the counter top. I did not cut the edge off of the one board that would be used on the front edge of the counter. That left a smooth, slightly rounded factory-like edge on the front.
After cutting everything to size, I used a Kreg Jig to drill holes underneath to join the pieces together. Then one at a time, spread wood glue on the edge and screwed the pieces together with the screws and driver that came with the Jig. The most labor intensive step came next: sanding.
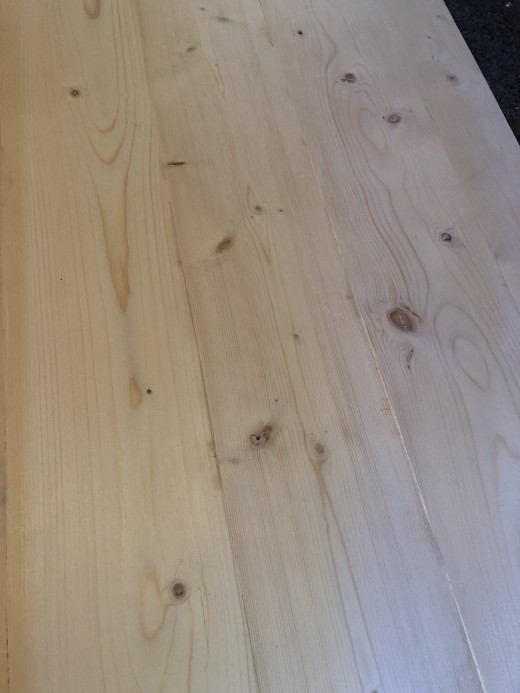
I used a belt sander with 80 grit paper first, then 120 grit next, lastly 220 grit on an orbital sander. Sanding takes a while to get all of your seams nice and even, so be patient. I went through 2-3 sheets of each type of sandpaper. After wiping all the dust off it was time to stain. I use a cloth to stain and wipe off the excess as I go, so as to not make it super dark. My stain of choice for the projects in this kitchen has been Minwax Jacobean. I used Formby's Tung Oil Finish, which is like a varnish; this may have been unnecessary in the finishing process, but I find it makes the color of the stain look richer. My top coat for durability and protection from water is Minwax’s Wipe On Polyurethane. We chose a Satin finish for a little shine, but not too glossy. I wiped on 5 coats, again with a cloth, as it goes on really thin. It turns out great without any brush marks, and it is also not too think of a polyurethane look (my wife was very clear that was not what she was looking for).
I used the existing corner brackets on the cabinets to secure the countertop from the bottom with screws.
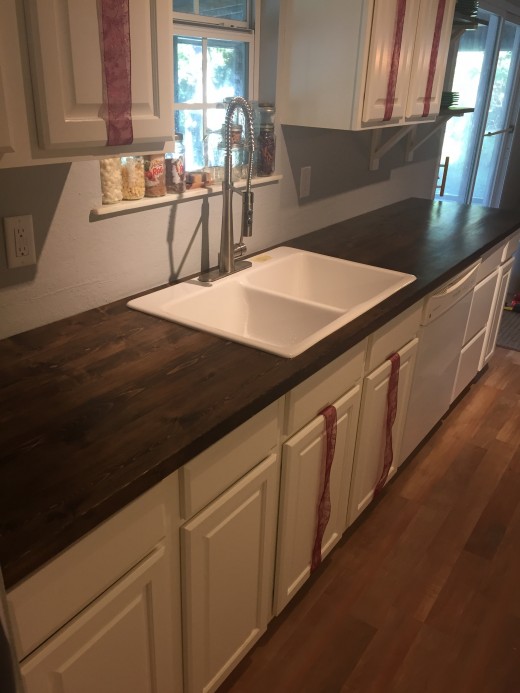
The longer section of the countertop was the same process with two exceptions. 1. Working with longer boards is a little more challenging with the table saw and a lot more sanding. 2. I had to cut out for the sink. I used the template for the sink and marked it on the bottom side of the counter. I then used a circular saw to cut the straight sides and a jig saw to cut the rounded corners. I did this before doing any of the sanding on this section.
We have been using the countertops for about 8 months now and are very pleased with the way they have turned out. The pine is a soft wood, so make sure to use a cutting board and not cut directly on the counter. The finish has stood up well to water and use. The only couple of marks on them are where someone didn’t use a cutting board.
Good luck with your project!