My Home Gardening-Cooking and Preparing Meals With Chives From The Garden

Chopped Chives
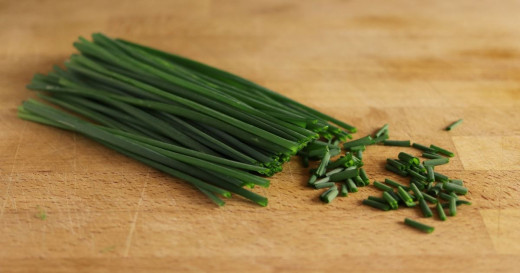
Cooking and Preparing Meals With Home Grown Chives
Cooking and preparing meals with chives from home gardening can add a light onion flavor to your cooking. I have loved chives ever since childhood. My mother had several bunches of them growing in our yard. It seemed to be a significant goal for our cat to make an escape outside and pounce on them and begin chewing. She, for some reason I have never figured out, loved them too. My senses are different; I enjoyed the flavor when my mom used to put them on a bowl of cottage cheese. She used them in many of the things she cooked.
The memory of chives growing in our home garden reminds me of old-fashioned home cooking. They are an easy plant to grow and come back every year. I snip off the tops of the plant, chop it up, and you can add flavor and interest to any dish. For example, chives on a baked potato are delicious; I use butter or sour cream and sprinkle some snipped-up chives. This is the way my mom used to make our potatoes when she served dinner. My dad had a huge garden and would grow all our vegetables for the year. My mom could freeze them, so we had homegrown vegetables all year.
Chives are easy to grow in your home garden. You only need a suitable drainage planter, quality soil, and seeds. Follow the directions on the back of the packet. Your roots will grow into tall chives. Keep them near a window, ensure they are watered regularly, and you will have your private garden in a few weeks. Snip the tops of the plants for cooking, and they will continue to grow. Mine has been growing for over three years, and we put them in our recipes. My husband uses them to make delicious dips and mixes them with cream cheese for bagels.
Check this out!


Bundled for Drying
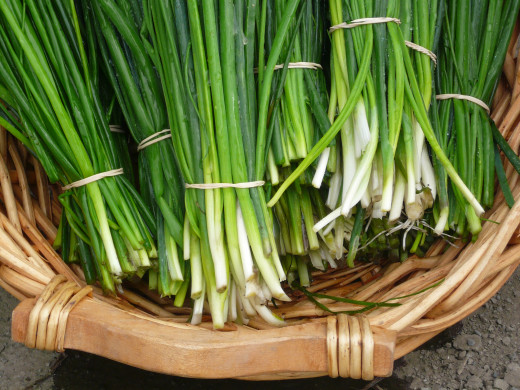
Drying Chives
Drying Chives
Chives can be dried and preserved for up to 2 years to season up your cooking. A warm, dry environment provides the ideal drying conditions for the herb. Tie a large bunch and hang it in a dry place in your home. I like to hang mine from the cupboard door handle.
If you live in a very damp area, it is most suitable to use heat-drying methods such as the oven or a food dehydrator. Set the oven or dehydrator at 140 degrees and process for 14 to 20 hours.
Humidity and dampness in the air can lead to decay and mold before the herb has a chance to dry out completely. Be sure to keep the freshly cut chive in the refrigerator if you are not ready to dry them.
Air-drying chives by hanging is the most time-consuming dehydration method and can take up to 2 weeks. This method is, however, the best way to preserve the flavor. If that is not possible, the oven or a dehydrator is best.
Kitchen Herbs
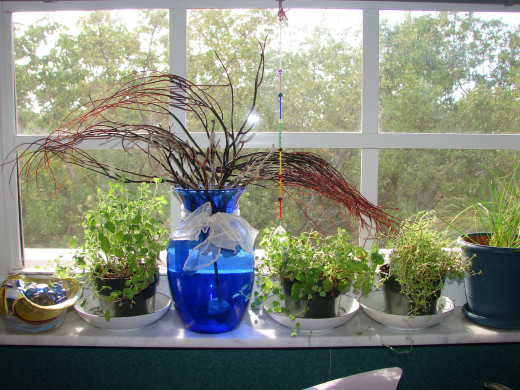
Growing Chives
People without intense gardening skills have probably tried growing chives. It’s one of the most standard garden herbs available, possibly because it’s so effortless to grow. Chives are grass-like greenery topped with purple, pink, or white blooms. In addition, it’s a perennial, which means there’s no requirement to re-plant every year. As a result, chives are nearly as low-maintenance as you can get when gardening. You can grow them indoors or outdoors; they grow anywhere in all climates.
If this is your first attempt at gardening, it is best to start seeds indoors early in the spring. I suggest you place a planter in the kitchen window to make it easy to keep the chives watered. Check the packet to determine how often to water your chives. The advantage to keeping them in the kitchen is that they are readily available for garnishes while you are cooking.
Related

3 Ways Augmented Reality Technology Can Revolutionise Gardening

My Victorian Garden in Spring: Heirloom Daffodils and Other Bulbs

My Victorian Garden: Gardening with Rare & Unusual Antique Heirloom Spring Tulip Bulbs

Teach Your Child to Garden: Child Gardening to Improve Childhood Nutrition

The Best Watering Can for your Home and Garden