DIY Cheap Kitchen Remodel
This Old House Easy Upgrades DIY Book
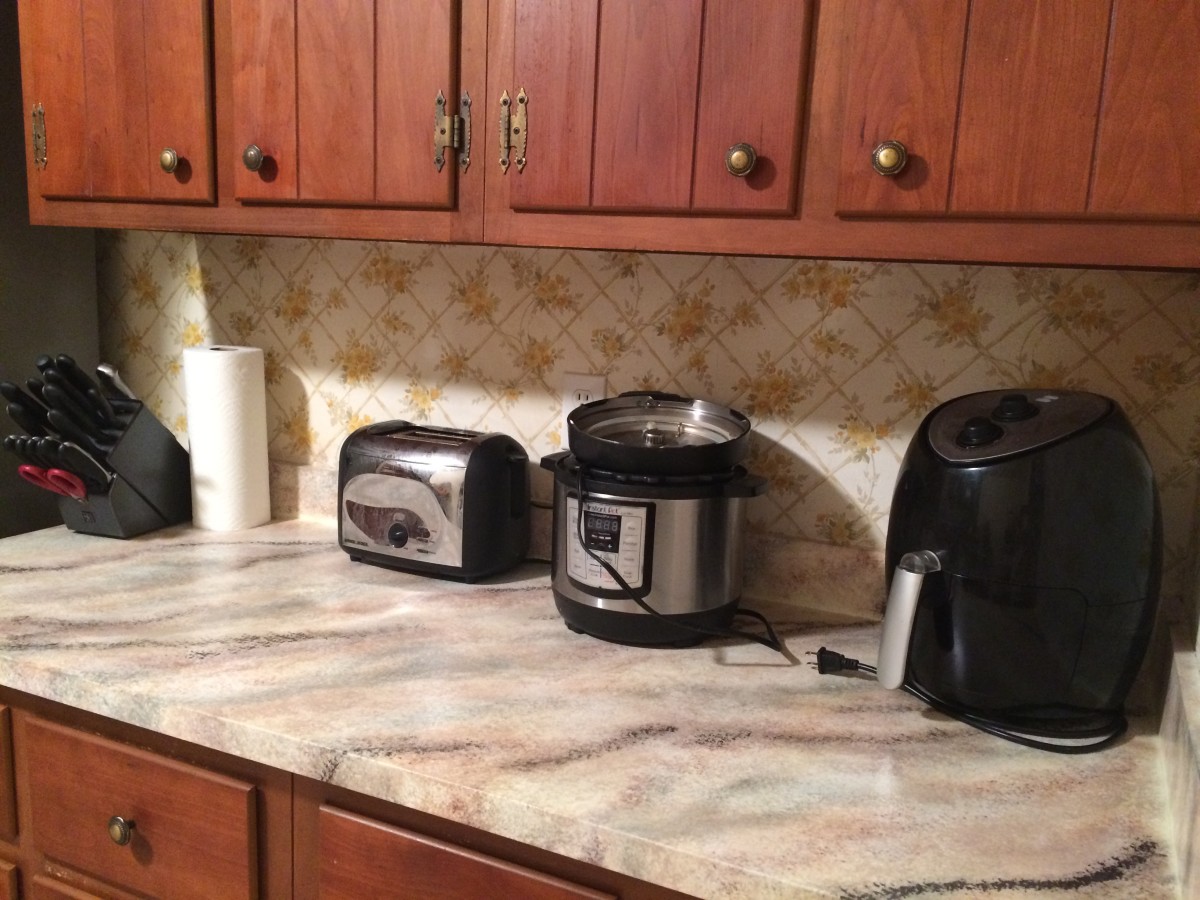
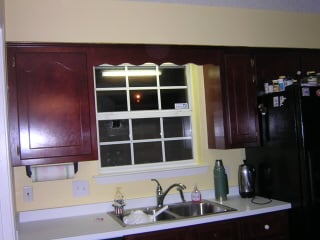
Here is how I updated my whole kitchen for under $700 and very little help. Let me just start of by saying that I am not a professional anything. I am a stay at home wife whose husband is in the Coast Guard. Because of his chosen vocation, my husband often works very inconvenient and long hours, leaving me to either do projects mostly on my own, or hire a contractor. Given that I am frugal by nature, the only two solutions to an ever growing “honey-do-list” was to either do it myself or wait until my husband could get leave. Since patience is not one of my virtues, I opted to tackle my kitchen remodel on my own with liberal doses of internet research and Handyman Magazine sprinkled in for good measure. I had already completed my bathroom makeover a few months before, so I felt pretty confident I could tame the kitchen as well.This is the story of how I transformed my Kitchen from a dated, dark, stained, and strangely wallpapered eyesore into a bright, airy, and attractive heart of our home.
Whenever you start a project of this magnitude, especially a kitchen remodel, you just have to accept that it will be messy, take longer than anticipated, cost more than budgeted, and require a few nights of eating out before all is said and done. However, the upside is that you should save about 50% right off the top in labor costs, as well as gain an incredible sense of accomplishment which may quite possibly propel you into other projects you hadn’t dreamed of tackling alone.
Tile Backsplash
Walls
The first step is to remove any old wallpaper. My first attempts were met with agony, torn wallboard, and a serious backache, but this is actually much easier when you have the proper tools and a few tricks. A wallpaper scoring tool like the Paper Tiger is an absolute must. You just run this around in circles on the wall and it leaves very little slices in the wallpaper to allow your penetrating agent access to the glue backing. Now, all I used was hot tap water in a spray bottle with about a tablespoon of liquid fabric softener. Just spray a section about 3’ X 3’ and wait approximately 5 minutes for it to penetrate. Then use your metal or plastic spackle knife as a scraper to gently scrape the wet, loosened wallpaper from the wall. Be especially careful not to gouge the wall board throughout this process. Go back over your wall with a damp cloth to remove any remaining glue. Once you remove any wallpaper boarder, you will have to use your scoring tool again on the wallpaper underneath.
Once all the wallpaper has been removed and the wall is dry, it is time to prep the wall for your chosen method of wall covering. I opted for paint so I just used a primer, Kilz Original Stain blocking Primer/Sealer happens to be my favorite, followed by a coat of paint. It is best to use either a satin, or semi-gloss finish as this will allow the walls to have a nice washable surface. Another note about the paint, I always use latex since it is easier to clean up, dries faster, and has a milder smell that the acrylic or enamel paints.
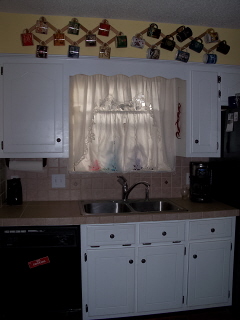
Before and after
Cabinets
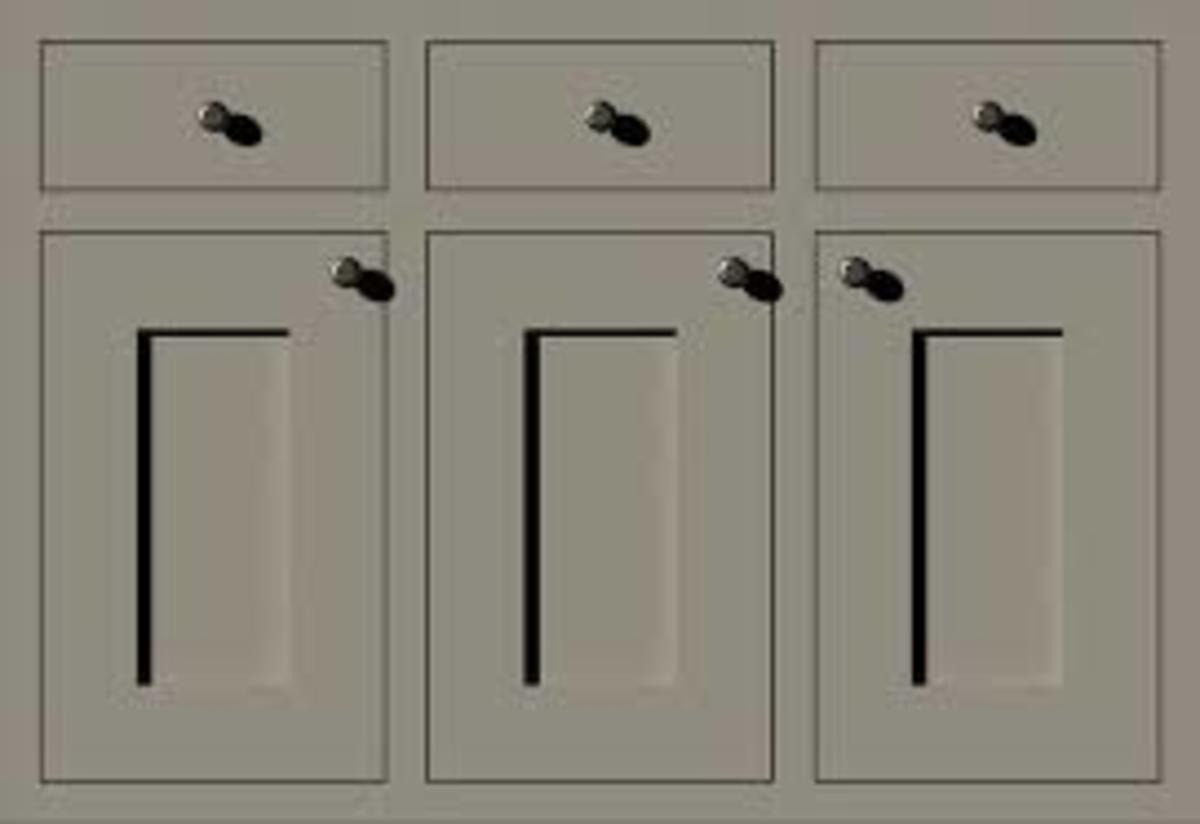
The next step was is to refinish the kitchen cabinets. Now you could have the cabinets professionally refaced. Since I was going the rout of frugality, I opted to paint my cabinets and replace all the cabinet nobs and drawer pulls with all new hardware.
First, remove all your cabinet doors, and then remove all hardware. Lightly sand the finish of the doors and drawer fronts as well as the cabinet bases themselves. Just sand enough to remove the shiny finish. Don’t forget your primer base coat; again, Kilz works very well. Once the base coat has dried, you can then use any paint color that matches your décor. I chose an aged white in a semi-gloss finish. Once the paint has dried for the manufacturer’s recommended time, you then put on your new hardware. Keep in mind that your new cabinet pulls may not utilize the holes for the old hardware. This can be remidied by filling old holes with wood putty and drilling new ones. Reattach the doors and drawer fronts and there you have it. Just like new!
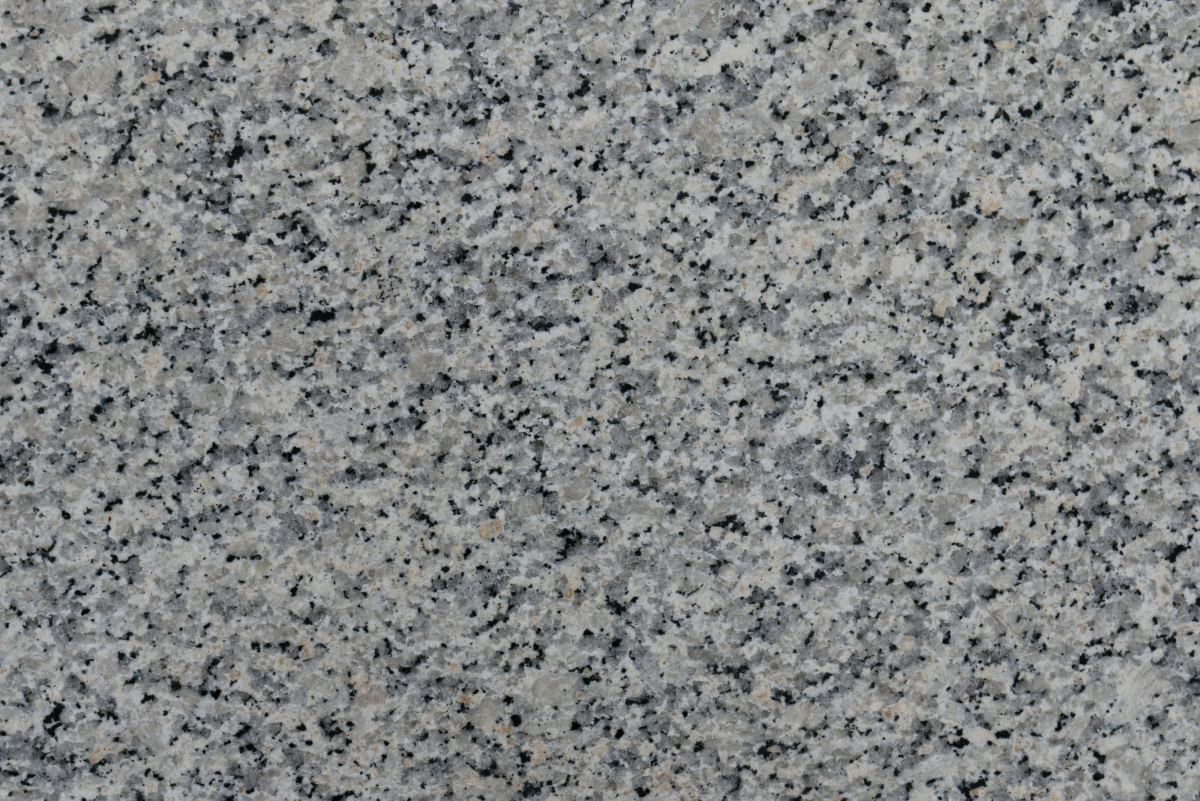
Granite Tiles Are an Inexpensive Alternative to Full Granite Countertops
Countertops
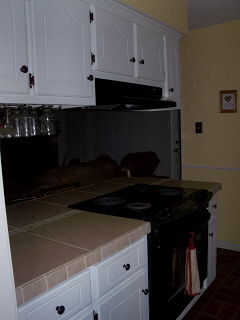
Since I already liked the flooring in my kitchen, the countertops would be the last step, and the crowning glory, of my “new” kitchen. Of course I wanted granite, or, a solid surface countertop, but there was no way that my budget would stretch that far. After many hours on the computer reading articles and watching YouTube videos, I decided I would tile my countertops and backsplash myself. This was the most involved project in my kitchen.
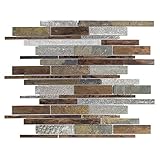
First you need to pick out your tiles. To save money while not sacrificing quality and classic beauty, I opted for ceramic tiles that were 18” X 18”. Not just any ceramic tile, but ceramic floor tiles with a 25 year waranty and about 60-75% lower cost than those tiles usually reserved for use on the kitchen countertop or bathroom vanity. These tiles were the right color, sturdy, and saved me enough money that I could purchase some decorator tiles for my backsplash. You will also need to decide how to deal with your facing around the edge of your countertop. There are some very nice options for tile pieces that create a drip edge or a very ornate finish. You could also use oak trim, which I never understood fully. I opted to use the same 4” X 4” tiles that I would later use for the backsplash. I just used my tile cutter and cut them in half and they were the perfect size for the edge. This saved me a few hundred dollars alone!
Second, you will need to reinforce any overhangs you have on islands or breakfast bars. The last thing you want is to have your new tiles cracking or popping loose. Then you must lay cement backer board for any tiling project. After speaking with a nice man at Lowe’s, I decided to lay my backer board right on top of the old countertop. You will not be able to do this if your counter has a contoured edge or a build in backsplash ledge. Your old surface must be completely smooth and level and securely attached to the substrate.
Once you have a nice smooth cement board surface, it is time to lay your tiles out for a test fit. This is a really important step. Now you can make all your cuts and really see how it will fit together.
Use a notched trowel to lay your adhesive mortar, paying strict attention to the manufacturer’s instructions. Work in sections small enough that you can lay the tile before the adhesive begins to dry. In my case, since my tiles were so large I had very few to seat, so I could cover larger sections quite quickly. Ensure that each tile is securely seated in the adhesive; giving a slight twist as you seat them is a good way to accomplish this. Another thing, use the little plastic spacers to ensure even, straight spacing between the tiles. Do not try to “eyeball” it; you will only be frustrated and unhappy with your final product. When you get to the counter facing, seat the tiles, and then use a little painters tape to hold them in place until the adhesive sets.
Grouting turned out to be much easier that I had anticipated. I used the premixed variety in a complimentary color to my tiles. Using a grout tile, this has a rubber side, push the grout into the spaces between the tiles. You do this by pulling the trowel across the tiles at a 45 degree angle. Use a large sponge to wipe any excess grout from the face of the tiles and to smooth the grout lines. The final step is to seal all the grout lines in about a week once the grout has completely cured. Again, follow your manufacturer’s instructions.
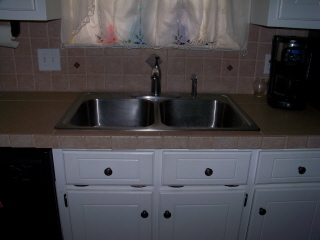
Putting the tiles on the wall is pretty much the same; just don’t forget to use the spacers!
Why Not Try Installing Glass in the Cabinet Doors?
Finishing Touches
Since I hated the contractor grade sink, I opted to put in a new stainless steal sink and faucet as well. I chose an extra deep sink and now can fill any pot. Installation was just a matter of unhooking the plumbing and water lines from the old sink, dropping in the new one. Well, it was a little more detailed than that, but I am no plumber so my dad had it installed in about 45 minutes.
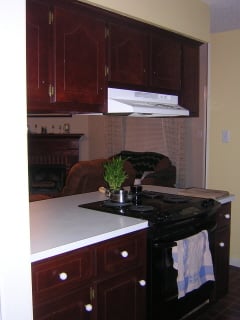
The old range hood was rusted, with pealing paint, and it didn't even match the appliances. I jumped online and found one onsale for a fraction of my local brick and morter stores, again with free shipping! Within 2 days I was able to switch the old ugly one out for a bright shiney new one that matched the appliances. It only took a few minutes to disconnect the old range hood and install the new one.
You can just paint the old range hood for about $6 or so instead. Just use appliance paint for use in high heat areas. This comes in a spray can and works really well.
This remodel took me about a week and a half all together and cost a whopping $524 total for materials and $120 for tools. That is less than 1/3 of the contractor quote to just do the counters.
I promise you that if I can accomplish this project, anyone can, and you can save a bundle in the process.


