diy filing cabinet respray


An easy tutorial on how to respray an old school filing cabinet
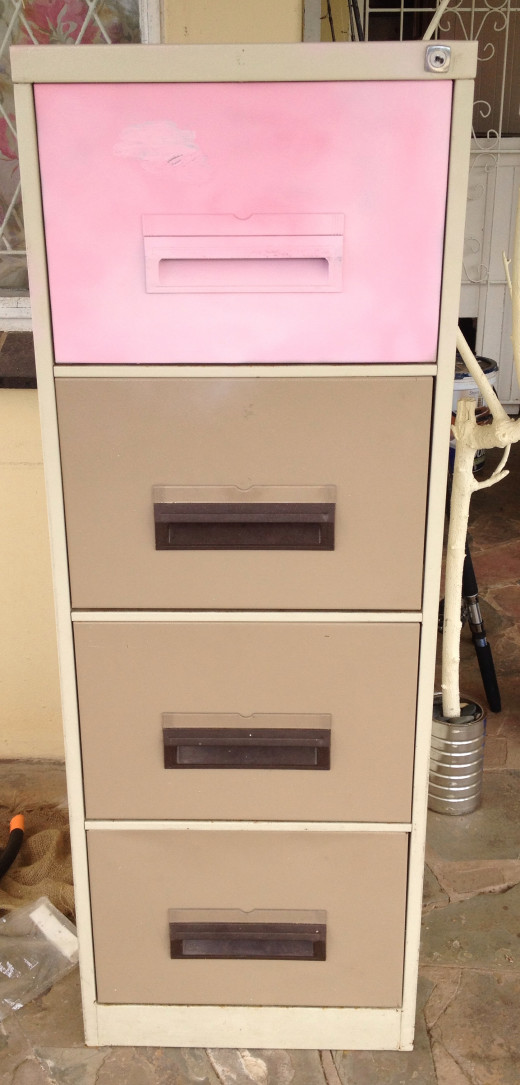
As part of my business offering, I provide a Photo-booth service for weddings and events. I needed an efficient storage system for all the props, hats, wigs, backdrops etc that come with having a Photo-booth business. These filing cabinets are great as they can be used for so many things from storage to filing to some people even using them to grow their own indoor veggie gardens!
Unfortunately it isn't as easy as one might think to get a hold of one of these gems. So when a friend kindly dropped one off at our door step we grabbed the spray paint and made the perfect storage solution for my business needs! I've seen some awesome other tutorials where the crafters have used bright red or neon colour spray paint! Have fun with some color palettes. I used a soft pale pink and pale blue for my vintage work room - it looks great!
Hows how I resprayed my filing cabinet - make sure you check out the links to the supplies on Amazon (you don't even have to drive to the store for this one).
Supplies:
- 2 x tins Rust-Oleum Painters Touch White (base colour)
- 1 x tin Rust-Oleum Spray Paint: Colour 1 (Pale Pink)
- 1 x tin Rust-Oleum Spray Paint: Colour 2 (Pale Blue)
- Chalkboard Paint
- Silver Paint
- Small Paint Brush
Method:
- Spray the entire cabinet with the white spray paint as a base layer. Wait to dry.
- Spray a second coat of white to the sides and top of the filing cabinet to create an all over even coat.
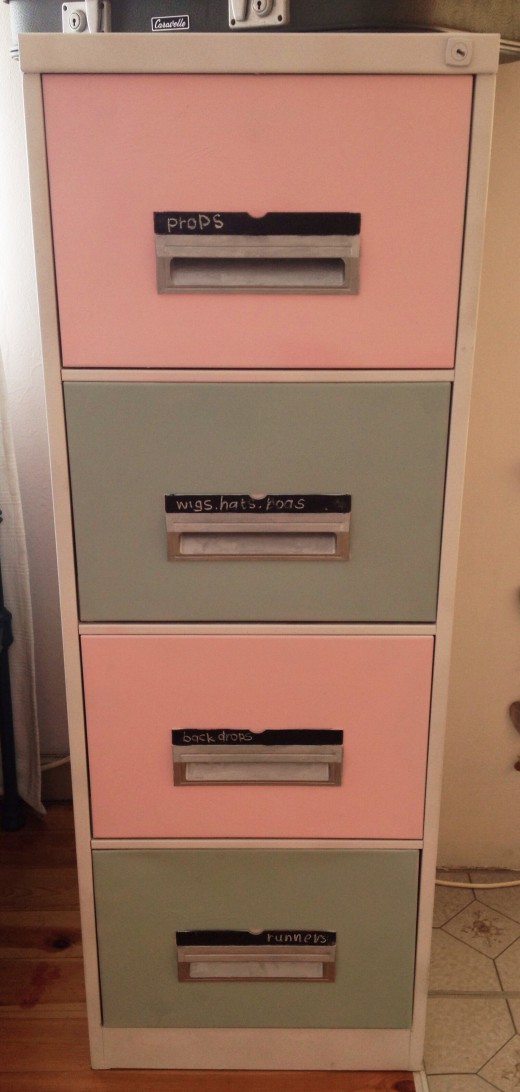
- Open the 1st and 3rd drawer out as far as feels comfortable and spray with your pink spray (or colour of your choice). Close drawers, leaving them slighlty open.
- Open the 2nd and 4th drawer as far as feels comfortable and spray with your second colour choice (pale blue). Close drawers, leaving them slightly open.
- Allow paint to dry and repeat steps 3 & 4 until you are happy with the even coat. I did about 3 coats.
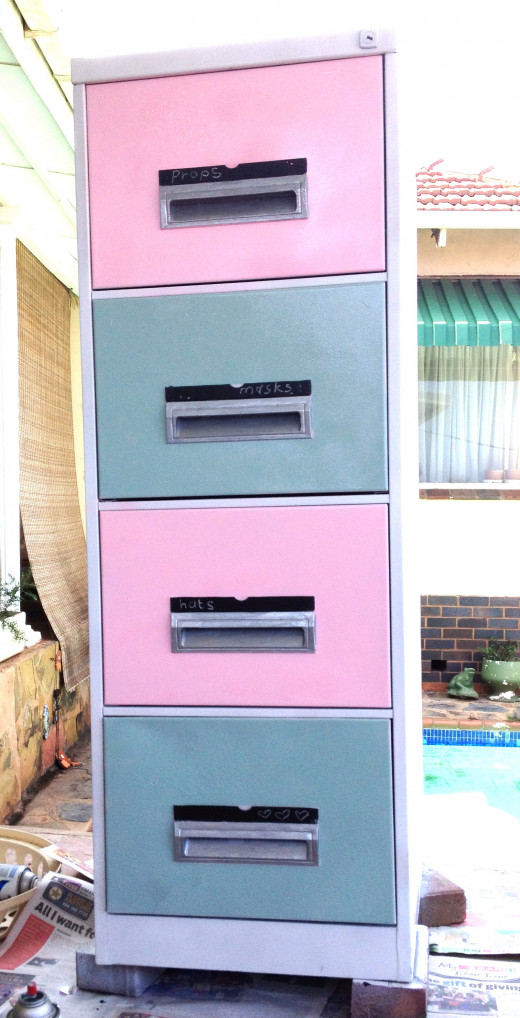
- Allow to dry completely. Stick painters tape around the handle of the drawer. I painted the plastic handles with a silver paint and the small plastic label holder with a chalkboard paint. I can now write what is inside the drawer with chalk on the drawer label.
- Remove painters tape before paint has dry to ensure it doesn't peel off.
Overall, I was soo happy with final result of this DIY project. I hope you enjoyed this tutorial!
Much Love,
The Hippie Housewife


