- HubPages»
- Home and Garden»
- Home Improvement»
- Window Improvements
How to Expand A Window To A Door


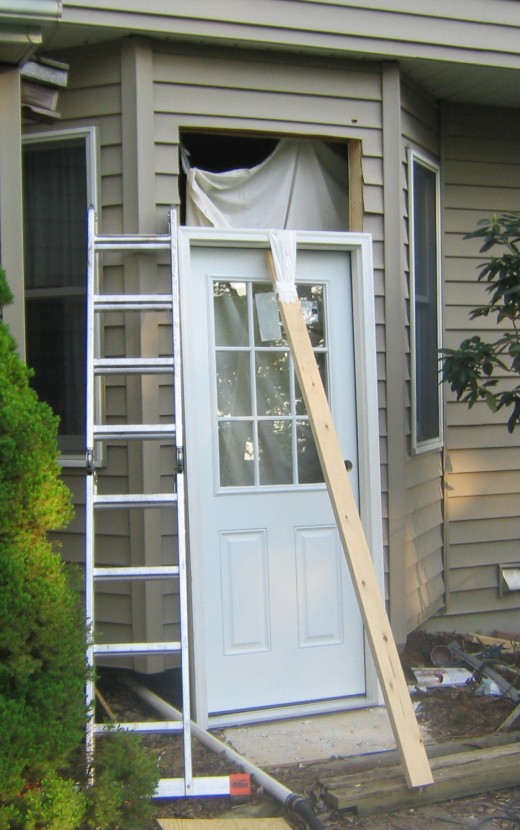
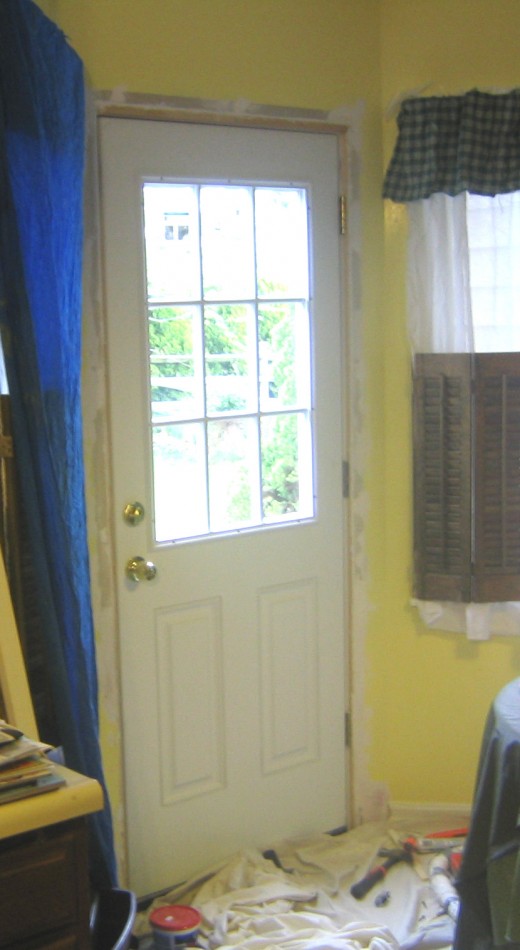
There are times when your house is in need of an entrance to where a window already exist. For example, there is no direct access to your backyard through the back of the house. These steps will show you how to open up a wall and install a door.
This project is can be challenging as the work of removing a window can be dangerous. If the window size is big, it could fall and broken glass could hurt you if you in the act of removing.
Demolition of the structure of the house is involved. If you have never done such a task before, your body will get sore later. Take breaks and stretch your body often.
Make a plan describing the problem and the goal. (See Figure 1). Seek local government approval. When asking for approval, a drawing or sketch will help describe what you want to do exactly. The goal is to make a rough opening on the wall of the house and install a pre-hung door kit. Also decide whether you want the door to swing in or out. Normal building codes call for the door to swing to the inside for safety. Shown is a sample plan.
Which window makes sense to place a door? Are there any vents, electrical, or plumbing obstacles that can get in the way? If so, these obstacles need to be re-routed. You may need to open up the wall from the inside first to take a peek. If you are uncomfortable in moving vents, electrical lines, or pipes around, get expert help.
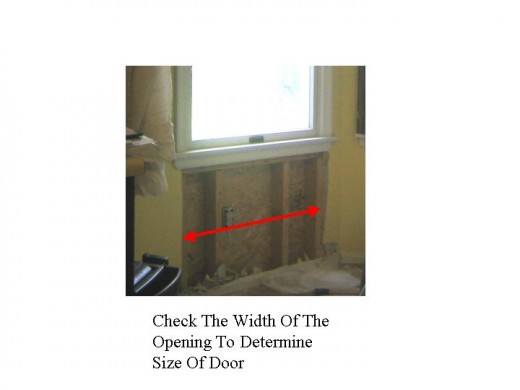
Check the frame width. Note that the electric outlet needs to be re-routed. Measure the width of the window. This will give you an idea on the width of the door you need to install. Open up the wall slowly underneath the window to see what's behind. It will also let you verify if there will be a 2 x 4 studs that will act as a frame for the door. Measure the top of the window to verify the height of the door you will buy. You can always adjust the frame or shorten the door.
Once you know what size of door you'll need to buy, make the purchase. In some cases, you may need to do a special order which could take days or longer. It is not a good idea to make a hole in the house and not have a new door ready. Typical widths are 32 and 36 inches.
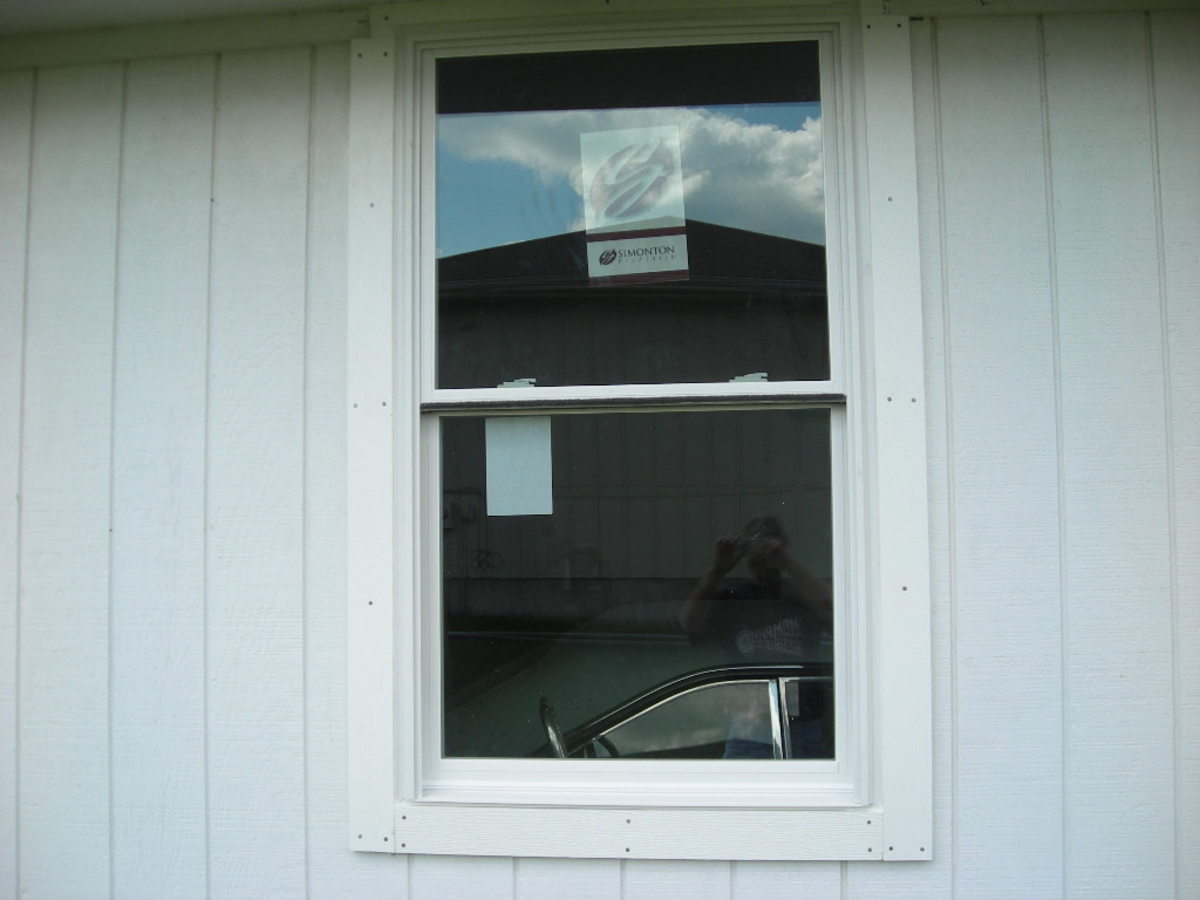
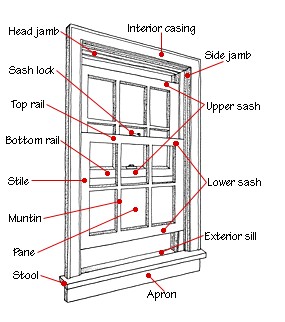
See Fig 3, parts of a double hung window for reference.
Remove all the trim until you are left with the basic window.
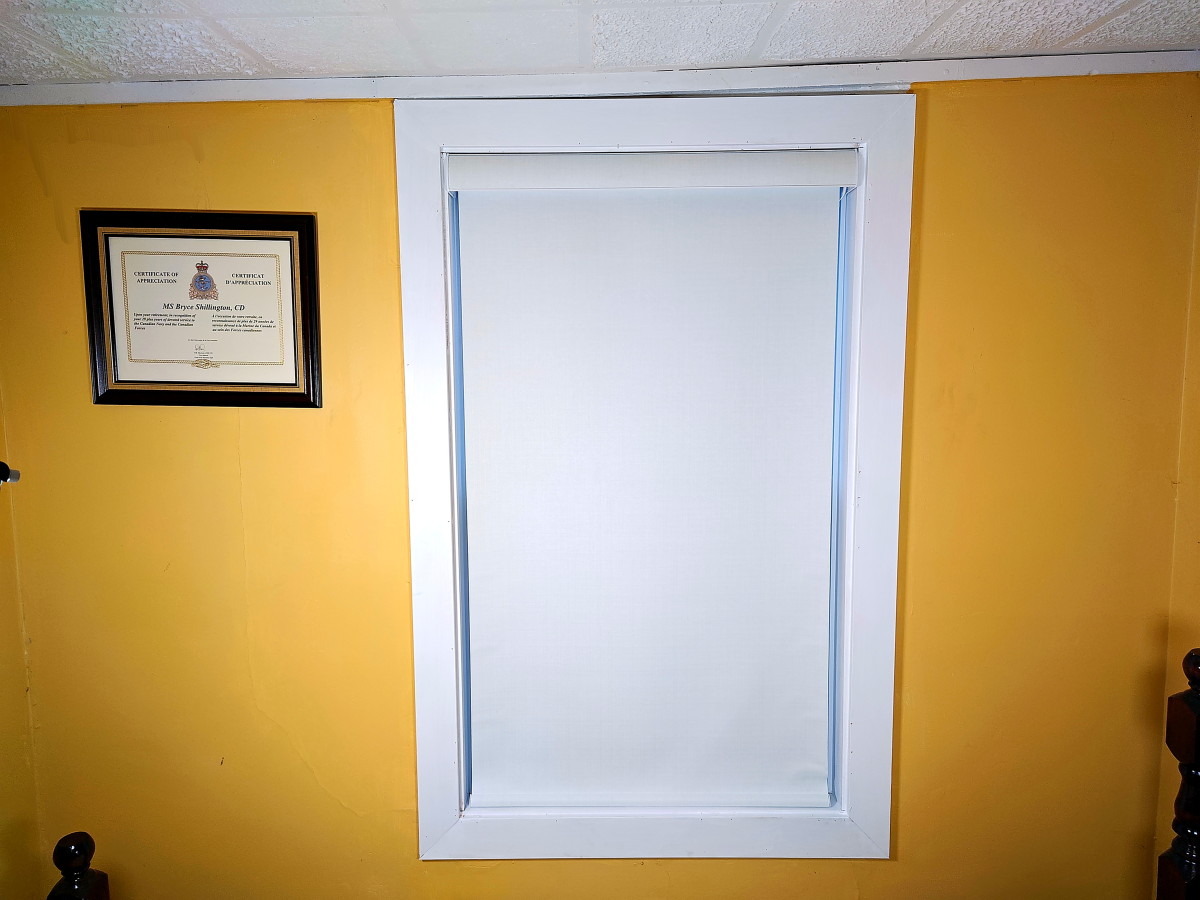
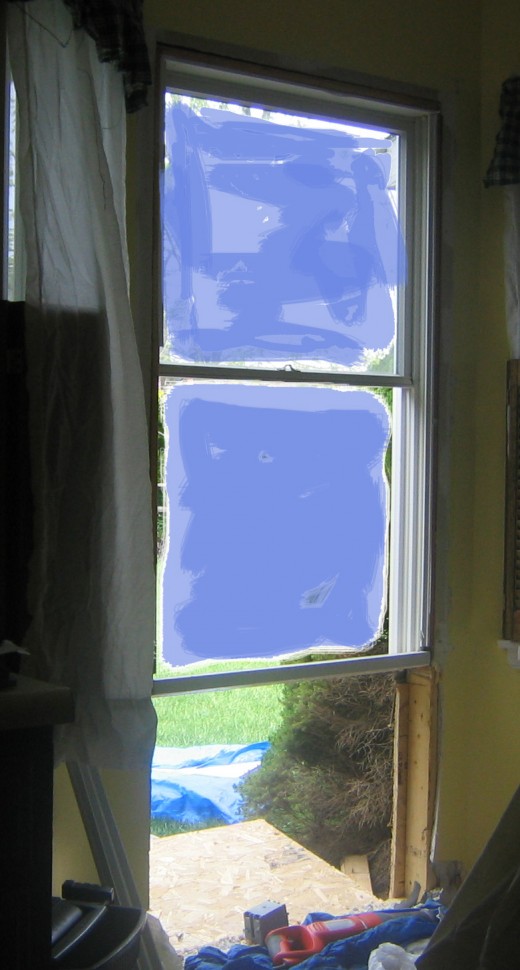
From the inside, carefully remove all the window trim (See Fig 4). Remove any window components in order to make the window lighter. This includes the casings, sashes, jambs. From the outside, carefully cut the vinyl siding out below the window with a circular saw with the blade reversed and adjusted to the thickness of the siding.
The window is ready for extraction. Remove any studs under the window with hammer, prybar, or saw. You may have to use a lot of force or cut through nails. Cut out the wood sheathing of the house with a reciprocating saw. In the end, all you will have left is the window hanging and ready to be removed as shown.
Once you have made an opening under the window. Remove the window with a prybar and hammer. It may not be attached by nails. If it is, use a reciprocating saw to cut through the nails holding the window. If removal of the window proves to be difficult, carefully destroy the window piece by piece until it is gone. Be mindful of sharp glass.
Measure the frame dimensions of the opening. If somehow the frame is too small, widen the frame by removing the studs and moving it. If the width of the opening is more than 6 inches too big, add studs on either side for a frame. Add 2x4, 1x4, or other sizes as necessary to make a tight fit between the door casing and frame.
The door is heavy to carry. Get a buddy to help get it between the frame (See FIg 5). Add the pre hung door kit from the outside and test the fit. Use shims to make sure the fit between the casing and frame is tight and square. Nail the door casing into the frame. Don't worry, you can hide the nail holes with wood putty and paint later.
Now all it needs is molding. This is the easy part. Now you can add the door molding on the inside and outside (See Fig 6).
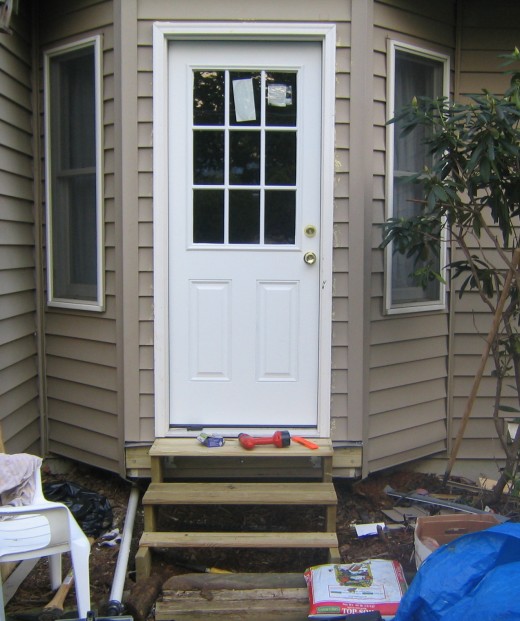
Completed project. Add any steps or landings as necessary (See FIg 7). Now do a little touch up and clean up. Enjoy your new entrance.
