How to Make A Dry Erase Wall
Functional Board
Product Review
Have you ever wondered how to make a dry erase wall? Well you have come to the right place. Anyone can do it and it is a great summertime or anytime project.
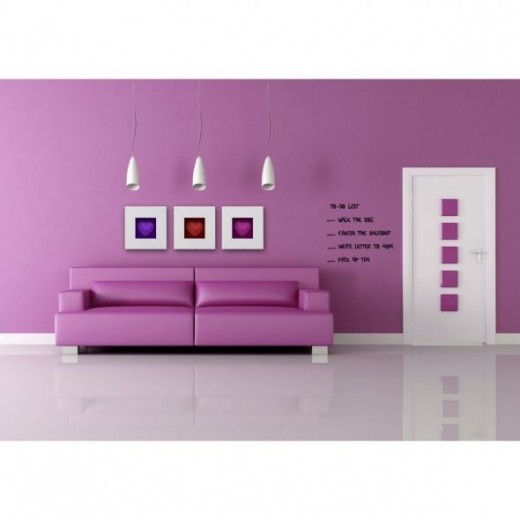
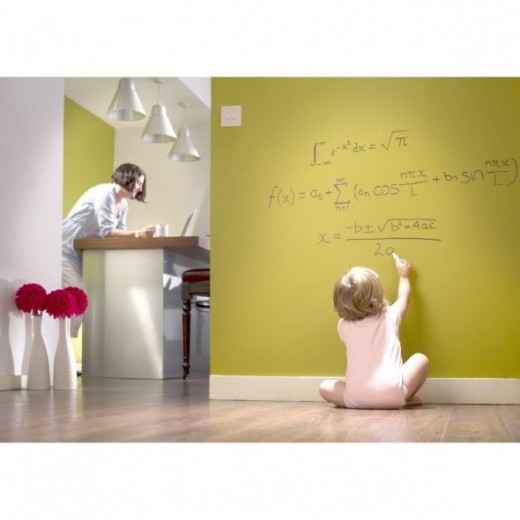
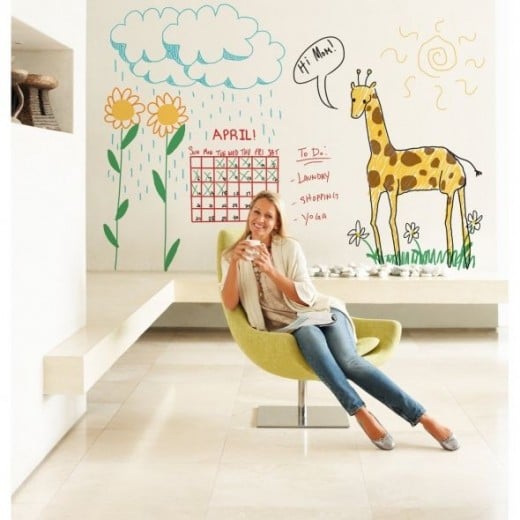
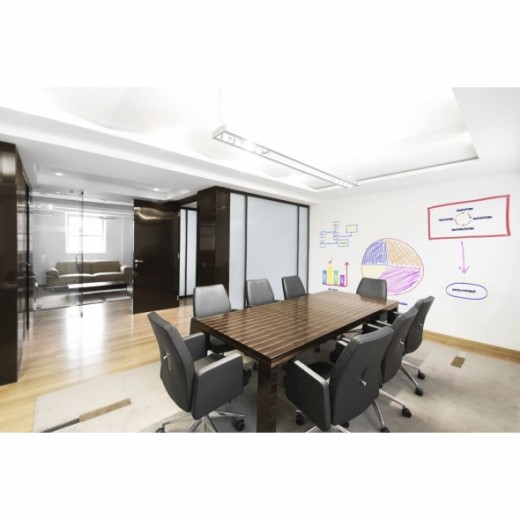
Parents can transform a wall in the kid's room or playroom into a canvas for that future DaVinci in your home to present their artwork. As a memo board it allows you to leave messages for yourself and your family where everyone will clearly see it. No more excuses from little Bobby about forgetting to take out the trash because Mom left him a note where he couldn't possibly miss it! And for the business owner, it is a great instructional tool for training purposes and a way to track events and trends in your business.
All in all, this is really a cool idea. It is practical and relatively inexpensive to do. So check out my personal experience and the products listed below, get your creative self in gear and get started on your own dry erase wall.
Photo credit Senditondown
Rust-Oleum Dry Erase Writeable Erasable Finish - This is the product I used, although there are others.
Dry Erase creates a unique writeable-erasable surface for walls, doors, cabinet doors, message centers, menu boards, toy chests, easels, and craft projects. Customize dry erase surface into any unique shape or place in office or home.
Rust-Oleum Dry Erase Paint is a smooth, hard finish that creates a unique white writeable-erasable surface. Once dry, simply use any dry erase markers to draw or write messages and then erase! Application is easy and it has minimal odor making it safe to use indoors. Ideal for use on interior surfaces such as drywall, masonite, wood, cement, metal.
Please note that the 27 ounce kit will cover 50 square feet.
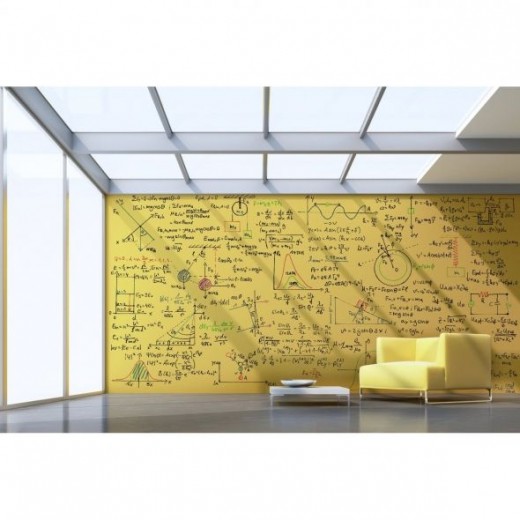
You can see here how large a board you can actually make.
Dry Erase Boards
Have you ever used a regular dry erase board?
How I Did It
My personal experience
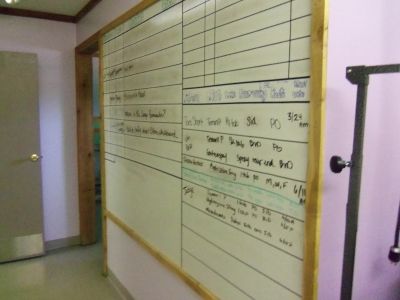
For this particular job, the customer wanted the board in a hallway outside of an operating room. It is a high traffic area where everyone can see the directions that are written for each patient. That coupled with clipboards with paper directions kept right at the cages and kennels, eliminates any margins for error.
We chose the Rust-Oleum Specialty Dry Erase Kit. I was working with a kit that will do a 7' x 7' area. It was decided to do an area approximately 5' x 8 1/2' which comes out to 42 1/2 square feet.The wall was already white so all I had to do was lightly sand the area to "scuff" it up a bit and wipe off any dust with a dry rag. Before I started, I made a line at the top and bottom of where the paint would stop. Since I was going to frame out the dry erase area with rough sawn cedar trim after the paint had dried my marks were not critical, just a guideline.
The directions are very clear, easy to understand and to follow. It is a two part mixture. Part A gets mixed with Part B. Quite simple really. Using the appropriate dense foam roller for smooth finish, coat number one was applied. I then waited a full thirty minutes before applying the second coat. I also used a fresh foam roller, for the second coat, to ensure an extra smooth finish. You can use the same roller, I just chose not to. It costs a little more but I feel it is well worth it. Three days later, they had a giant dry erase board.
Drying time is 72 hours for the Rust-Oleum brand paint to fully cure. It may take longer in some instances. Other brands require a full 7 days.Temperature and humidity are factors in any paint job. I asked the folks at the vet clinic to wait three days before using the wall. Just do yourself a favor and be patient. By waiting, you will have a nice hard finish that will last a long time.
Now a few tips that may help you with your project.
Tips for Your DIY Dry Erase Board
- Be mindful not to put the paint on too heavily. This is not a regular latex wall paint. It is an Epoxy and what I call a heavy paint. You may experience running and once it dries, that's it. So apply the paint evenly and check frequently for runs.
- Clean up any drips, drops or splatters right away.
- Have a bottle of mineral spirits around as your cleaning fluid. The directions say that you can clean up with soapy water, but I don't want to take any chances. Mineral spirits are cheap insurance.
- Make sure to have proper cross ventilation since this product is made with Epoxy Resin and Benzyl Alcohol. Even though it is fairly low odor, follow the directions for ventilation and be on the safe side. Also, the kids probably shouldn't be involved in the painting process. They can have plenty of fun with it after it is dry.
- If you are doing an area under 50 square feet and may have some paint left over, pre-determine another small spot on a wall or make your own dry erase board on a piece of smooth plywood. Since you must use your mixture within two hours, why waste it? And if you don't have another spot picked out for the remainder of the paint, just wait 30 more minutes and re-coat what you have already done. You aren't limited to just 2 coats.
- Oh, and by the way, when they say two hours, they aren't kidding. The paint will start to harden and you won't be able to use it. So take your time and do a nice job...but keep moving too.
- One more suggestion. Why not consider framing in your dry erase area. It will keep the kids from going "outside the lines" and writing on adjacent painted walls, and I think it will give your project a finished look.
My Personal View and Review
Some of the customer reviews are not glowing reports. After reading and studying on them,
I have found these factors to be the problems in the more detailed complaints:
First - They didn't check the date on the kit. They do have a limited shelf life. If you aren't sure of the date, call Rust-Oleum at 1-800-481-4785. They will be happy to help you out. In many cases they have replaced the kits at no charge.
Second - Surface not properly prepared or finished.
Third - They didn't wait long enough or in some situations didn't wait a little longer than the suggested time before use. Why not be on the safe side and just wait one more day? Rust-Oleum can control only their product, not your environmental conditions.
My review is simply this. It is an excellent product that does what it says it will do. Anyone can do it, no special talents are required and it is a neat and inexpensive project.
Be Creative.
Think outside the frame.
Create a whole new world at work, home or in the classroom.
See what you can do with the clear painted over your color painted wall.
Click thumbnail to view full-size


White Dry Erase Paint Ideas
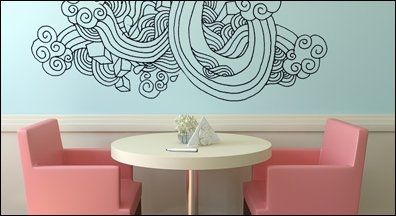
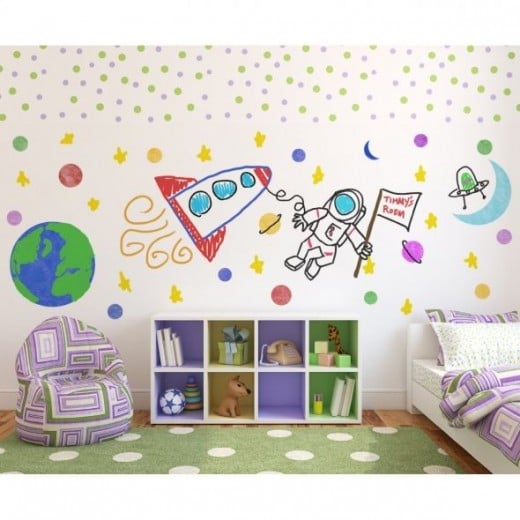
Using a white dry erase paint, create a whole new look.
Click thumbnail to view full-size


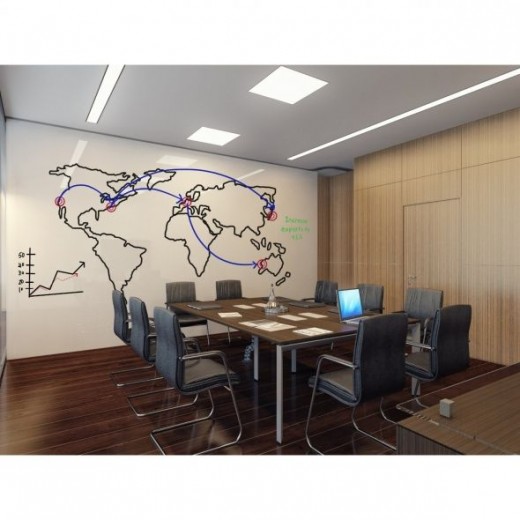
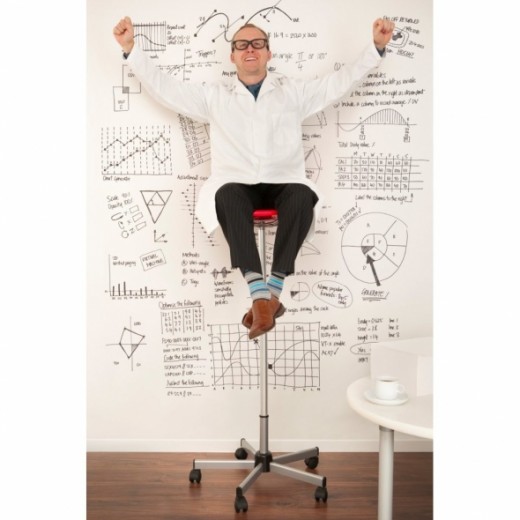
Using dry erase walls brings people and ideas together.
Whiteyboard Clear Dry Erase Paint

Dry Erase Cleaner
How to clean a dry erase wall.
As with any dry erase board, it will get "smudgy" (is that a word?) with use. Sometimes we leave notes on for a long time, and they are hard to erase. Different colors seem to linger after wiping.
The answer is to clean your board or wall on a regular basis. Letting drawings, lists, notes, etc. stay on for long periods of time will reduce the brightness and life or your dry erase wall. Use good quality dry erase markers and a cleaner designed for dry erase marker clean-up and your board will look nicer longer. Expo makes cleaners specifically for dry erase boards. Some folks use window cleaner. I have found that quite often a dry paper towel will clean a board just fine. Try different methods to find which is right for you.
Recently I found an old dry erase board stashed in a basement. The markings had been on it for at least three years. I decided to try different methods for cleaning it. First I tried a "cheap" dollar store window cleaner. That was an exercise in futility. Next, regular Windex. It was a little better but still not the results that you would hope for. I then tried WD-40. I let it set for a couple of minutes and then started wiping with paper towel in a circular motion. It started coming off fairly easily but left a slick residue. To clean off the residue I used an expensive (about $4.00 per can) window cleaner made by John Deere Tractor Co. It cleaned up the WD-40 residue in one cleaning. So I tried it on the remaining lettering and guess what...it cleaned as well as the WD-40!
So, boards can be cleaned, but regardless of the cleaner that you use, be prepared to use some good old-fashioned "elbow grease" in the process.
If by accident someone grabs a (gasp!) permanent marker and goes to town on your board, don't panic. Clean it off as best you can. Lightly sand the entire board and then just paint over it with another dry erase kit. If it looks as if the marker will still bleed through after you have cleaned it, scuff it with sandpaper and paint over it with Kilz Premium Primer (water-based). Wait for that to dry and then go ahead with your new dry erase kit.
Take Your Pick
Which would you prefer to use?
This is what people said.
The clear dry erase over your color painted walls.
What people said:
Expat Mamsita – 4 years ago from Slovakia: The possibilities are endless. I want some!
Anonymous – 4 years ago: It’s more convenient.
Lori Green – 4 years ago from Las Vegas: When we were setting up my last office we priced a huge dry erase board and it was mega bucks. This is a fantastic idea.
WhyCleanCounts – 5 years ago: I love the idea of the clear over a color painted wall.
Michey LM – 5 years ago: It’s more convenient.
Microfarmproject – 5 years ago: This would be a fun project in my youngest girls' room.
rallo-smith – 5 years ago: Would be awesome.
The white dry erase paint and add colors.
What people said:
NoProblemmo – 3 years ago: What about a combination?
goo2eyes Im – 4 years ago: I prefer the white dry erase paint.
athrunzala – 4 years ago: I prefer this one. It has my taste.
SheilaMilne – 5 years ago from Kent, UK: I've seen people use the correct markers for dry-erase boards OVER the permanent marker and it does dissolve, if that's the right word, the permanent markers. I don't know that it will do a complete job but it certainly helps.
Overview
Are You Game?
Will you be making a dry erase wall?
Design Your Dry Erase Wall in 3 Easy Steps - DO NOT Skip or Skimp on these steps.
- PREPARE the surface. Sand, wipe and go. Prime the area if necessary with a good quality stain blocking primer like Kilz Premium. This is the primer that I use and highly recommend.
- PAINT the surface. Follow mixing directions and apply the paint.
- PRESERVE the surface. To ensure that your dry erase wall is safe to use, wait at least 2-3 days before making any marks on your board if using the Rust-Oleum product. Other products may require up to 7 full days to cure the surface. Do not rush this time, allow it to fully cure to properly preserve your new wall.
© 2012 Senditondown


