Grow Your Own Luffa Sponge

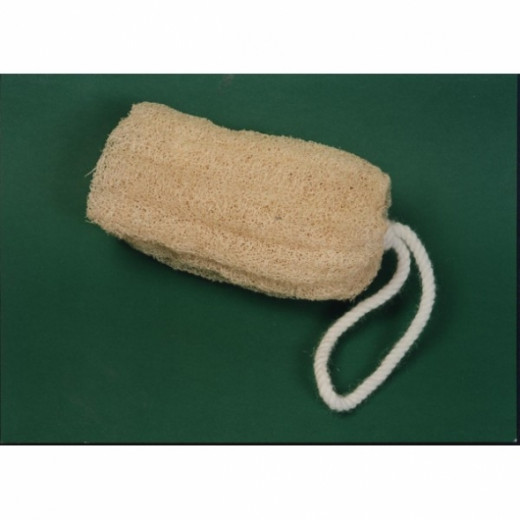
What in the world is a luffa?
Grow your own luffa sponge? It's easier than you think, and I'll show you how. Read on...
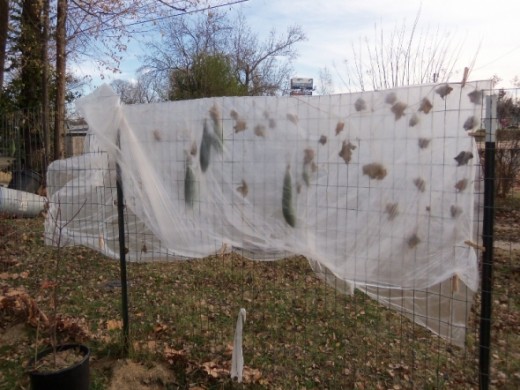
In 2010 I met a lovely lady named Gail. She has all kinds of unique things growing in her city garden. One day I noticed these big beautiful yellow flowers all over her chain link fence. When she took me over to see her plants she pointed out that they were luffa sponge plants. From a distance I didn't notice the luffas, but they were abundant on her vines.
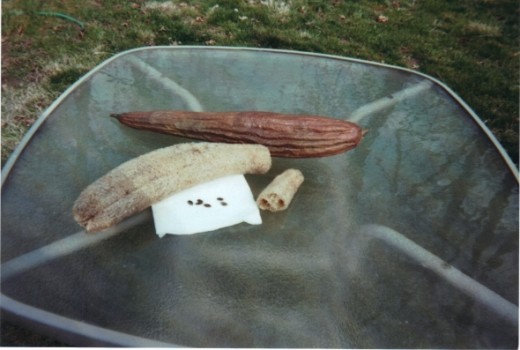
I was so fascinated with the fact that she grew these sponges and wanted to grow my own. Gail was kind enough to share her seeds with me from one pod so I could grow them in 2011. One gourd provided over 200 seeds, enough for me to sow to others. Let me show you how you too can grow your own luffa sponges, and have enough left over to give them as gifts. Once you have grown your own luffa sponge, you'll want to keep growing them.
Image by Wikipedia
Copyrighted Material by Favored1. Do not copy. Photo credit by Favored1 or Amazon unless otherwise noted. This artwork is licensed under the Creative Commons Attribution-ShareAlike 3.0 License. When used: Animation by www.glitter-graphics.com, www.picgifts.com, www.photobucket.com and www.animateit.net
Luffa's take a long time to grow... a very, long time!
From the beginning you need to know this:
Wow! Grow your own luffa sponge! That sounds like fun, but here's the topper. The time it takes for luffa to mature from growing, to fllowering and full maturity can take anywhere form 13 days up to as many as 220 plus days. It all depends of the individual plant.
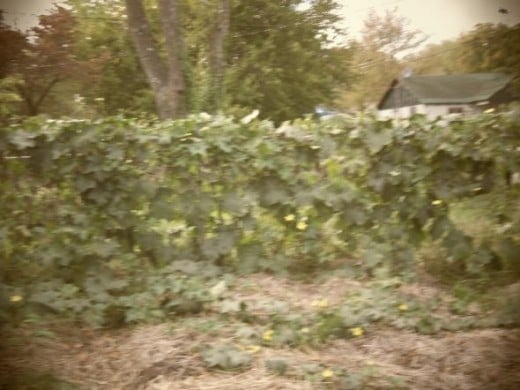
This isn't a plant that likes to be rushed. The reward for your patience is a bounty of yellow flowers all summer and early fall. The lush, rich green leaves make a nice hedge-type covering, privacy fence that in time bears loads of gourds. So with that in mind, let's get started.
What can we expect?
The seedlings will grow very slow at first until the roots develop. Once they start to make a vine, they grow rather quickly. After a months of growing, you will see clusters of yellow flowers. More flowers bloom as the vine gets longer. The thick stems are the female flowers and the thin stems are the males. Bumblebees and other bugs love luffa flowers and will seek them out even if they have to go a long ways to find them. I didn't realize that ants caused little or no harm, but actually assist in the pollination.
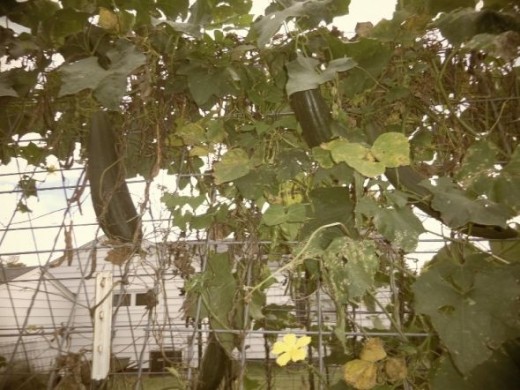
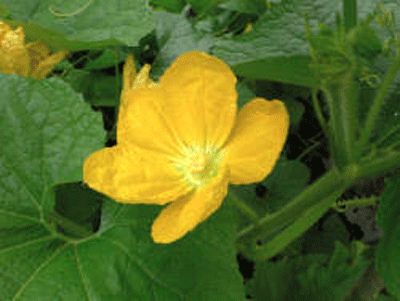
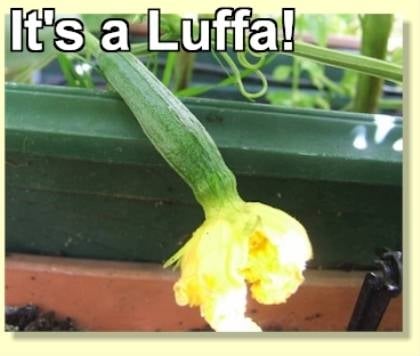
All through the season it is normal for some flowers to fall off, but the pollinated flowers are the ones that will form the luffas. They grow out of the flower. It is so neat to see this happen. I have a photo of it on this page.
Photo google images by butterfliesandwildlife
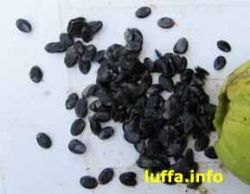
Selecting the Right Seeds
Luffa seeds look a lot like a watermelon seed. You need to select mature seeds that are dark and hard. Gray or whitish seeds are immature and too soft and will not grow. This happens when the plant doesn't have a long enough growing season on the vine.
You can plant seeds directly into the ground in warmer climates (check the USDA zones schedule for the best planting time for your region). This is what I do, but some like to start them in pots for better germination. The problem is that if you don't hit it just right in the weather, you usually lose your plant because of the frost in the fall. For me it's better to just plant them in the ground.
Photo google images by luffa info
The scientific names for this plant include
Luffa cylindrica, Luffa aegytpiaca, or Luffa aegyptica.
Have luffas in your yard?
Have you ever grown your own luffa plants? Tell me about it.
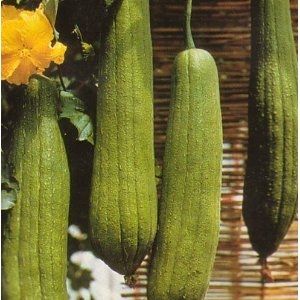
If you chose to start your seeds indoors, be careful. Luffas don't do well as transplants and shock easily.
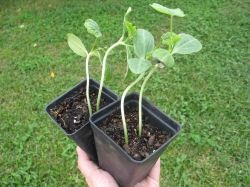
Starting Seeds Indoors
Once the plant has a few good sized leaves the luffa is big enough to transplant. The roots by this time may be about 6 inches long or longer and that would be about right for them to be put in the ground. Be sure that the danger of frost is over and the soil is warm. The night air that is sometimes cooler won't hurt them, but an extended cold spell can stop their growth. You may want to set them outside in the daytime and bring them in at night at first.
Remember "transplant shock" sometimes happens to the luffa, so be careful when you do this. Leaving the plants outside a couple days before planting helps them to adapt. Even a little wind will help them to become more sturdy. This plant does fine in many types of soil as long as it drains well.
Photo google images by lettuceshare
Not an ocean plant!
The luffa is actually a vegetable
and part of the gourd family.
It grows on a vine from the ground!
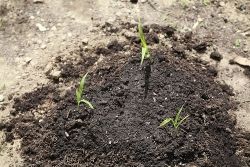
Instructions to Planting Your Seeds in the Ground
Choose a sunny location.
Plant 3 to 4 seeds per area, about 1/2 inch deep in small hills of soil. Space hills a minimum of 3 feet apart, but if you have room make it about 6 feet. These plants need a lot of room as they do spread out a great deal.
The soil temperature must be around 70 degrees F (21C) or warmer for seeds and plants to grow.
Photo google images by morning-glorious
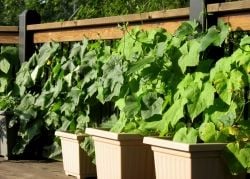
Select your sunny location.
Luffa plants grow slower than most gourds. It can take weeks before you see any real growth. They are a hot weather plant and grow slower in cool weather. The flowers appear over the entire growing time as the vines get longer.
Once the gourd starts to form it may take a long time to produce the fiberous part of the vegetable, and ever more time to completely dry inside for the harvest. This is where patience comes in. Your plants won't be ready to havest until the middle of fall (about November depending on your region). The final peeling and cleaning the sponges follow the harvesting of the gourds. Your plant will need about 140 to 200 or more frost free days, depending on the your geographical location and the type of gourd you grow. They spend a lot of time on the vine.
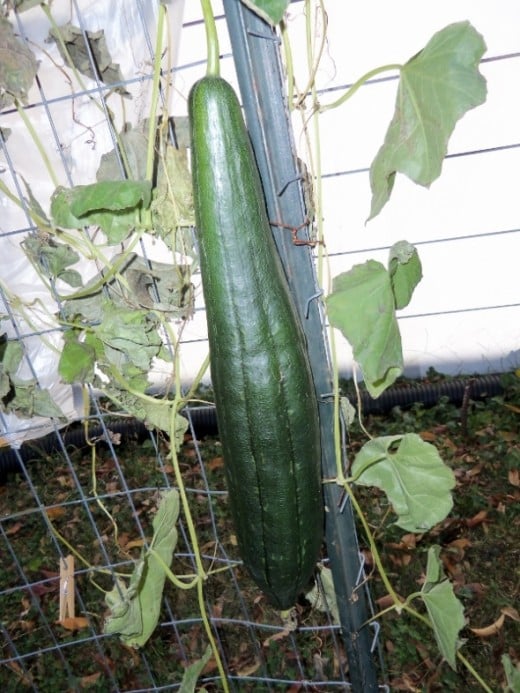
Be sure to plant your luffa's in a sunny location and near a strong fence or trellis. They need to have something to climb on so the gourds can hang straight. Your plants will grow in an area on the ground that is weed free, but they won't look as nice and will turn out curvy or bumpy. That will make them more difficult to cut into nice sections or give them as gifts. So try to get them to grow up a fence of some sort if you can.
Photo google images by vegarden
The harvest is in the seed. Left unplanted it will never grow. We plant the seed, God makes it grow! (1 Corinthians 3:6 kjv)
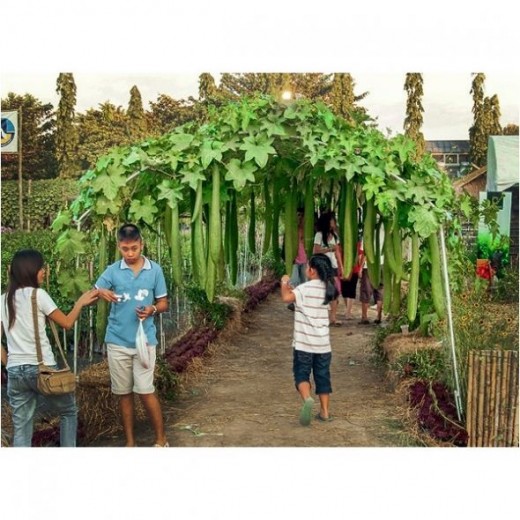
Giant Luffa Plants by Seed Gallery - How cool is this? Mine didn't get this big, but yours could!
Container Planting Directions
They must be staked well for this to work.
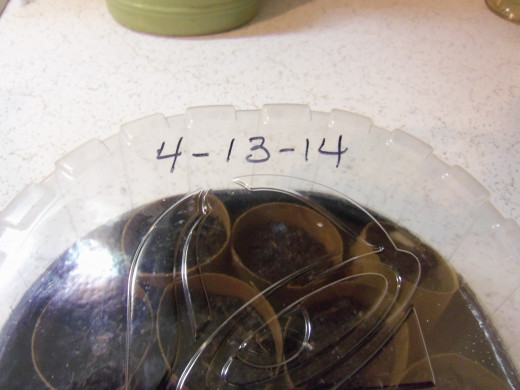
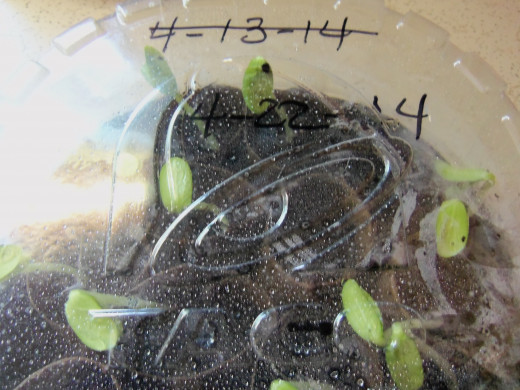
Potted plants: Plant 3 or 4 seeds about 1/2 to 3/4 inch deep in some potting soil. The time they take to germinat depends on the type of soil you use and the temperature, so place pots in a sunny place. Keep the soil moist but not too wet. Don't get discouraged about the germination time because it varies. It could take three weeks or longer in warm soil. Usually it is less than 10 days they say, but mine took longer.
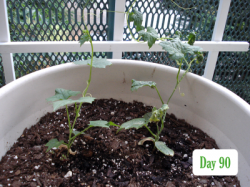
As you can see from the photo this plant is rather small even after 90 days of growing. Some seeds may take much longer than others from the same batch. Thin plants to one per pot or planting location, because they will need all the room they can get. I have a hard time doing this because I want to save them all. But once the roots finally get established they grow quickly, so thin them out early.
If you decide to grow luffas in containers and not transplant them, make sure they are around 5 gallons in size. The containers need good drainage and should be in the location you want them, because they can't be moved once the vines attach tendrils (long stingy things that wrap themselves around anything) to other objects. Professional growers recomment that the ideal soil ph for the luffa is neutral to slightly alkaline and you might need to add some lime soils that are more acidic. You will need to stake your vines so the tendrils have something to grab on to for stability.
Photo google image
Don't forget this...
Make sure that the containers have good drainage and are in the location you want them, because they can't be moved once the vines attach tendrils to other objects.
Growing loofahs at home. - A fun family project.
If video isn't working click on this link to view.
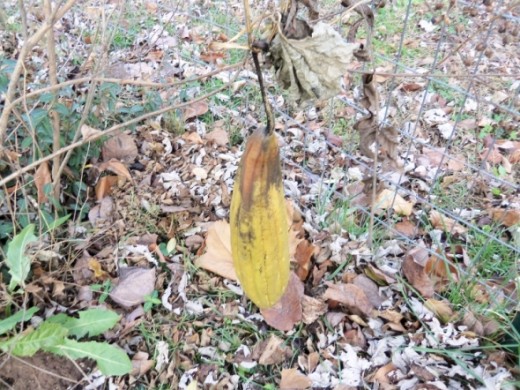
My luffa/loofa plants of 2011. - These are photos of my luffa sponge gourds, also known as loofahs, loofah sponge, loofa, loofah, loufa, sponge gourd.
Click thumbnail to view full-size


It's Harvest Time!
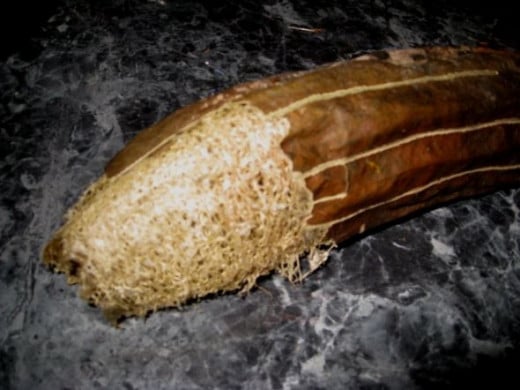
Now that your luffas have hung on the fence all summer, they should begin to turn brown and be hard. The plant is ready to take off the vine when the luffa feels very light as if the sponge has separated from the shell. You can hear the seeds rattle inside the gourd like a moraca.
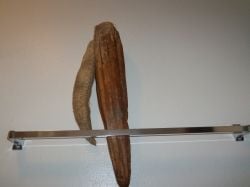
Cut the gourd from the vine and put it inside to dry. It may take several months to be completely dry. As you can see I hung this one on a towel rack. It worked great and was out of the way.
Photo by Favored1

Watch & Learn
Luffa Harvest and Sponge Care
Each one of these videos I have selected will help you in your luffa project. It is well worth your while to view each of these short clips on luffa growing to maintaining your luffa sponge. Enjoy.
If videos are not working click on these links to view.
- How to Harvest A Loofa Sponge Video
Getting the gourd off the vine. - Luffa Harvest Video
Harvesting your luffa plants. - How to peel a green luffa video.
You can still havest a green luffa. Learn how. - How to care for a loofah sponge video.
Now that you have your loofah sponge, you need to know how to keep it clean and bacteria free. - How to Grow Luffah
Short clip showing stages of luffah growth.
Start to Finish: Growing A Luffa Plant - Click on photo for information.
Click thumbnail to view full-size


More fun with Luffas!
Use your natural luffa
as an exfoliant in your
homemade soap.
Soap Making
Have you ever made homemade soaps for yourself or as gifts? How did they turn out?

Make your own luffa/loofah soap.
I love my loofas and wanted to make soap using them as gifts. This video really shows an easy way to do it. Also I have included more information from the Soap Queen videos that might help you on future projects. You may also like these links.
http://www.brambleberry.com author of Soap Queen Blog
http://www.soapqueen.com and developer of Teach Soap
If videos are not working click on these links to view.
- Melting & Molding Soap: Loofah Scrubby Soap video.
Easy demonstration of how to make gift soaps from loofahs. - Making Loofah Soap Video
How to make loofah soap. - Packaging your finished soap.
You must wrap the sopa so it doesn't dry out.
What you'll need to make
luffa/loofah gift soaps.
Hydrated chrome green oxide
can be found at
www.brambleberry.com
Gonna give it a try?
After viewing how easy it is to make luffa soaps, are you going to give it a try?
Look what you can do with your luffa sponges.
Luffa Painting
If you're like me, you love to design your own walls and sometimes use various shaped sponges to do it. Luffa painting is much like regular sponge painting. You can cut the sponge long ways like in this video or in round 1 inch pieces for a different look. Whatever way you choose to do it, you're sure to have fun.
Click on this link if video is not working.http://www.youtube.com/watch?feature=player_embedded&v=Ya9KIoRFb9I
Don't have time to make or grow your own? Get all you need right here.
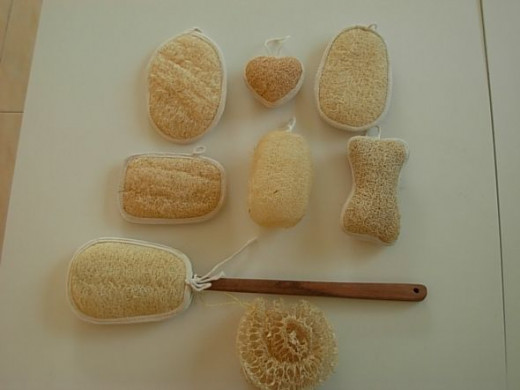
Loofah natural essentials.
Are luffas in your future?
Will you be growing your own luffas after seeing how easy it is?
"He who gives seed for the sower and bread for eating will also provide and multiply your seed for sowing, and increase the fruits of your righteousness."
(2 Corinthians 9:10 kjv)
Latest Update
UPDATE for my 2012 plants: As of August 24th, because of the extreme heat and drought, my luffa plants have not produced any "pods" or sponges. I do have some seeds left over from last year, so we'll see what happens.
UPDATE Ocober 21, 2012: The loofas have made a come back with the lovely fall weather we've been having. I may just get a few sponges after all.
UPDATE March 28, 2013 Well, I've got some new seeds from my friend Gail and am looking forward to planting them very soon. The extremely wet spring didn't allow me to get them planted. Hopefully next year.
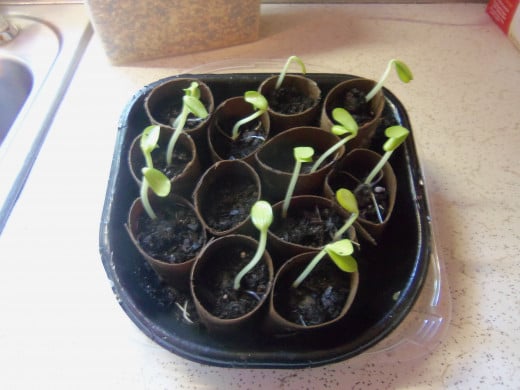
UPDATE April 29th, 2014 My seedlings for this year's crop are looking good and are about 8 inches high already. Hopefully, they will be able to go into the ground very soon.
2014 Seedings in Progress - As of July 8th the birds & squirrels have eaten almost all my seedlings. Stay tuned ...
Click thumbnail to view full-size


Luffa Websites that can help.
- For the Love of Luffa, or is it Loufah?
Practical tips on growing and making your own luffa sponges. - Benefits of Using Loofah Sponge on Skin
Why should you use a loofa? - Make Loofah Soap
Put Natural Exfoliants in your soaps loofah. - About the Luffa, Loofah
Botanical name: Luffa cylindrica or Common name: Luffa, Loofah, Smooth luffa; Literal name translation: net of string melon - How to Grow Luffa
Step by step guide and photos to growing your own luffas. - How to cook and eat loofah
Brief description on how to cook your loofah sponge as a vegetable. - How to prepare and eat Loofah
What they actually eat is the tender, young loofah. When picked fresh, the green loofah plant is slightly softer than a cucumber and slightly crispier than a zucchini. - Loofah and Chicken Stir-Fry
Stir fry using loofah plants. - How to Cook Luffa Gourds
More stir fry and barbecue ideas with the luffa.
- Garden Web: Dividing Perennials
How to instructions for plants. - Garden Web Forum
Advice and information on gardening. - Avon Beauty & Home Products
Today's specials. See it here.
Visit my latest blog post: Daily Favor Blog

