How to Choose Wall Colors

Choosing Paint Colors
One of the biggest decisions to make when redecorating is what color to paint the walls. By now you have probable decided that white and off white are boring colors for your walls and you'd like some wall painting tips to help you decide what colors to use. If you've thought that the only safe colors to paint your walls was white or off white, think again.
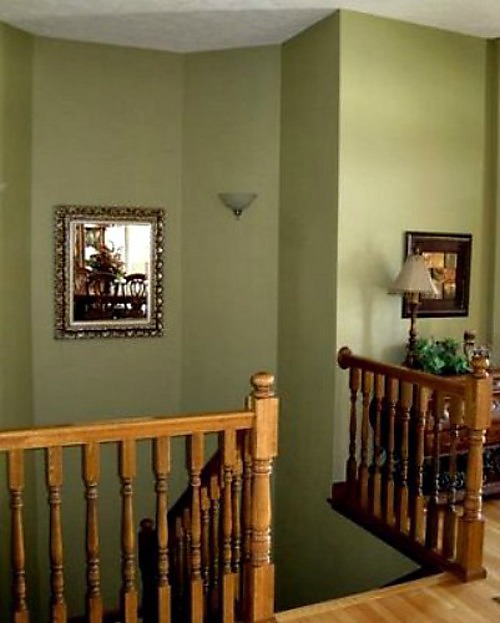
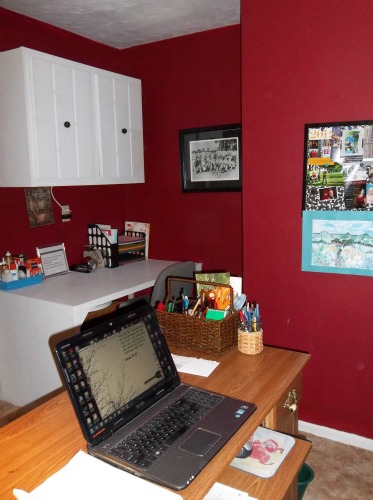
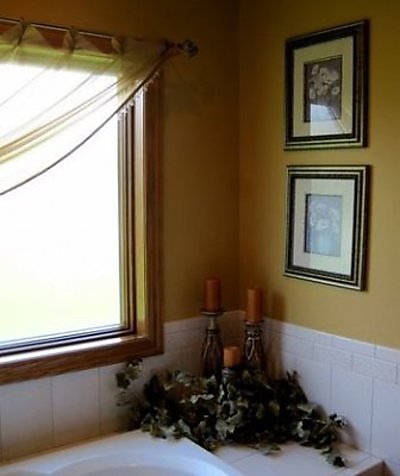
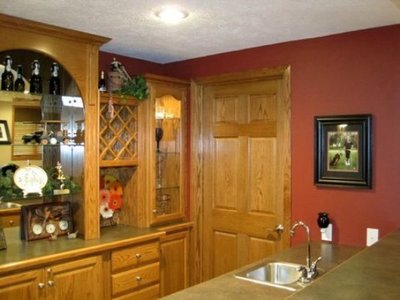
In this article we'll help you choose your wall color, tell you how to prepare the wall, suggest supplies you'll need and applaud when you finish your project.There are colors, plus shades and tints of those colors, that will show off your beautiful woodwork and cabinets so much better than the white does. You're afraid to jump in with both feet and paint with bold colors? You don't want to do your first project in a deep red? Okay, so we'll talk about some safe color choices. Think olive green, antique gold or dusty blue. One of these colors will look great with almost any combination of accessory colors.
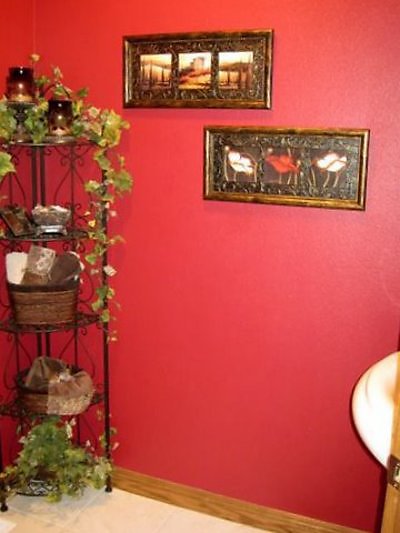
Decide which color family would look best with your carpet, couch and chairs. Look through decorator magazines or the leaflets in a paint store for more ideas. But, remember that red color for later when you might want to spice up a small laundry or bathroom. When you choose your color, just keep in mind the colors in your room that won't be changed soon. For instance, the carpet, couch or chairs. But if you are planning on making those changes soon, I'd recommend making those purchases before you paint.

Sherwin-Williams Color Visualizer
One tool. Endless possibilities.
Be sure to visit this site----you'll be glad you did.Just click on the Sherwin-Williams Color Visualizer and have fun.
Be Brave - put color on your wall
It can be a scary thought if you have never used color on your walls.
Wall Colors

When you have decided on the perfect paint chip color for your room, choose the chip one shade lighter to buy. Paint color usually appears darker when spread over a large area.
Preparing the Wall
and clearing the room
With a little preparation, painting a wall doesn't have to be a hard job.
1. Take down the pictures and mirrors and stash them somewhere safe. Now is also a good time to wash them so they're ready to be rehung later.
2. Take down the window treatments so you can paint close to the woodwork.
3. Fill the small cracks and nail holes with spackling compound and when it is dry, sand the spot with fine sandpaper.
4. Take off the socket and switch covers. (Replace the screws in the holes so you don't lose them) Wash the covers.
5. Remove the lighter furniture to another room. Push the larger things to the center of the room or cover them where they are.
6. CAUTION: If you have a Grandfather or Grandmother clock, be aware that they can be very touchy. If you move them you may have to have the clock rebalanced.
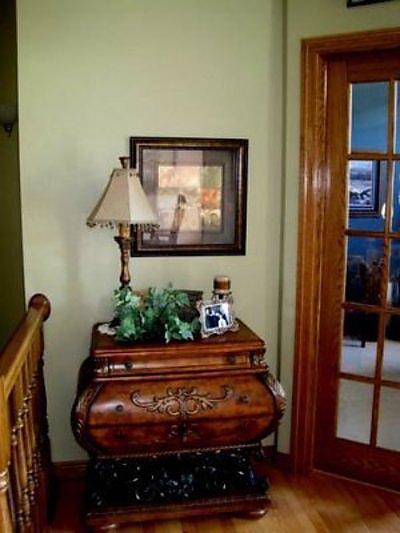
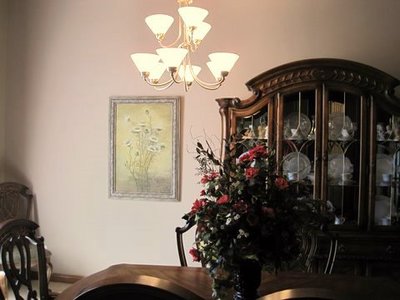
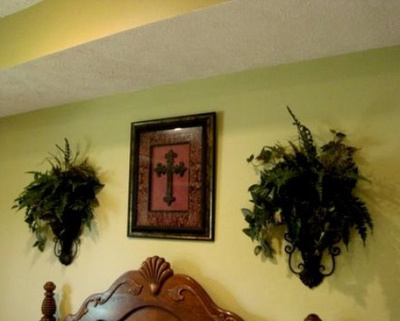
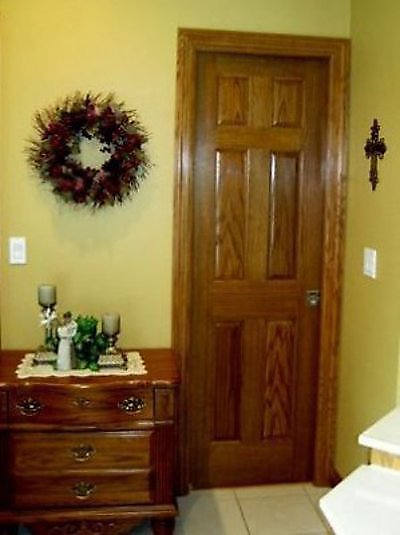
If you have a favorite picture hanging in your room------pick colors from the painting for your wall color and for accessories such as throw rugs and pillows.
Pictures that are pleasing to your eye are a great source for helping to decide what colors to use in your roon. The painting pleases you because the colors in the painting "go together." If you look carefully, you'll notice that your choices are limitless. It's always good to have a touch of black in any of your color combinations. Kind of like a comma in a sentence.
For your walls, choose a flat or eggshell finish. It will cover blemishes on the wall and you can wash it.Use a semi-gloss finish for painting woodwork
Getting Your Supplies Together
Supplies you'll need on hand and in the room before you start painting are:
1. Plastic covering to cover the floor and any objects that can't be moved. If you don't want to buy the plastic covering, gather together a few old bed sheets to use for throws.
2. A 6' ladder that has a tray to hold your paint pan or bucket.
3. Your paint, a paint can opener or flat screwdriver and a stir stick.
4. A paint pan lined with a plastic liner or use heavy duty tinfoil to line your pan. Who wants to wash a messy roller pan?
5. A paint roller and a slant edged 2" brush. This brush will help you paint close to the woodwork and ceiling without having to tape them. I always take a wet cloth and a small flat edged screw driver with me while I paint, so if I happen to get paint where it shouldn't be, I can wipe it off immediately. I think painting carefully, with a slanted brush, along the edges of woodwork is less work than taping the woodwork and then having to clean up any paint that seeped behind it and dried. And you only have to do that once. If you apply a second coat of paint, you usually do not have to paint as close to the woodwork the second time.
6. Tape the top edge of the mop board. It isn't hard to tape the area and you can press the tape tighter so paint doesn't seep under the tape. Even though I tape this area, I always pull it off after the second coat of paint is on the wall. Then if a little paint did get on the mop board I can take it off easily with the wet cloth and screw driver.
Keep swatches of your room colors in your purse, to assist you when color matching while shopping for room accessories.
Painting Your Room
You'll notice that the hardest part of painting a room is getting all the stuff together and opening the paint can. Now, once the job is started, we can look forward to it being finished and we'll be able to admire the great job we did.
If you are going to paint the ceiling, do it first, being careful to paint to the wall without getting too much of it on the wall. It takes paint a little while to dry and if you get paint down onto the wall you'll have to wait for it to dry before starting on the walls. Let's not waste time here. The real pleasure of this job is a job well done, not making it take a long time. If there is a ceiling light you'll want to tape around it or very carefully paint around it with the slant edged brush.
Have you noticed how much I love that slant edged brush? After you use it a little while you'll love it too. It takes a little practice to know how much paint to carry in the brush. Always run your brush along the top of the can or pan to take some of the extra paint off-----don't drip your way to the wall.
Now the ceiling is painted and you're almost half done. Carefully paint an edge around the ceiling, using the slant edged brush (what else?) and angling it so the tip is closest to the ceiling. The first coat might not look the best, but you'll have the hang of it by the second and final coat.
When the first coat is dry and you've waited the recommended time before applying the second coat, you're finished.
Now all that's left is putting the switch covers back on, taking up the plastic covering, putting the lid on the paint can and putting the ladder away. Washing that great brush isn't hard, you can throw away the roller and the pan liner. You did it. Oh, Yes You Did!
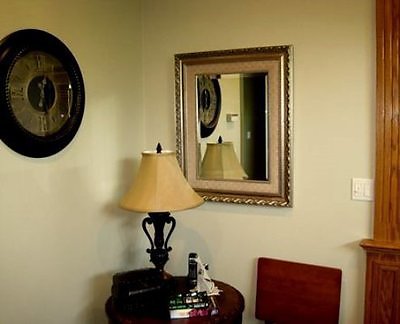
When you hang a decorative mirror, make sure that it reflects a pleasant image when you enter the room.
© 2011 Loraine Brummer