Making Window Treatments: Tips and Ideas
Interior Design
Are you looking for window treatment tips and ideas to make your home look up to date and elegant without it costing an arm and a leg?
Have you ever considered changing the window treatments in your home but didn't because of the cost of custom made treatments? You want something more than just a gathered-on-rod curtain, or one gotten by attaching clips to a length of fabric and hung on a rod.
The best and most economical solution is to sew your own. Plus, you'll also get the satisfaction of knowing that you did it yourself. "But," you say, "I don't even know where to start."
Well, pour yourself a cup of coffee, pull up a chair and we'll talk about it.In this article I want to give you the confidence to sew your own window treatments which will help you save money. We'll talk about styles, type of fabric, colors, color combinations and how to measure your windows.
First Things First
--Write it Down
Your first consideration when choosing new window treatments is to think about what is already in the room, what you plan on changing in the near future and what will be staying, the way it is, for a long time.
What is already in the room: the couch, chairs, carpet, lighting, direction of natural light, shades or blinds, pictures, mirrors, extra furniture,
What will be changed in the near future: couch, chairs, carpet, lighting?
What we have to live with and won't be changed: direction of natural lighting, carpet, furniture, etc.
Colors that won't be changed: Carpet, couch, chairs, wallpaper, woodwork color
Colors that will or could be changed: walls,Style of furniture, floor coverings,
Buy a Notebook-----Make a Plan
Write it down
The first thing I would suggest is that you get a notebook to write down suggestions as we go along. Also it is a good place to glue pictures from magazines of the looks you like or think you like.
At first, just page through magazines and cut out any and all pictures that you are really drawn to. We're talking decorator magazines, not PlayGirl. Since you'll be wanting to live with the window treatments that you make for some time to come, take your time to really know what is available and what you like, even if you only like it a little bit right now.
Keep pictures of styles you like, colors you are drawn to and combinations of colors that you love. Who knows, before you make your curtains or valances, you may decide now is the time you want to put color on your walls. Keep an open mind ----if you find pictures you love by Googling "window treatments" and hitting images----print off the ones you like and glue them in your notebook.
You're going to be surprised at what a great help this notebook will be.
Color, Style and Fabric
Write it down
Your second step would be to decide on what colors, style and fabric to use that are suitable for use with the colors of the carpet and furniture that will be in the room.
How to decide on a color: If you have been writing down and gluing pictures in your notebook, you'll see what colors you are drawn to. Now, if the colors you love don't go with the color of your wall, consider re-painting. Painting a room is pretty inexpensive, you'll get a whole new look and you'll be able to make your window treatments in the color you really want.
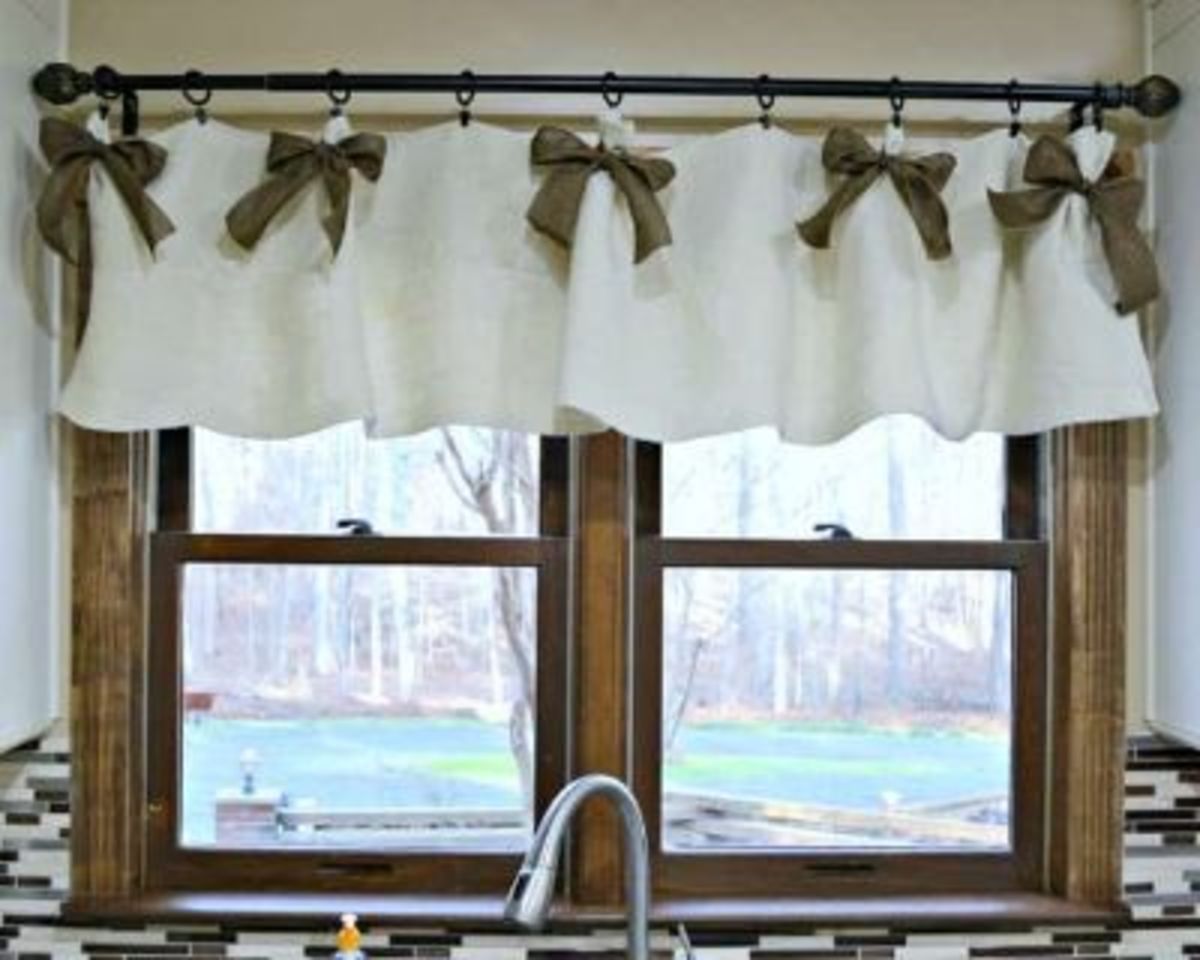
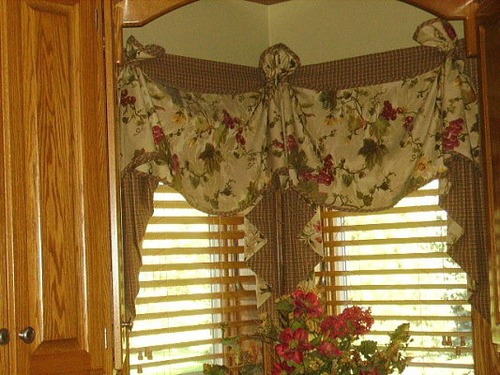
How to decide on a style: Again, if you look at all the pictures you've been gluing in your notebook, you will see which styles you have picked out most often. There's your clue. Are most of them valances, swags with jabots, tabbed curtains, drapes with a swag or valance? Have you seen the large grommetted drape, that's a very easy and modern style. So now you know the style you'll be happy with.
How to decide on a fabric: The style helps determine the fabric. You have a lot of lee way with the fabric, but remember there are a few exceptions. One of them is that if you want a nice drape, in say your swag, then you don't want a heavy fabric because it won't drape well. And real light, sheer fabrics are harder to handle not only when cutting them out, but also when sewing.
Okay, see, you've now decided on a color, a style, and a fabric. Wooohoo, the hard part is out of the way...now on to the fun part.
How to Measure Your Windows
write it down
In your notebook draw a sketch of your window, leaving wall space above and below it. Now, measure and write down the measurements:
1. Outside width (outside the frame)
2. Inside width (inside the frame)
3. Top of the frame to the sill.
4. Top of the frame to the bottom of the apron. (bottom board under the sill)
5. Top of the frame to the floor.
6. Distance from the left frame to any obstacle or wall to the left.
7. Distance from the right to a wall or obstacle to the right.
One reason for measurements 6 and 7 would be if you were making a kitchen treatment on a window between two cupboards.
Be sure that you measure and remeasure, then write the number down in your notebook and specify for which room and which window the measurements are for.
All windows are not created (or built) equal, even if they are side by side and in the same room. Or even if they look like they are the same size. Measure. Write it down... you'll be happy you did.
There is a great page from Joann Fabrics that helps you calculate yardage for drapes.
When looking at window treatment pictures, remember that the color and print can be changed. Don't limit yourself, use your imagination and see the style in other colors and prints or solids.
Rods, Board, Tension Rod, Medallions
Write it down
You've chosen the style of your window treatment and measured your window, now you'll have to decide on how you are going to hang your treatment.
1. Will you be using a standard (usually 1" wide) or continental (usually 2"wide) rod? If you are using this type rod, what distance is the rod return (the distance from the rod to the wall). You'll need to keep the return measurement in mind when figuring the width of your curtain because it's the distance from the front of the rod back to the wall.
2. Will you be using a medal or wood rod with brackets, finials and rings? You can make a window look wider by attaching the rod brackets away from the window frame, any distance that you choose, but you'll have to add the extra width when figuring out how much fabric you'll need.
3. Another choice would be a tension rod. You'd use the tension rod to hang a curtain inside a window frame or where you have a window between two cabinets, like in a kitchen.
4. Some patterns have you attach the fabric to a board and hung with "L" brackets. This is an easy way to hang swags, valances and jabots. You do need a good staple gun for this method.
5. Decorative Medallions Holdbacks can be used to hang window treatments.
Check out these curtain making helps
- Free Curtain Patterns to Sew
When searching for patterns you'll be happy to find this article, Free Curtain Patterns to Sew. Gathered here are some of the best free valance, swag, jabot, cafe curtains, drape and shades ideas. - How to Make Simple Grommet Drapes
Make easy, elegant drapes for your home using grommets. Find out How to Make Simple Grommet Drapes by following the tutorial. You can add grommets to purchased curtains to make your own drapes. - Customize Purchased Curtains
Customizing purchased curtains gives you an opportunity to have elegant drapes without the cost. Read the tips here and check out the information on sites that have addresses included here.
Keep swatches of your fabrics and wall colors in your purse so you aren't guessing when buying accessories for your home.
Choose a Pattern and a Fabric
Take your notebook with you when you go to select a pattern and the fabric. You'll be able to find a pattern or two that will allow you to make the style of window covering that you have chosen. If this is the first time you are sewing a valance, swag or curtain, choose a Simplicity or McCalls pattern. They are easier to follow. Utilize the help that you can receive at the fabric store.
My favorite fabric store is Hancock Fabrics, but other stores that have nice decorator fabrics are Joanns and Hobby Lobby. Hancocks has recurring 40% off decorator fabric sales. This can be a big savings if you wait for their sales. A good on-line store is Best Fabric Store.com. They also carry a nice selection of beaded trims.
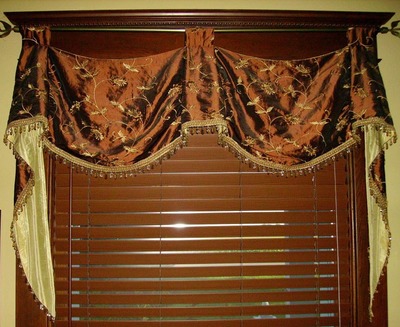
I love the elegant look of the embroidered fabrics. A very simple valance can look very expensive when made with an embroidered fabric with beads along the edge.
Don't forget to line your window treatment. This is very important, You can use plain RocLan white or ivory lining if the lining won't show. Where you have jabots and trumpets you'll need a fabric that contrasts or matches the main fabric, because you'll see it from the front. You can line the whole thing with the contrasting fabric, and you may want to, if you'll see it from the outside of the house. (A window directly in the walkway to your front door or a patio curtain or valance.)
Window treatments look better and hold their shape better if you add the lining.
Don't pre-wash your decorator fabric---it will take the body out of the fabric.
Adjusting and Cutting the Pattern
notions and such
Patterns will give you instructions for how to adjust the pattern to fit your window. If you aren't comfortable with cutting directly into your new fabric, make a trial run by using an old sheet to see if you've adjusted right. I've done that on an occasion or two (or three) I hate taking things apart, so I try to avoid mistakes.
I always cut the extra tissue away from around the pattern pieces before I begin. Then to adjust the pattern I can fold and pin the pattern. If the pattern needs to be made bigger, I always cut the pattern and tape a width of tissue to make the pattern the size I need.
Remember that when you adjust to cut the main fabric, that you need to make the same adjustments when cutting the lining pieces.
I prefer to cut out the fabric with a pinking shears, mainly because it prevents the fabric from raveling.
I don't wash my fabric when I make window treatments. Washing takes all the body out and, in my estimation, ruins the custom look. You won't be washing them anyway----if they need cleaning, you'll take them to the cleaners. Swags or valances on a board need only to be vacuumed occasionally.
Besides the adjusted pattern, notions that will assist you in cutting your fabric are: straight pins, 18" ruler, pinking shears and a chalk pencil.
Notions: Colored thread to match the fabric, sewing machine needles for the type fabric you are sewing, extra bobbins and needles for hand sewing
Basic Needs: Sewing machine, ironing board, steam iron and a press cloth.
Always press your seams, this is an essential step to great looking window treatments
Cutting and Sewing Your Window Treatment
finished to perfection
Now that the pieces are all cut out, all we have left is to sew and show off. The pattern directions, when read (sometimes a time or two), will tell you step by step how to assemble the treatment. You'll gain confidence as you go along.
Some of the pointers that I think really make a difference in how your project turns out are:
1. Always press the seams, the pattern will explain how to do that for each step.
2. Trim the seams and clip curves as suggested by the pattern directions.
3 Use a press cloth, especially if the fabric shows press marks and if the fabric is light weight. This is a good habit to get into.
4. When sewing trims between the main fabric and lining, use a zipper foot and sew the trim on the main fabric. Then lay the lining on your table, face up and the main fabric face down matching the edges of the lining. (When sewing trim between the fabrics, the beads or fringe needs to be toward the inside of the piece)
5. With beads or fringe that is on a decorative trim, you just sew them on last, after your window treatment is finished.
You Did It-----now ENJOY!!
Window Treatment Do's & Don't
© 2011 Loraine Brummer

