- HubPages»
- Personal Finance»
- Frugal Living»
- Household Expenses
How to Save Money by Reusing Keurig Coffee Cups

Introduction
As you may know, Keurig Coffee Machine Cups (aka krafts) can be quite expensive. The cups made by the brand name manufacturer can cost you $12.00 to $18.00 per box of 12. That makes each cup cost an average of 38 cents per cup! This may seem to be cheaper than an 8 oz. cup of coffee at McDonalds; however, you should remember that at least McDonalds starts you out at 8 oz. of coffee! The average personal size cup made from a Keurig coffee cup is about 4 oz.! So, when you think about it, you are basically buying a half cup of McDonald’s coffee and having to go through the trouble of brewing it yourself. What a rip!
Fortunately, I have a fast remedy for this. For your next cup of coffee, simply reuse the plastic cup that the coffee comes in. Here’s how.
Supplies to Assemble

Supplies You Will Need:
- Aluminum foil cut into 2 - 3” x 3” squares
- A long piece of scotch tape, approximately 5” in length or enough to cover the circumference of the cup.
- A pair of scissors
- A used Keurig cup
- Your favorite brand of ground coffee
- A teaspoon
- A butterknife
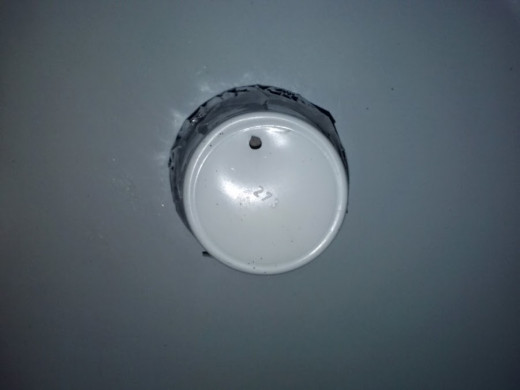
Do Not Puncture This Existing Hole Again
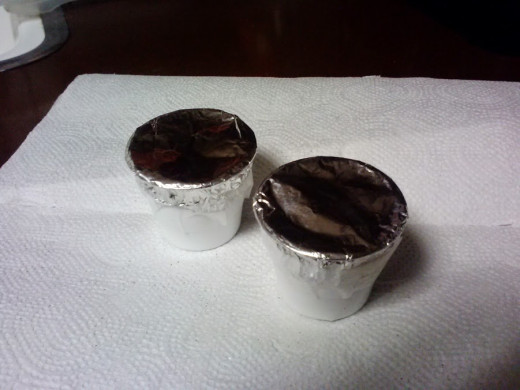
Finished Cups Ready for Brewing
Steps:
Step 1:
After using a Keurig cup the usual way, save it for reuse as follows:
- Carefully clean out the waste coffee by dumping it into the garbage using your fingers to gently swipe out the grinds. Also gently invert the filter outward to brush out any remaining grinds. DO NOT TEAR THE FILTER. REMEMBER, if you tear the filter or rip it from the plastic rim you will render the cup worthless for reuse.
- Once cleared, replace the filter and rinse out the cup with cold water.
Step 2:
Once the cup is cleaned, spoon in or scoop your favorite brand of coffee into the cup. This is pretty messy, so it is recommended you use the cup as a scoop to remove the coffee while it is still within the container to keep the grounds from going everywhere. Do not pack the coffee in too tight. There must be enough air to allow proper water filtration. Once the cup is full, level off the top with the butter knife to remove any excess grinds.
Step 3:
Then place the first aluminum square directly on top of the other square and center them both over the top of the cup. Fold the edges of the foil downward over the rim of the cup. Use the area between your index finger and thumb to rub in a circular motion to secure the foil tightly in place around the cup. When done, smooth the foil along the top rim with your thumb.
Step 4:
Next, wrap tape around the entire circumference of the cup securing the foil to the cup. Make sure the fit is tight. Water may escape if it isn’t a secure fit.
Step 5:
Cut off excess edges of foil to remove it from the circumference of the cup without cutting off the tape. Do this by cutting below the tape. Smooth downward any other bulky pieces of foil too small to cut against the sides of the cup to ensure it fits within the cup holder.
Step 6:
Finally, prepare the Keurig machine as usual (add water) and place the cup in the holder taking care to turn the existing hole away from the sharp pin that punctures the cup. If you forget not to use the same hole as previously used, it won’t work and a big mess will ensue. I usually rotate the cup 180 degrees and this will suffice.
Final Product!

Gourmet Coffee on a Dime!
The result… “wallah”... you have a single-brewed cup of your favorite coffee. No mess or much fuss and you save money in the process! The best part is you can now turn a 12 count box of Keurig cups into 24 cups.
Try it and let me know how it turns out. In my experience, this really works. Be sure to pre-read and follow the instructions exactly, as you could have a big mess on your hands if you don’t. Good luck!


 Brewing System Review")


