How To Build A Kicker Ramp?
How to Build a Kicker Ramp
Kicker Ramp Plans
Kicker ramps may vary. Below we provide instructions for 2 different types of kicker ramp. So, if you are indeed interested in how to build a kicker ramp please read on.
Standard kicker ramp
Allocate about 300.00 USD to purchase all necessary tools and materials. Check the list below.
Things you will need:
3 plywood sheets (4x8x3/4")
4 plywood sheets (4x8x0.5")
23 treated boards (2x4x8)
4 plastic barrels, 55 gallon
4 sheets fiberglass bath board
5 tubes all-purpose adhesive sealer (for fiberglass)
3 lbs coated nails
Instructions:
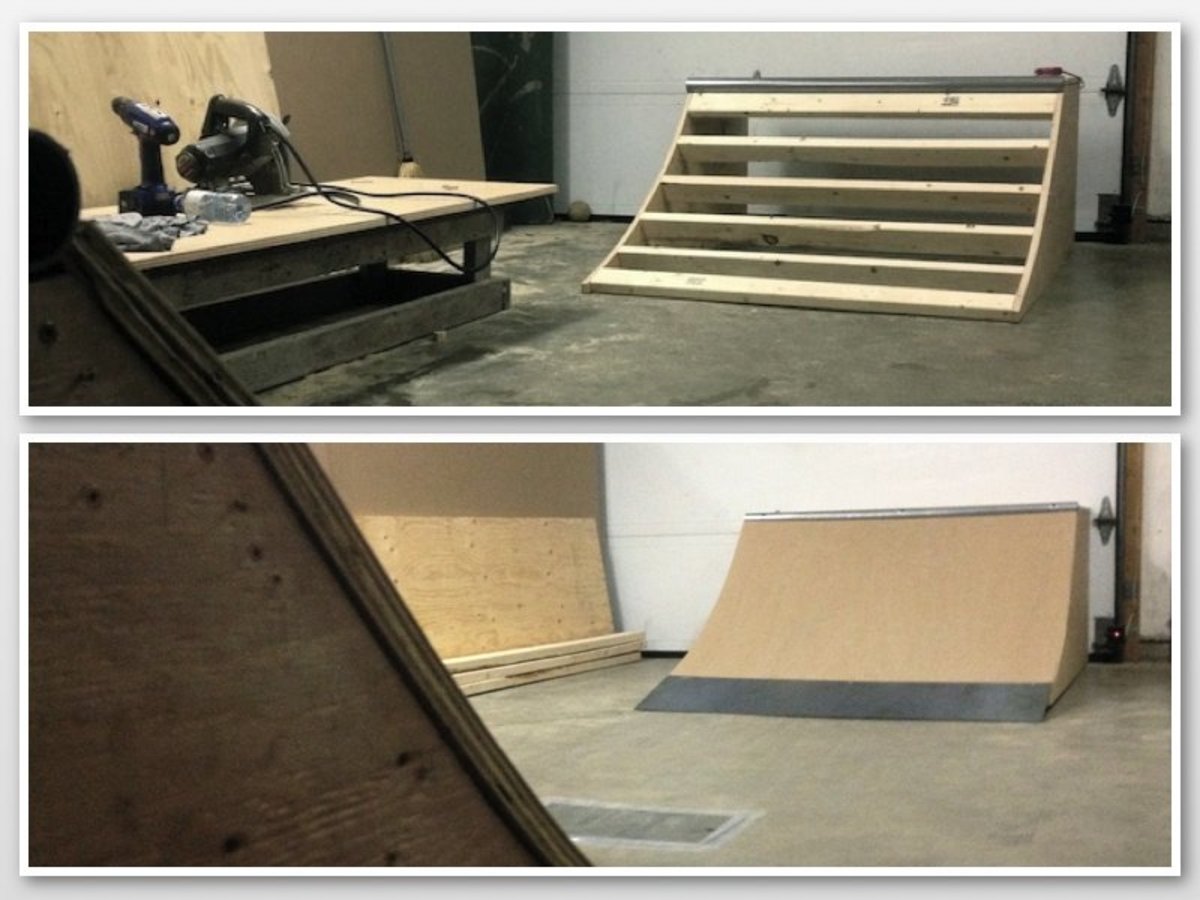
Step 1. Build the kicker ramp according to your dimensions. As a sample we will work with the 12’ long, 8’ wide, and 6’ tall kicker ramp.
Step 2. Purchase all the necessary tools and materials in the nearby hardware store.
Step 3. Use a water hose as a tracing tool when drawing your transition on the ¾ inch plywood. Do it on the ground. When you are done with cutting - slice each sheet with the 2x4.
Step 4. Use the completed side as a ‘mould’ to trace the transition on the other plywood sheets.
Step 5. Install the 2x4x8 cross beams. In order to ‘compensate’ the extra width of the ¾ inch plywood, cut 1.5 off the 2x4 sheet. Place the cross beams 16 inch apart and angle them ‘flush’ with the surface.
Step 6. Try the frame applying some force to check where support is required.
Step 7. The 0.5 inch plywood should be nailed to the cross beams. Thus a surface will be created. Do trimming at the bottom as 0.5 inch plywood surface should be removed. Put a nail per each 2’ of width.
Step 8. To create spaces for the floatation to fit, you should flip ramp over. Half of the barrels should stay above the water level. They should also be apart spaced which will prevent the ramp from capsizing. However it depends on how heavy your kicker will be.
Step 9. With the help of a caulk gun spread the adhesive over the 0.5 inch plywood sheet. Try to evenly distribute the glue over the surface. Do likewise as with the 0.5 inch plywood but with no nails or screws when applying the fiberglass bath board.
Step 10. Apply special paint to keep it better protected in the water.
Note: It is strongly recommended to use helmet when using it.
If you want a kicker ramp for a dirt bike, follow the instructions below. It will be very challenging to do the job alone so have assistants with you. The whole process will take about 4 hours. Things you will need: water hose with water supply, shovels, dirtbike, wheelbarrow, and emptied 50-gallon barrels (3).
Instructions:
Step 1. Get a place with ten wheelbarrow loads of dirt. The better is mixed soil with clay.
Step 2. Lay the empty barrels as a pyramid – it will be the ramp base.
Step 3. Completely cover the base with the whole amount of the soil / dirt.
Step 4. Drizzle the ‘construction’ with water for some 5 minutes. Do not add too much water.
Step 5. When dried compact and shape the soil construction with stamp and shovels.
Step 6. Repeat the process 3-4 times until well compacted.
Note: Use safety gear when riding your bike.
We hope you’ve found the article on how to build a kicker ramp informative enough.


