How to Change a Bike Tube - an Illustrated Guide

For those of you who cycle or have cycled in the past you will know how frustrating it is to get a puncture whilst out cycling, whether in a race or simply on a training ride a puncture can disrupt the rhythm that you have gotten into and leave you feeling out of cadence for the rest of the ride. Despite this punctures are something that need to be dealt with and the quicker that you can do this the better as such I have summarized the tube changing process in an easy to follow illustrated guide below.
One thing to note is that the photos below are of me changing the tube for a road bike with a Presta valve, if you have a mountain bike with Shrader valve tubes the instructions are exactly the same but the Valve will look different to that you see below.
Thing that you will need
Changing a bike tube is not an epic job and as such there are only a few things that you will need in order to do it.
A new tube, Tubes don't cost a lot these days and in general it's easier to simply replace a punctured tube as opposed to trying to repair one, this is especially true during races when the prospect of waiting 5 minutes for rubber cement to set is less than appealing.
3 tire leavers, Although tire leavers aren't essential they do greatly reduce the chance of you accidentally causing harm to your tire or wheel and in general they make the whole process a lot easier.
A pump, Depending on whether you are on the road or at home when changing the tire, you may have either a hand pump or a standing pump with you. A standing pump is much easier to use but due to it's size cannot be carried while cycling.
1. Remove the wheel of the punctured tire from the bike and lay it flat on the ground. This will be easier if you loosen of your brakes as it will give the tire more room to pass through
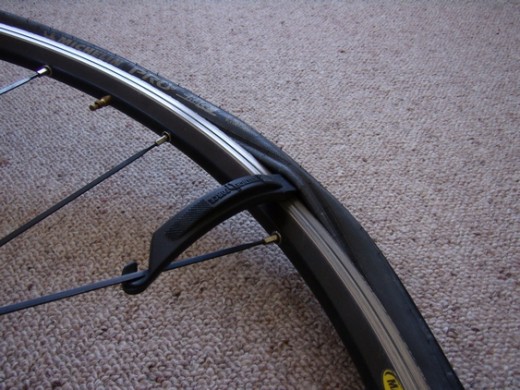
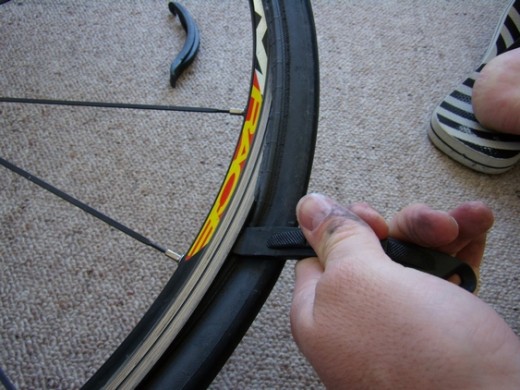
2. Use the thin end of your first tire lever to lever the tire onto the outside of the wheels rim.
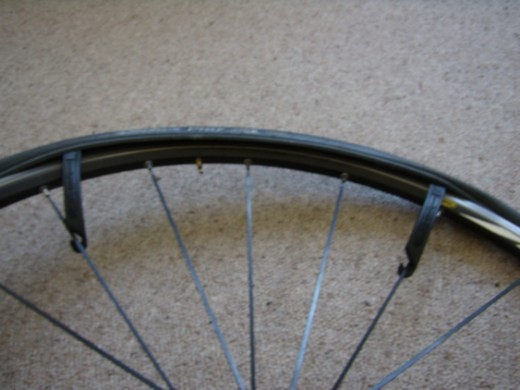
3. Insert your second tire lever in the same manner a few spokes to the right, then move the two tire levers apart from each other along the rim of the wheel thus bringing an entire side of the tire onto the outside of the wheel.

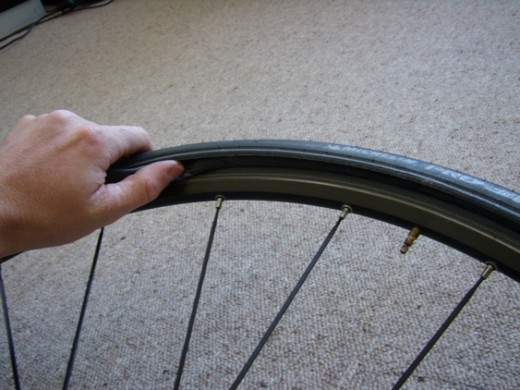
4. Pull out the old tube by reaching between the rim and the tire and then discard the old tube.
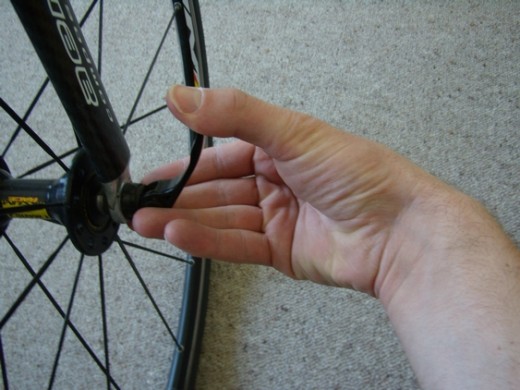
5. Using your hand feel around inside you tire to make sure that there is nothing sharp or rough which will cause another puncture.
6. Insert the valve of the new tube through the valve hole then work around the tube pushing it into the tire as you go.
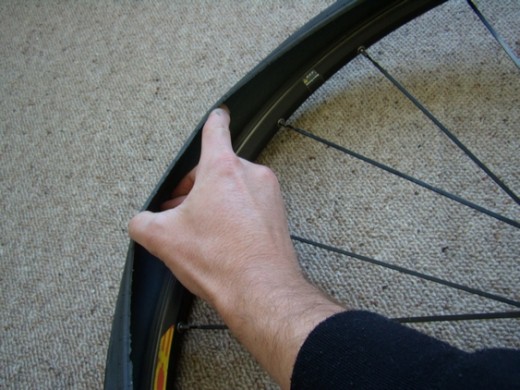
7. Once the tube is inside the tire, again use your tire leavers in conjunction with your hands, but this time, use them to push the tire back inside the rim.
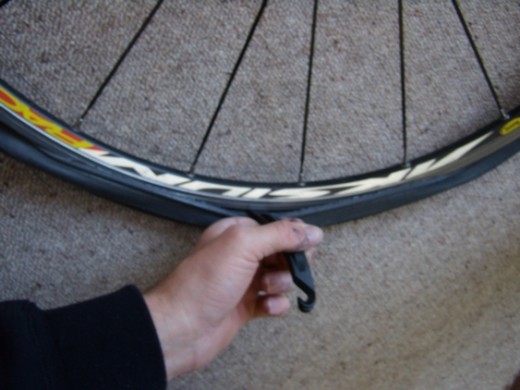
8. when you get to the last little bit of the tire it will be to hard to get the tire back on just using your hands so you will have to use your tire lever again for the last bit.
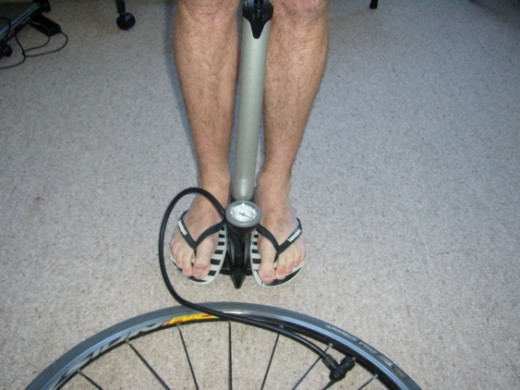
9. Pump the tire up to the recommended PSI
10. Remount tire on the bike. Don't forget to retighten your brakes
There are no doubt more technically correct ways of doing this but this is what I find fastest. I photographed the whole tube change and it only took Four minutes, imagine how fast you could do it using both hands!


