How to Belay in Rock Climbing
How to Belay in Rock Climbing
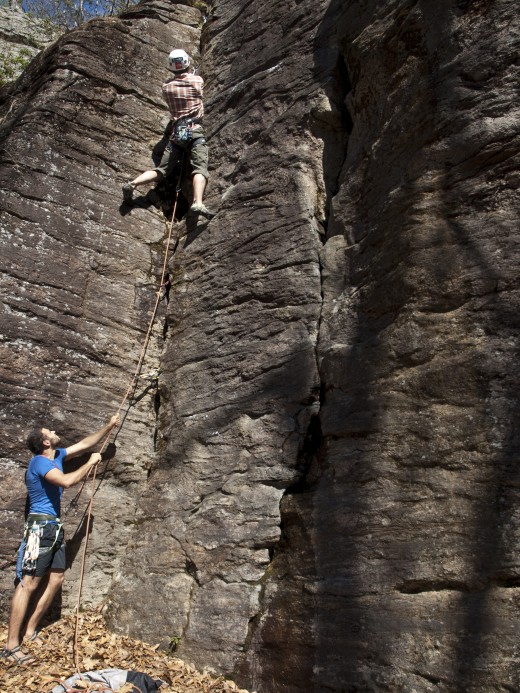
To belay a fellow climber is a huge responsibility. Make sure that you and your climbing partner receive the proper instruction from a qualified climbing instructor on how to belay. In this article we will focus on belaying in a top-rope system with an ATC.
Belaying requires constant attention and communication with the climber.
- Speak loud and clear, especially if the climber is high up on the pitch.
- Avoid any confusing, vague, or ambiguous phrases, for these pave the way to accidents.
- If you are belaying someone significantly heavier than you, make sure you are anchored.
Rock Climbing Gear
Before you begin, check that you and your partner have the proper equipment and that it has been checked for wear, fraying, and other safety concerns. Assuming that the top-rope anchor and rope are already set up, you’ll need:
- a harness,
- locking carabiner,
- an ATC,
- and helmet if you are climbing outside.
It’s important even for the belayer to wear his or her helmet outside in case of falling rock, ice, or equipment.
Some people use belay gloves to protect their hands, but unless you think you will belay for multiple hours without rest, you probably won’t need them.
Find out more about choosing a harness, locking carabiner, and an ATC.
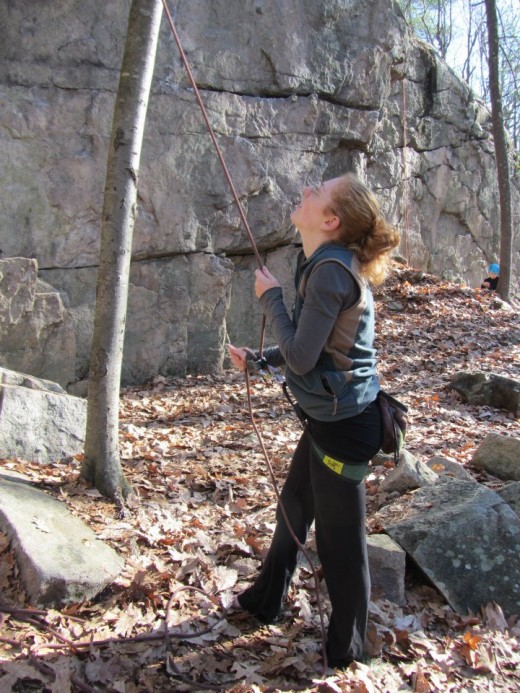
Belay System Set-up
In a top-rope system, the mid-point of the rope should be through a proper top rope anchor system and both ends of the rope should touch the ground. The climber should tie in to the side of the rope that is closest to the wall. The locking carabiner should be clipped through the belay loop of the belayer’s harness and through the wire loop of the ATC. If the ATC has a high friction side with teeth for extra bite, make sure that this side points away from you while you are belaying(for rappelling you may choose to use the smooth side).
To load the ATC, simply fold a section of the rope into a bight and push the small loop through the mouth of the ATC. This may be difficult with a stiff rope, but be persistent. The tail end should be pointing out, away from you. Once the loop is inside the ATC, clip the carabiner through both the rope and the wire of the ATC. Make sure you twist the lock of the carabiner shut so that it does not open by accident.
Other Communications Common for Top-Rope Climbers
(Climber) “Take”—Take out all the slack and lock off.
(Belayer) “Got”—The belayer has taken the slack out of the system and it is ready for the climber to weight the rope.
“On you”—The climber has weighted the rope.
“Lowering”—The belayer is lowering the climber.
Safety Checks and Communication
Before climbing it is important to perform a safety check. Even experienced climbers should check that:
- every buckle on the other’s harness is double-backed.
- The belayer should make sure that the climber’s knot is secure,
- and the climber should check that the belayer’s set-up is correct.
- The belayer squeezes the gate of the carabiner to ensure that it is locked.
The following is a little mini script that rock climbers often run through before they begin. This way, both members of the party are on the same page and are attentive to the task before them.
When the belayer is ready to belay he or she should announce “belay on.”
The climber then states that he or she is “climbing.”
Then the belayer responds with “climb on.”
Loading the ATC and Taking Out Slack
Taking Out Slack
The upward movement of the climber will create slack on the climber’s side of the rope. The goal of the belayer is to keep very little slack in the rope (this is true in most but not all situations). There are a few variations in the steps that the belayer goes through to take out the slack, but one rule applies to all styles of belaying:
NEVER LET GO OF THE BRAKE STRAND.
Even if a Copperhead bites you. Even if you get stung by multitudes of yellow jackets. The belayer's job is to protect the climber.
What is the brake strand? The brake strand is the section of rope between the ATC and the end of the rope. This section will increase in length as the belayer removes slack from the system. This brake strand should be controlled by your dominant hand. Again, NEVER let go of the brake strand.
Your non-dominant hand has slightly more freedom. When slack is created on the climber’s side of the rope,
1. pull down with your non-dominant hand on the section of rope between the top-rope anchor and your ATC.
2. As you are pulling down with your non-dominant hand, push out with your dominant hand (which is firmly gripping the brake strand).
Pull a full arm’s length and you will notice that in order to take out more slack, you will have to shift your hands to repeat the process. However, you do not want to simply loosen your grip on the brake strand to slide your hand up the rope towards the ATC. What if the climber falls while your hand is loose? Gravity moves swiftly and it is difficult to stop a rope that is already burning through your ATC.
3. As you slide your dominant hand up the rope towards the ATC, you should always back it up by reaching around with the non-dominant hand and gripping the brake strand BELOW the dominant hand.
4. Once your dominant hand is safely clutching the brake strand up close to the ATC you can move your non-dominant hand back to the middle section of rope to repeat the process over, and over, and over again.
The act of belaying is relatively simple and repetitive, but it can be overwhelming at first. You will need a few minutes of practice before you begin to actually belay a climber. If the climber falls, don’t panic and let go of the rope to catch the falling climber. Don’t let go to grab the rope above the ATC with both hands either—just think about all the leverage and friction you are cheating yourself by grabbing above the ATC.
Locking Off
There are several situations in which the belayer must “lock off,” or stop the movement of the rope:
- the climber falls,
- the climber becomes fatigued and needs to rest,
- and when the climber reaches the top of the climb.
To lock off, the belayer simply needs to bring the dominant hand down by his or her hip. As long as the weight of the climber is not significantly more than the weight of the belayer, the belayer should be comfortable to simply stand until the climber is ready to climb again.
Lowering
Once the climber has reached the top of the pitch, he or she will need to be lowered back down to the ground. To do this, the belayer should clearly state that they are “lowering,” and, with both hands on the brake strand, begin to let the rope slide through his or her hands at a controlled pace.
Remember, always practice these techniques with a trained professional.
Safe Climbing!!


