Penn Jigmaster Rebuilding and Restoration

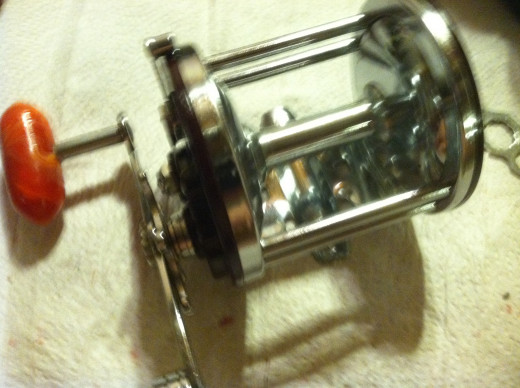
The Penn Jig master 500 is a great reel, even though the design was one developed by Ocean City years before it was released by Penn in the Sixties. The concept of being able to change spools for different types of fishing makes the Jig master 500 a must-have for many anglers.
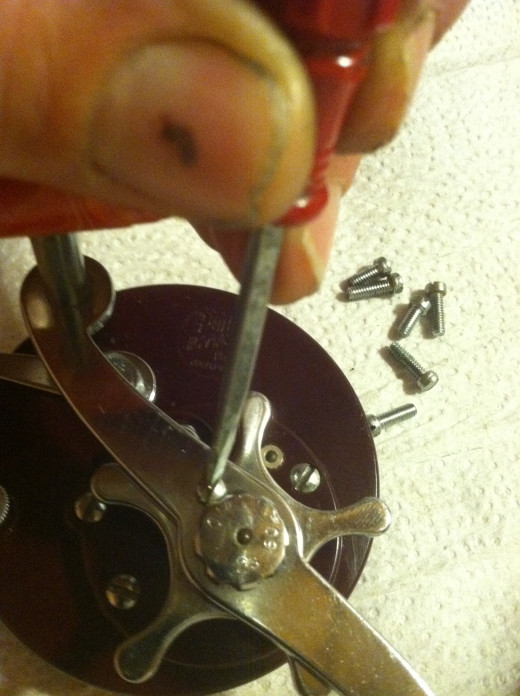
The first step in overhauling and restoring the reel is to remove all the line from the spool. However, if the line is fresh, simply place a rubber band around the line once the spool is removed and set the spool aside. Disassemble the reel ensuring all the parts are retained.
NOTE: Do not soak the fiber washers, or the hard washer , as they may be fragile and somewhat brittle; (replacement might be necessary) take these and lay them flat on a paper towel and lightly blot them with another paper towel.
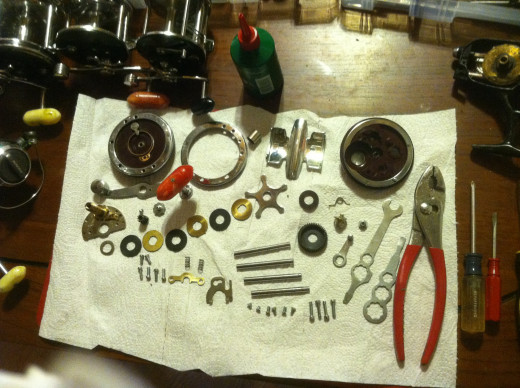
When the reel is being dismantled, place the screws and bright work in a separate container, and the brass and stainless internal parts, along with the side plates in in a glass bowl for cleaning and soaking using mineral spirits. When disassembling the bridge and drag washer assembly, use care to prevent damage of the fiber drag washers or the hard fiber washer located at the base of the Bridge sleeve. The hard washer may be left on the shaft instead of risking breakage during removal, as age can make these very brittle.
Count your screws and washers to make sure all are accounted for when you begin re-assembly. The parts count including frame and side pieces should be 48, and include 4 springs ( 2 clutch springs) anti-reverse dog spring, and eccentric spring. There should be a bridge assembly (with gear sleeve, and anti-reverse gear) six drag washers (3 fiber and three brass), brass anti-reverse dog, 4 chrome frame post (later models use 2 wide chrome support bars (37A on the Jig master 500 schematic) or four frame post (optional 37 part listing); two side plates, a left side inner ring, right side inner ring (inner rings are reversed and listed incorrectly on Penn Schematic) spool bearings, eccentric, clutch plate, clutch, eccentric lever and eccentric lever screw; star drag nut, tension spring washer, spacer, handle, handle screw, and handle lock screw, the mounting plate (or stand) and 16 flat head screws (6 flush, 2 short pan head screws for left side stand mounting, 4 bridge mounting screws and 6 right side plate screws. Do not remove the trolling alarm (or clicker) from the left inner side plate unless it is corroded and needs cleaning.
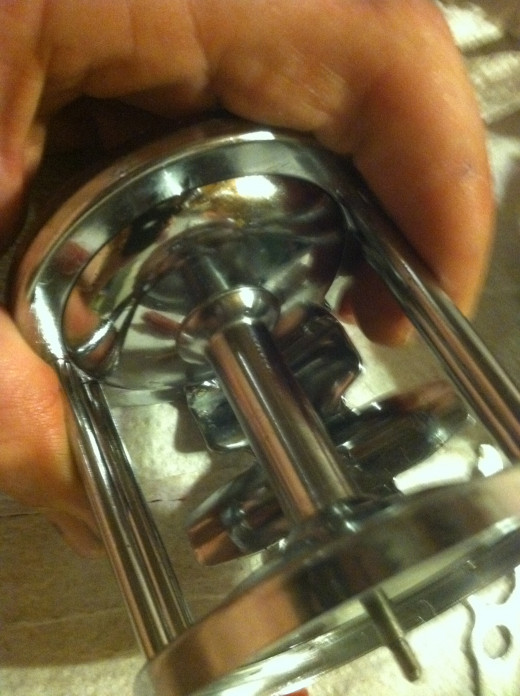
The bridge assembly is as good as any place to start. Remove the brass washers, plates and bridge assembly from the mineral spirits and dry with a paper towel. You may need to use some 1000 grit steel wool to remove any corrosion from the brass and stainless. These need to be smooth and free of corrosion and grime before assembly. If the parts are heavily corroded, the use of a high-speen wire wheel may be neccesary, just remember to use the appropriate saftey precausions. Be careful not to scratch the drag washers or the drag may stick.
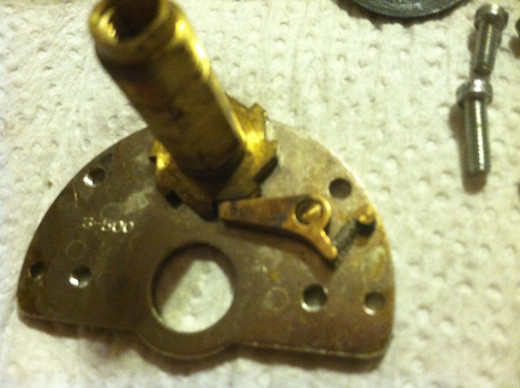
Start by installing the dog spring. the spring has a loop on one end that fits over one of the cams molded onto the underside of the bridge (See illustration 3). Then place the anti-reverse dog on the second cam against the spring until yours resembles the illustration.
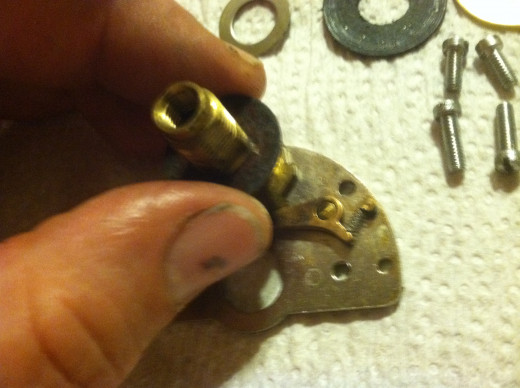
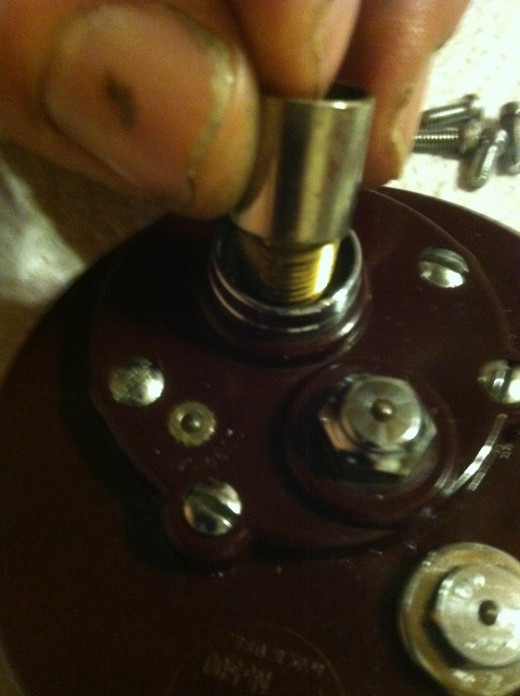
The hard fiber washer is the first thing that is sild down the shaft of the bridge. Do this caefully to prevent damaging the washer, as a reminder; age can make these very brittle.
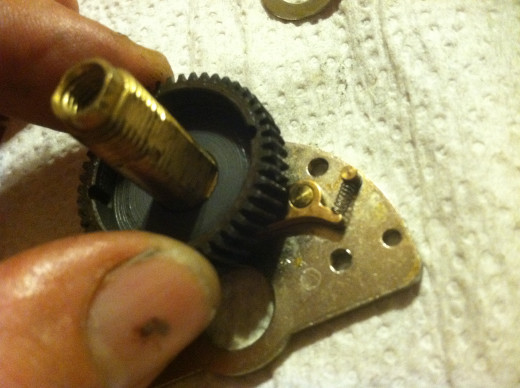
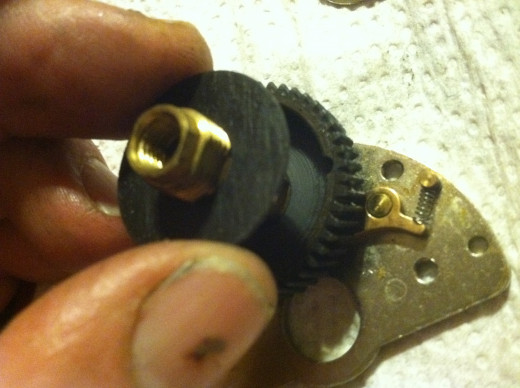
Slide the main gear over the Bridge sleeve until it rest against the hard washer at the base of the sleeve. put three drops of oil on the inside surface of the gear.
Next slide on of the fiber washers down the sleeve and inside the main gear and again lightly oil the surface of the washer.

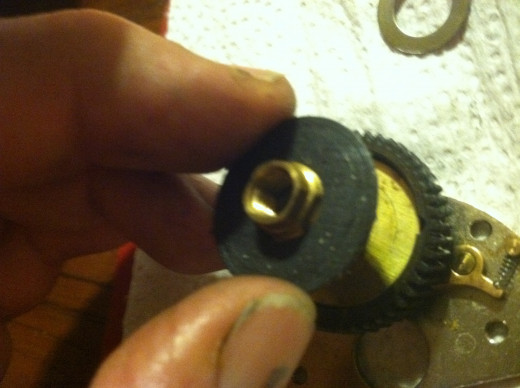
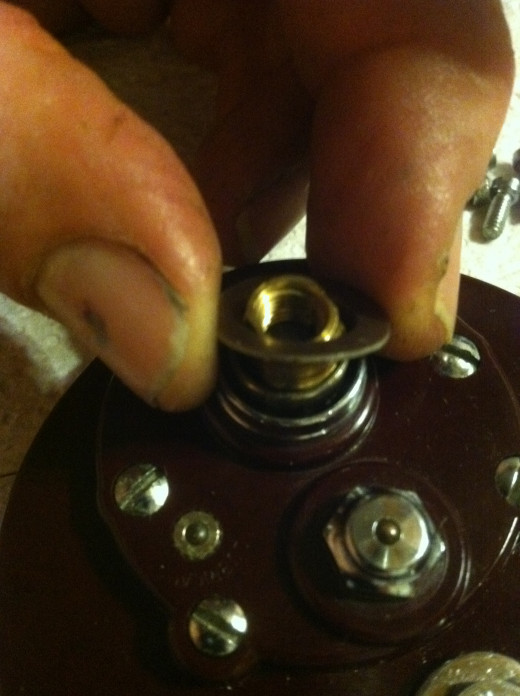
The drag washers must be assembled in the correct order to operate correctly. There are two brass washers and a third with "wings" that differentiates it from the others. take one of the standard brass washers and slide it into the main gear against the fiber washer. then follow it with another of the fiber washers. now the "winged" washer is installed against the fiber washer, followed by the last fiber washer, and then the final drag washer. Remember to lightly oil the surfaces of each fiber and brass washer after they are in place. Once washers are installed, slide the tension washer (a convexed washer made of spring steel) over the shaft and against the top drag washer. the bridge assembly is now complete.
Take the side plates out of the mineral spirits and using a soft bristled brush, scrub the inside and out side to remove any remaining debris and old lubricants. Then dry with a paper towel. The Plates may look faded and dingy after they are cleaned and dried, but using a small amount of oil, rubbing the plates with a light coating will restore their sheen.
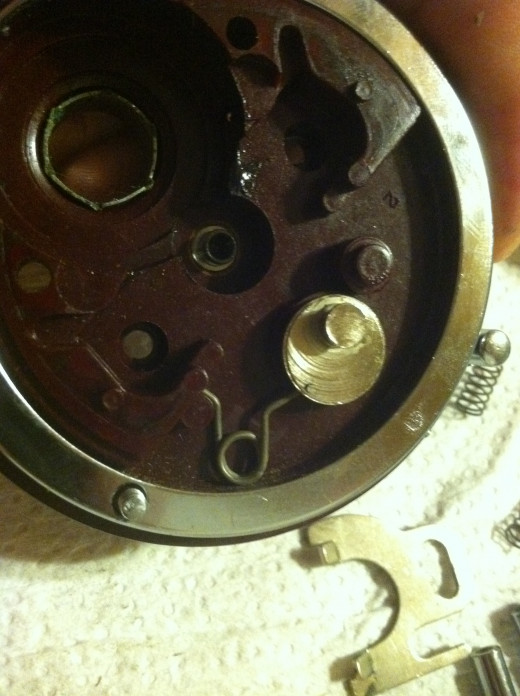
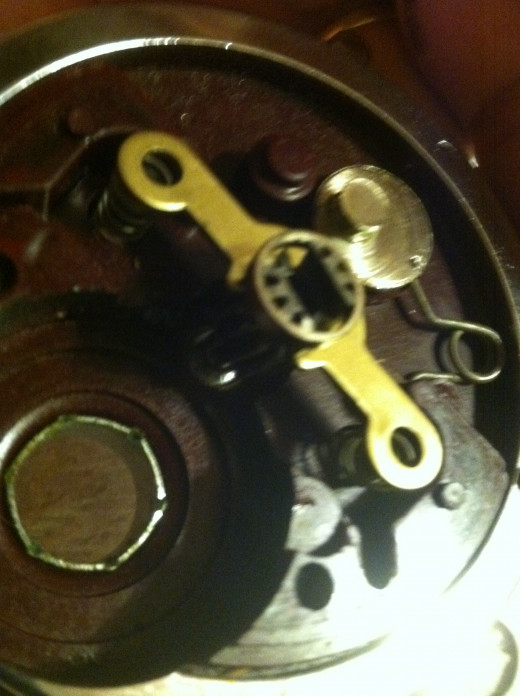
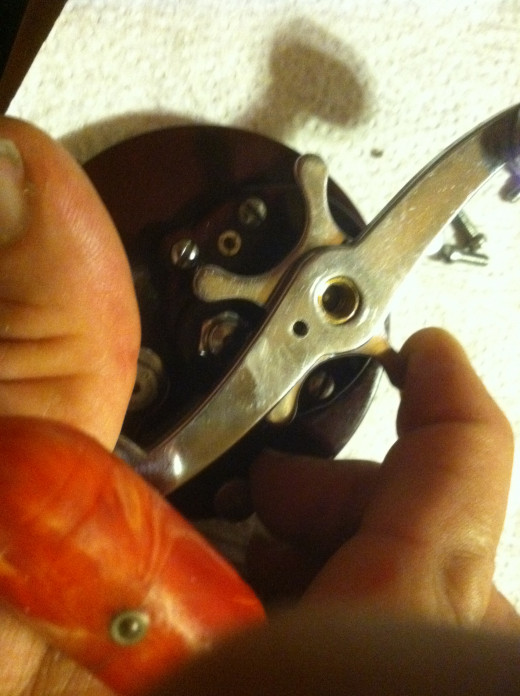
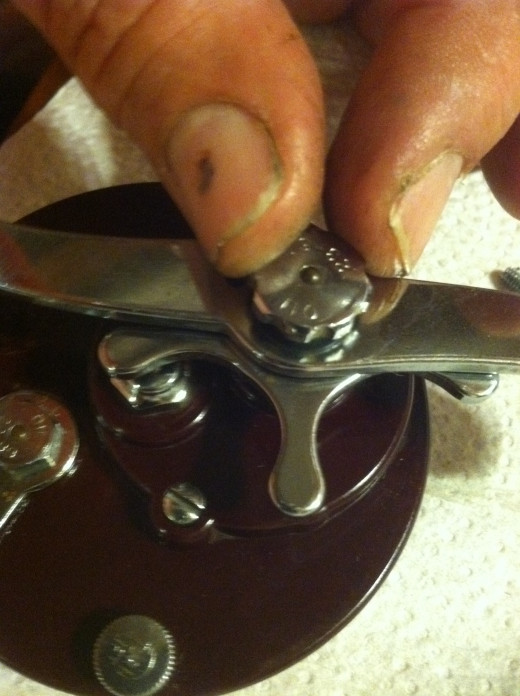
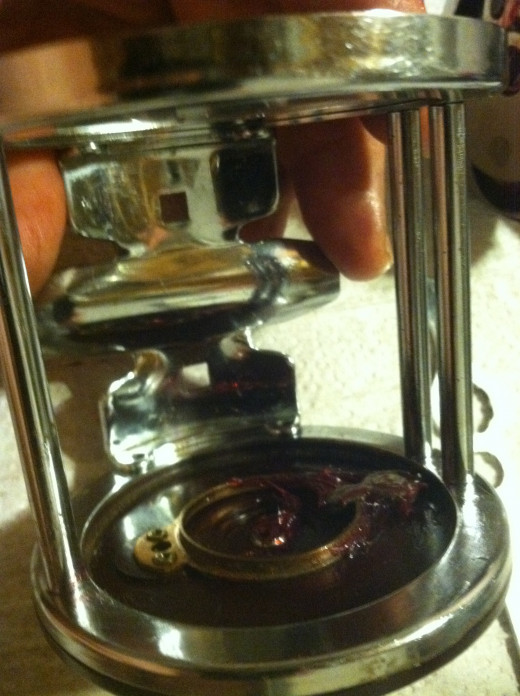
To assemble the side plates, start by turning the Right side plate face down to expose the inside cover. insert the eccentric and eccentric spring into their position. while holding the eccentric and spring in place with your finger, turn the plate over and slip the clutch lever over the notched end of the eccentric, and using a medium flat screw driver tighten the eccentric lever screw. You may need to put the lever over the notch inverted; turn the eccentric a quarter turn, then while holding the eccentric in place with your finger, flip the lever over and place it back over the eccentric and tighten the screw.
Next insert the clutch springs into the holes formed in the side plates for them. pick up the pinion yoke and slide it into the grove of the pinion gear, and set them on top of the clutch springs.
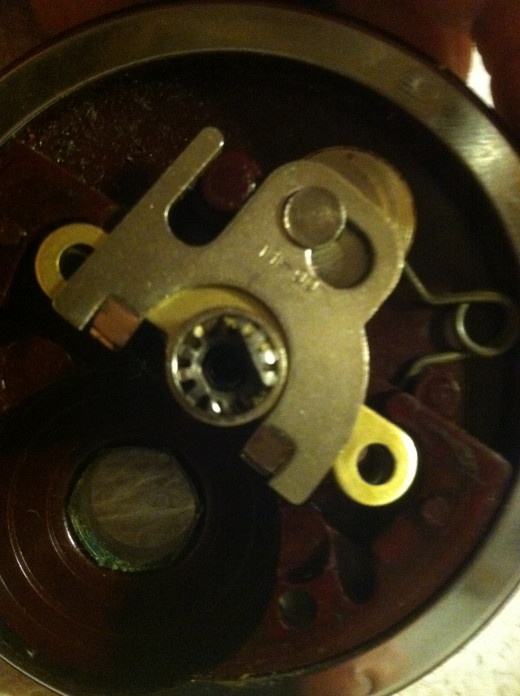
With the flanges facing down slide the slot of the clutch plate over the cam on the eccentric at an angle to clear the molded plastic clutch plate guide of the side plate and into position as shown in the illustration. The clutch assembly should remain in place so you can continue the rest of the side plate assembly.
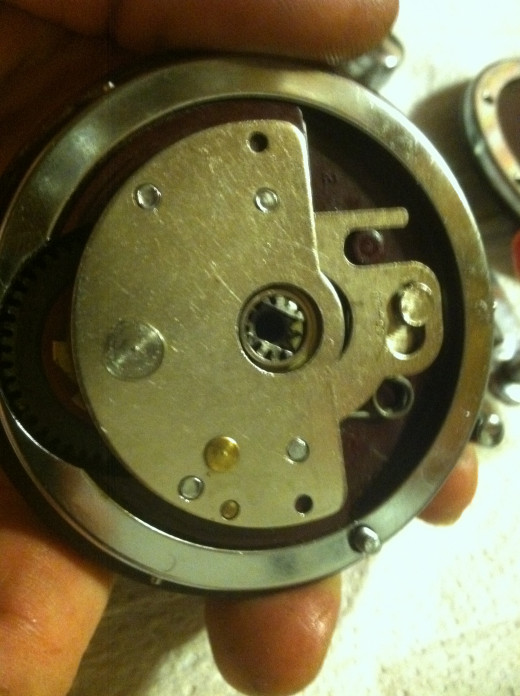
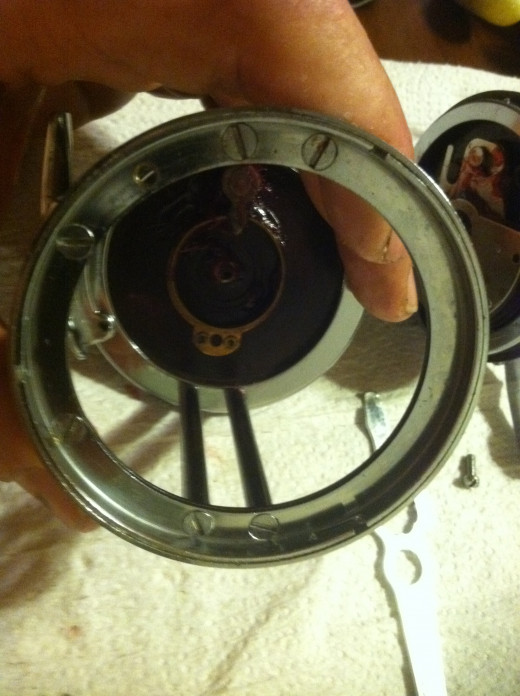
Turn the side plate vertical and slide the bridge assembly in. gently moving the assembly back and forth in a quarter turn until the gears mesh and allow it to be fully inserted with the threaded end protruding outside the Plate. Put one of the fully threaded bridge screws into the lower mounting holes of the side plate and with a small flat head turn the screw until it is snug, then back out one full turn. Install the other threaded screw into the second lower mounting hole the same way. The shanked mounting screws can be installed at this time, into the two remaining holes. Once all the screws are in place, tighten them in an “X” pattern tightly. Turn the bridge sleeve clock-wise to ensure the assembly is working correctly. You should hear a nice clear clicking sound. Your finished side plate should resemble the illustration.
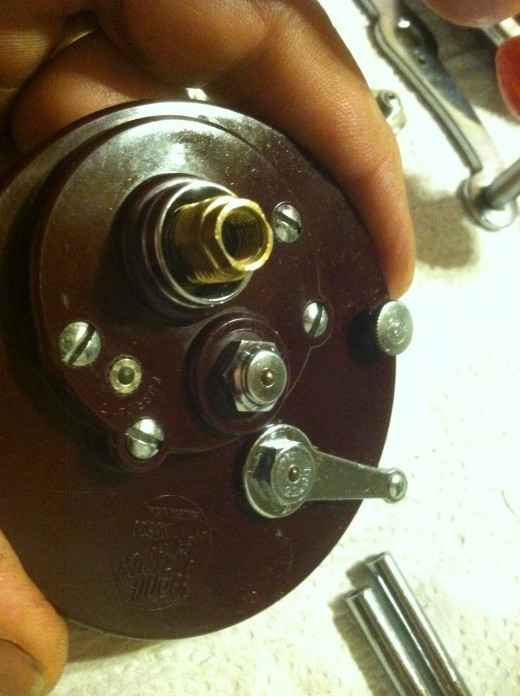
Before beginning the assembly of the outer right hand side plate, take a paper towel and rub a small amount of oil over the Bakelite surface. this will help preserve the plastic surface and give the reel face a nice sheen.
Begin assembly by sliding the spacer over the bridge sleeve and down the shaft until it stops, followed by the tension washer (Spring Steel). Now spin the star drag wheel on to the shaft being careful not to cross thread. until it touches the tension washer.

Now place the handle over the Bridge shaft, aligning the half-round opening through the handle, then install the handle screw, and tighten using the Penn Reel tool. When it is tight, back off enough to align the handle lock-screw hole with one of the recessed handle screw side openings to permit the handle lock screw installation. Finally install the handle lock screw to secure the handle assembly.
Once the right hand side of the reel body is assembled, the rest if the reel can be completed. Start by installing the mounting bracket to the L/H side plate using the two shorter pan head screws, and tighten fully. Then, attach the receiving ring to the right side using the two short flat stainless steel screws until the screw head is flush with the inside of the receiving ring. Now install the four chrome post that make up the spool cage. Some later reels may use the chrome twin post brackets that supersedes the chrome post. tighten the left sidfe screws fully, but not the right, to allow for adjustment.
when the spool cage is complete, tighten the right side stainless screws and check for flushness inside the receiving ring.
The reel is now complete, slide the spool into the cage and insert the right side plate into the receiving ring, align the side plate with the ring and turn clockwise until the side plate is secure (this is less than 1/5th turn). tighten the retaining thumb screw. Spin the spool in free spool mode and adjust the L/H bushing until the spool spins freely. your reel is ready to use.


