Survival 1: How to Build and Start a Fire
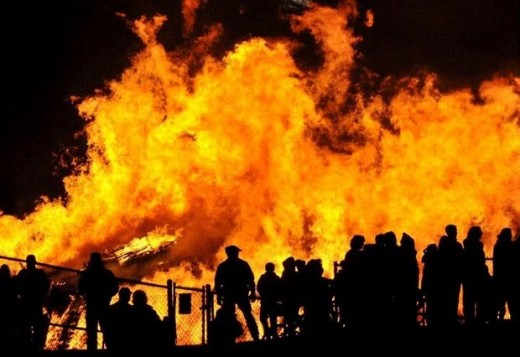
What is fire?
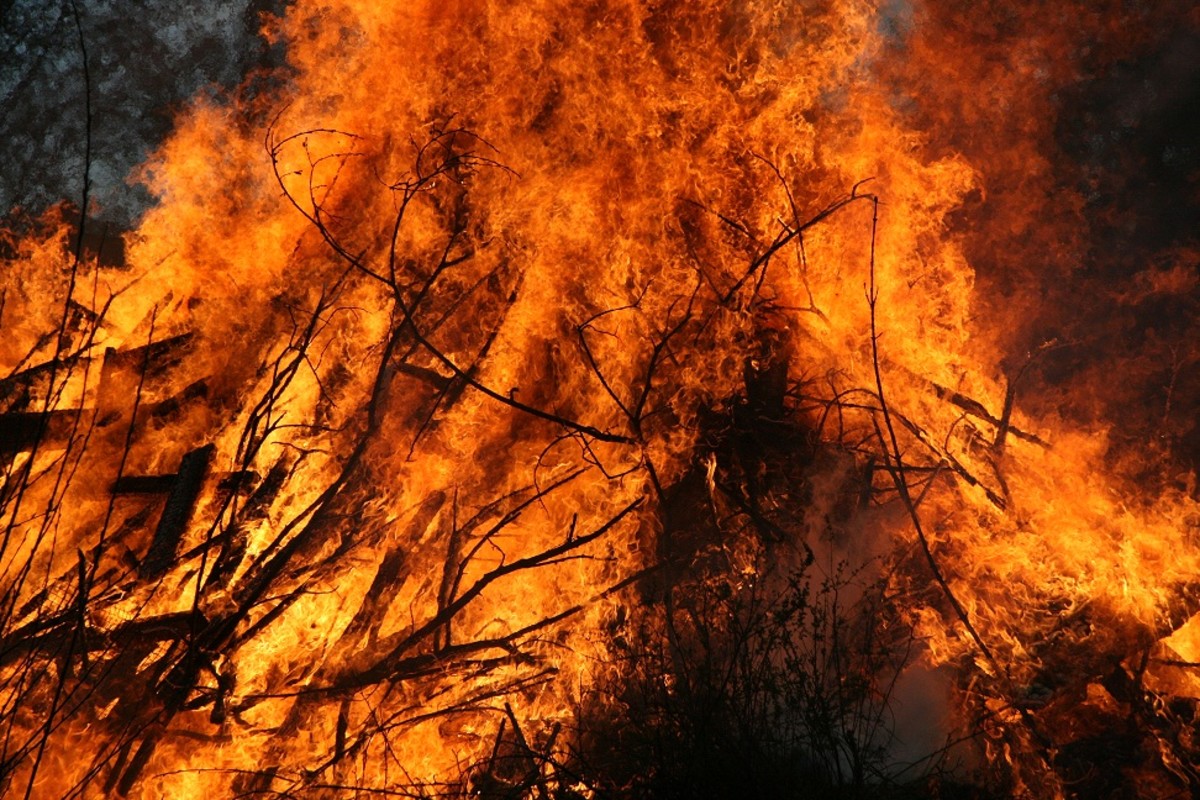
Fire is hands down one of the most important parts of survival. You can cook with it, you can boil and clean water with it, stay warm with it, but most importantly just having a fire in a survival situation will lighten your mood and help you stay in the right frame of mind. Fire is a dangerous thing and subconsciously triggers alertness within your mind, keeping you sharp and on point.
Pyrolysis, a fancy name for fire, is a chemical breakdown of an organic compound caused by exposure to high heat. Therefore fire is a both a result and a cause of heat, this is the chain reaction that keeps the fire going. Heat breaks down the solid fuel, in our case wood, and releases more heat and light.
There are 3 main things required to sustain a fire - Heat, Oxygen and Fuel. As long as these three things are maintained, the chemical chain reaction will continue and the fire will remain lit.
Remember: A successful fire requires that all fuel (your wood) be bone-dry. If your wood is wet it will significantly complicate the process and you probably will never even get it started.
Basic Structures
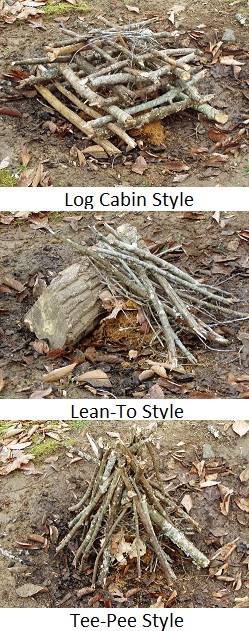
There are again 3 main types of fire building structures that every outdoors enthusiast should know. These are the following:
A Log Cabin is a structure arranged much like the Lincoln Logs we played with as kids, except the logs or sticks we build with aren't notched. The structure isn't very efficient, so this is best kept as a "quick and dirty" solution. To build it simply lay 2 similar pieces of wood parallel to each other and just under 1 length away from each other. For the next two, do the same but at a 90 degree angle and right on top on the first two, do this one more time and you're got 6 logs arranged in a log cabin structure. Fill the middle with tinder and smaller sticks and light your fire!
A Lean-To is another really easy fire structure that is very useful in a higher-wind situation, if you build it with the main supporting log toward the wind source. To build this, find your largest log and place it on the ground, this will be your main support log. Find a few smaller logs to lay up against it creating something like a right triangle. Stuff the underside with tinder and smaller sticks, and voila! You now have a lean-to fire.
The Tee-pee is the preferred method for fires, as it provides the best all around heat dispersion, wind resistance and fuel consumption. All we do is make a small bundle of tinder and small sticks on the ground, over top of that we will start standing logs up against each other. The tricky part is the first 3 logs, as they all have to support each other equally or they will topple.
Lighting Your Fire
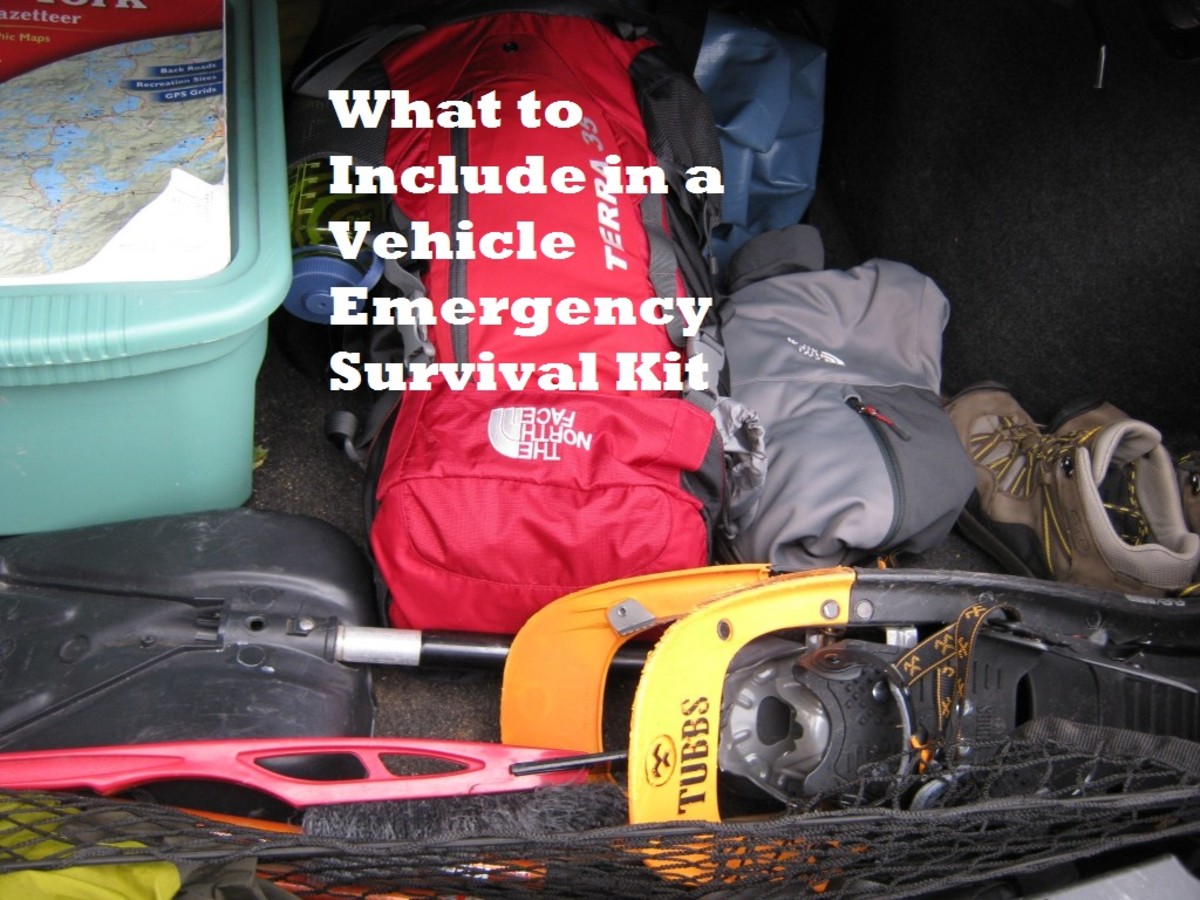
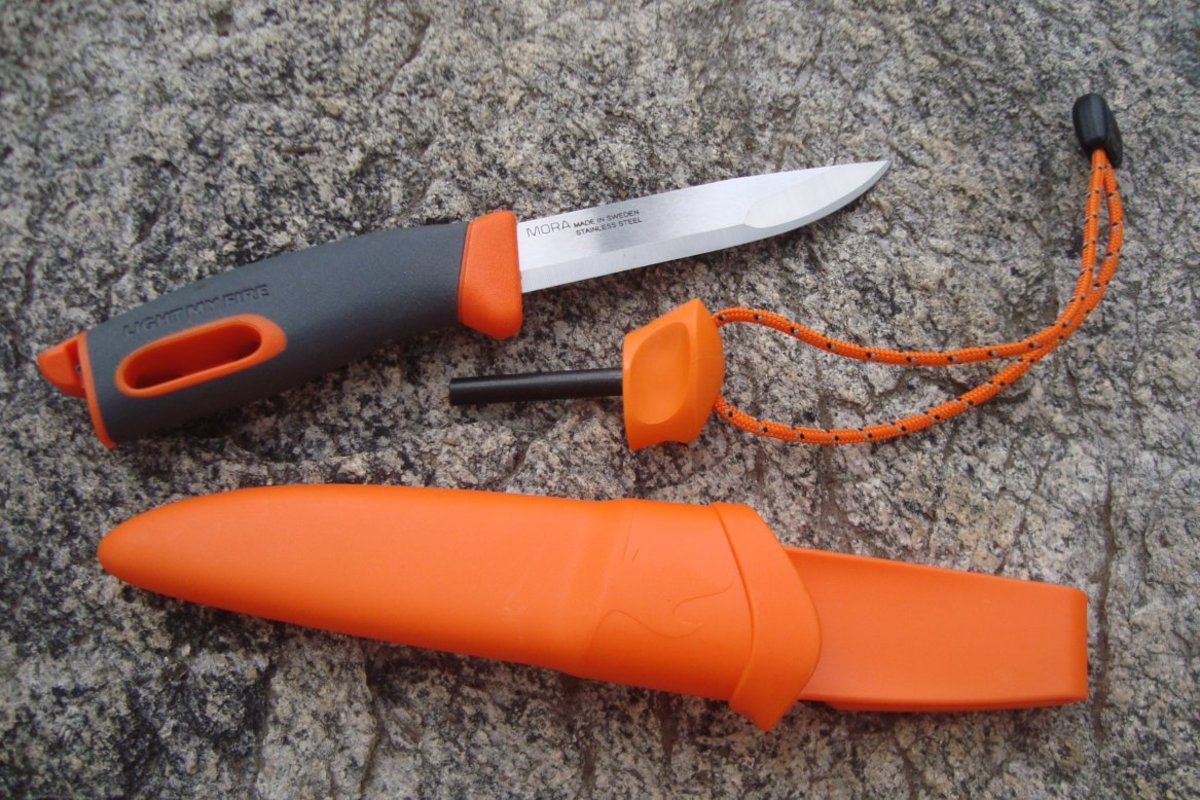
Now that we've got the fire built, we need to light it. But we don't have a lighter or matches, so how will we do this? There are a few ways and the best way comes down to our current situation. Remember, survival is all about how resourceful we are - think outside the box and try to use everything you can find. If we were in a vehicle crash of some sort, perhaps we have some parts of the vehicle we could use? You can use a battery to create sparks onto some kindling and start it that way, or perhaps the vehicle has a safety kit with matches or flares in it - though I wouldn't want to waste a flare starting a fire, still a good thing to find however. But for the sake of this article let's pretend we DON'T have any of these resources. We're lost in the wild with our clothes and a knife. Let's get this fire going!
As we learned above we need heat to get a fire started. Without the help of another source of fire or electricity, the best way to get heat is friction. Remember in the cartoons, where they're rubbing two sticks together trying to start a fire? That's where we're headed, but we're going to do it better.
But first, we need some kindling. Kindling is any small fibers that we can gather enough of, to start our initial fire. A few things we could use are any kinds of paper; fibrous or papery tree bark; dry leaves and grass; even some dried fungi such as tinder fungus. (See my 2nd article in this series for more on tinder fungus.)
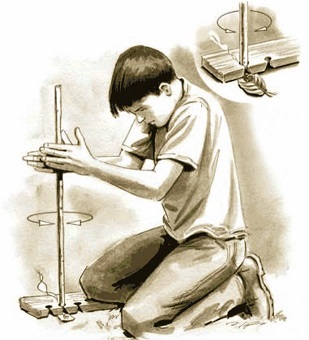
A Hand Drill
A "hand drill" is a fire starting tool you can build from just a piece of wood and a stick. Using your larger piece of wood, preferably a split log, cut a small notch into the board and a small depression next to it. Below the notch place a piece of bark or some tinder. Place a stick, preferably one about 2 feet long, in the small depression and start spinning it back and forth between your hands, pressing in a downward motion at the same time.
After a while - and I'm not going to lie, this will take a while - you will notice a small red glowing ember. Tap the board in a way that this ember falls into the notch, then onto the kindling. Give a few long soft blows to ignite the kindling with the ember.
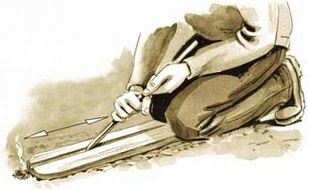
Fire Plow
This one is extremely simple, but again can take quite some time and effort. As above you need just a split log, a stick and some kindling. The idea is to cut a trough or groove in your baseboard, running all the way to the end, where the kindling will be set.
Scrape the stick back and forth quickly through the groove; the friction will eventually cause an ember. The ember and hot wood dust will then be pushed through the groove and out onto the kindling material. As soon as you see an ember hit the kindling scrape one or two more times and start blowing on the kindling to ignite the fire.
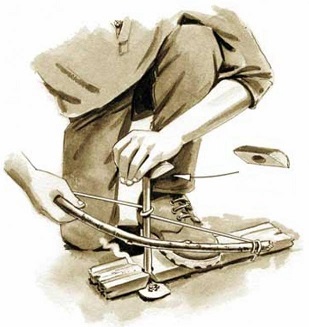
Fire Bow
This one is a bit more complicated to set up, but easier on your body and faster to start a fire with than the first two.
What we need are two blocks of wood, two sticks, some kindling and some sort of cord. The larger block will be our base board. We're going to set this one up just like the hand drill, a notch and a small depression. The other block will be our top, we just need a small depression in it. One still will be our drill just as with the hand drill, and the other will be strung with the cord.
Wrap the cord around the drill piece once, and place the drill piece into the depression on the bottom block. The top block will be held with your non-dominant hand, and apply downward pressure to the drill stick between your two blocks.
Work the bow back and forth with your dominant hand, feverishly, until an ember forms. Just as with the hand drill, tap the board to drop the ember into the notch and then off into the kindling, blow and voila! Fire!
Flint and Steel
Flint and steel is one that I personally use very rarely. It is tough to get it right, and flint isn't always something you'll find easily in a survival situation. The way this works is by the sparks created when hitting a piece of steel with a piece of flint. You'll want to hit the steel with the flint at roughly a 45 degree angle in a downward motion, toward your kindling. Sparks will fly off into your kindling and start an ember. Blow to start ignition.
Proper kindling for this method is extremely important, as catching a spark and turning it into flame isn't easy. The best to use is referred to char. Char is a piece of cloth that has been burned and turned into charcoal. In other words, burned but not burned to ash. In absence of char you can use any dry fungus or even birch bark can work if dry enough.
Quick Poll!
What survival tactics should I discuss next?
At the end of each survival article, I will include the poll. If there are any topics you'd like to hear about that aren't on the poll, please leave a comment below and I will make it happen.


