Tips for Backpacking
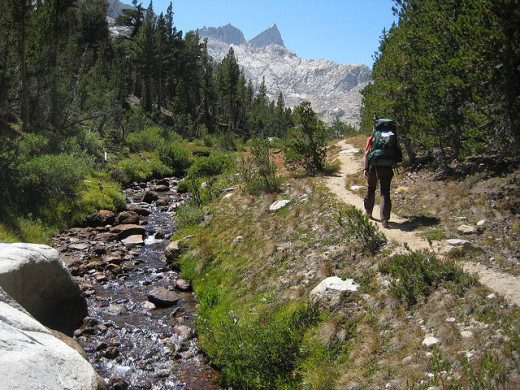
Have you ever spent a cold, sleepless night out in the wild? Do you want to go backpacking but you're not sure how to get started? Here are some tips for backpacking in the wilderness that I have learned from my own adventures and from helping others.
One cold miserable night will teach you more about backpacking than all of HubPages combined. However, maybe a few of my cold, sleepless nights will keep you healthy, happy, and warm out on the trail. I found out some things the hard way, but you don't have to! Enjoy these tips for backpacking, and think of all of the sleepless nights I endured so that you don't have to.
Clothing
1. Always bring 3 pairs of socks.
You will be the most comfortable by having one pair to wear on the trail and two pairs for sleeping. There is nothing worse than going to bed with cold, wet, dirty socks. Not only will it help keep your sleeping bag cleaner, but little wet toes can keep you up all night. Yes, I have watched the sun come up, due to colder feet than Julia Robert's character in Runaway Bride.
An extra pair of socks can also be used as emergency mittens, if one of your gloves happens to blow off of the mountain, which happens more often than you would think.
2. Keep one fleece in a dry sack or sealed plastic bag.
Always keep one dry article of clothing tucked away for a rainy day or an accidental slip into a creek. When wet, your body will lose heat very quickly and put you at risk for hypothermia. Keeping one dry article of clothing is a great insurance policy, it makes a nice pillow, and gives you something to wear while drying off your wet clothes in the sun or fire.
3. Layer up.
Conditions can change very quickly in the mountains, requiring you to bring enough clothing for the worst possible weather you might experience. A hike on a sunny day can turn into a foot of fresh snow by nightfall. Never underestimate nature's ability to change her mind. I have literally gone from sunshine and tee-shorts to near whiteout conditions in the span of two hours.
You will need a synthetic or wool base layer, a warm mid-layer, and a waterproof shell to complete your backpacking outfit.
The base-layer is a thin wool or synthetic layer that wicks moisture away from your body.
The mid-layer is commonly a fleece sweater, a synthetic jacket, or a down puffy.
The outer-layer needs to be completely waterproof and breathable, to keep rain out, and still allow sweat to escape.
I personally bring a synthetic base-layer, a micro fleece, a 6 oz, packable down jacket, and a fully taped shell. Be careful to get a waterproof jacket, and not just a water resistant one.
More Tips and Tricks For Backpacking
- How To Get Started Backpacking
How to get you all gear up and out on the trail exploring. - Why You Should Throw on a Backpack and Head for the ...
Why you need to spend time in the wilderness refreshing your soul, testing your courage, and discovering the gifts the wild gives to the bold and the brave. - Lessons Learned Up A Mountain
The Lessons I learned while climbing mountains. - Fantasy Backpacking: Hottest Items for 3-Season Camp...
In an industry of constantly changing technologies, these outdoor products stand out from the pack.
Tent
1. Pick the right tent for the worst conditions you might encounter.
For any back country trip into the mountains, purchasing a strong, waterproof tent is advisable to maximize safety and enjoyment. Be sure to get one from a reputable company like The North Face, Mountain Hardware, Marmot, or Nemo. You don't want a pole to snap in a windstorm from a tent you bought at Walmart. A well manufactured and maintained tent will last you several seasons and keep you dry and comfortable.
A three season tent is great for any conditions up to a light snow, but if you are planning on snow camping in winter, or in extremely high winds, a four-season tent is usually a better choice.
2. Tape the seams of your tent and fly.
No matter what the box says, from your three hundred dollar tent, always check your tent for places where the seams might leak. A common place for leakage, is where the fabric creates a corner for the tent to be staked down. Also, make sure that your tent was factory sealed on the fly and the bathtub seam, where the floor and walls of the tent meet.
3. Where you pitch your tent matters.
Especially in areas prone to flash flooding, camp on high ground, and never in a dry riverbed. Also, find an area that is flat, with good drainage, just in case it rains in the middle of the night, you don't want to wake up in a swimming pool of muddy water.
As a protection to you and the resident wildlife, always pitch your tent a minimum of 100 feet from where you cook, eat, and store your food. If a hungry bear does come into camp, in the middle of the night, he will be more concerned with the bag of oatmeal hanging high up in the tree, than the snoring chorus far away.
Never eat in, or around, your tent. If you drop one spoonful of dehydrated lasagna, you might get an unexpected visitor searching through your tent, with or without, you inside.
If you are in raccoon country, remember to keep your zippers at the top of the door. I found out the hard way that they are smart enough to unzip your tent with their cute little paws. There is nothing like waking up at three o-clock in the morning, to the feeling of a wet paw on your face, and no way to swat it with your arms all cocooned up in a mummy bag.
4. Always bring parts to fix your tent in a pinch.
If you backpack long enough, you will break a tent pole, get an unexpected leak, have a mouse chew through your floor, or snag a hole in your rainfly. A tent pole fix kit, with a small brace, can save you from having to creatively sling a limp tent from a tree branch. In a pinch, duck ,and a little ingenuity, can fix almost anything.
For waterproofing the seams, or fixing rips, Seam grip creates a flexible and clear bond with almost any canvas-like material. It is so strong, I haven't met anyone who can rip it with their bare hands.
How to Pack a Backpack
Packing
1. Don't bring the kitchen sink.
Leave the kitchen sink, your Kindle, and your double high mattress at home. By packing smart and light, you will be able to go farther, with less fatigue and pain.
Every time you go backpacking make a list of what you should have brought, and what you can leave behind for next time.
For my own personal assortment, I learned early on that:
- You can never have too many zip lock bags and carbiners. Zip lock bags keep your gear dry, make excellent, lightweight stuff sacks, will help you organize your gear, and are great for trash and waste. They take up no weight or space. You won't even know they are there until you have to pack out the rest of last night's dinner. Yuck!
- You don't need to feed an army on a two person weekend trip. Leave the three different cuisine choices, for every meal, at home. I packed several meal choices, for a picky eater on her first backpacking trip, and could have stayed out there twice as long. The tofu tacos were disgusting and uneatable, forcing us to pack out a liter of taco fillings. It was enough dinner for a family of five.
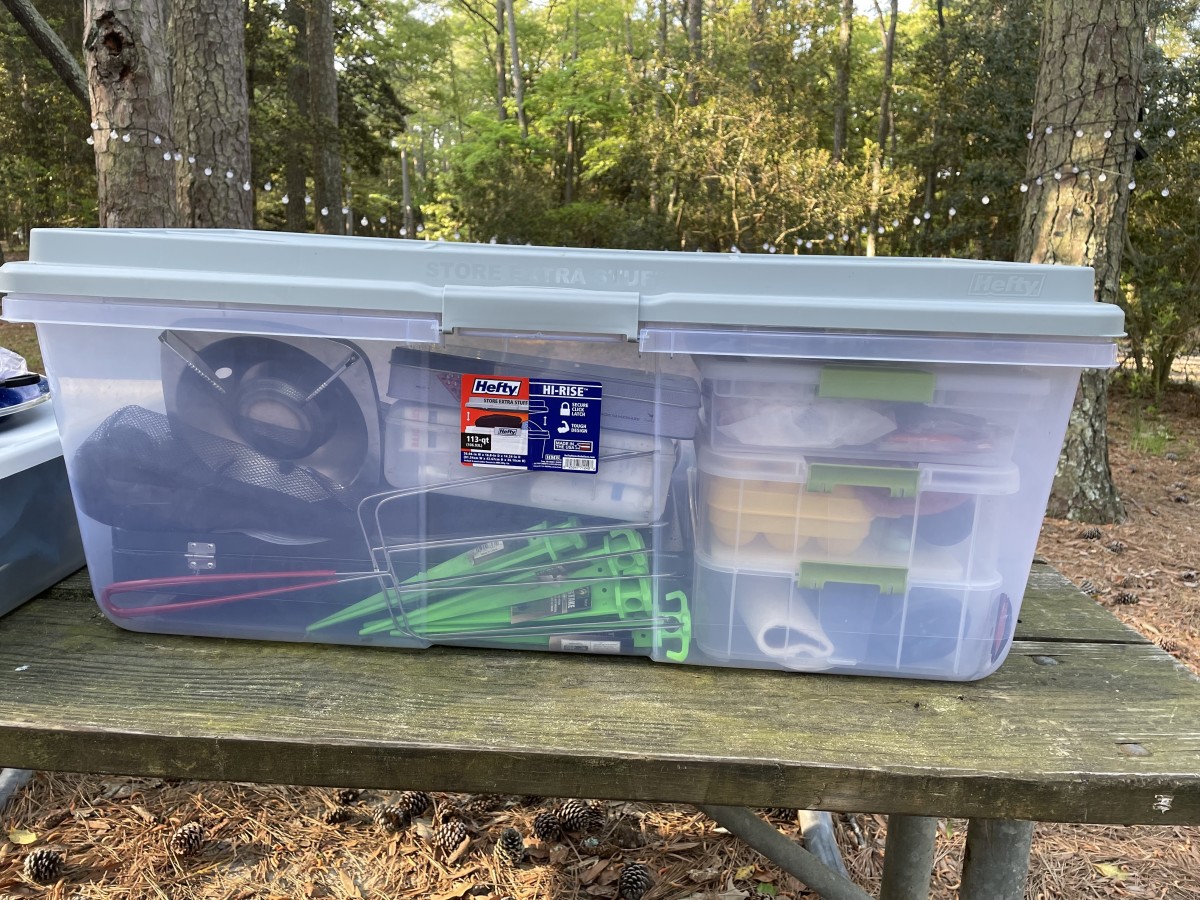
2. Pack everything into compartments and stuff sacks by category.
There is nothing more frustrating, than pulling every item out of your pack, on your quest for a match, to light the fire. Keeping everything organized into stuff sacks, helps you to pack more efficiently, and find your items with ease.
I like to pack all of my cooking supplies into one sack. Fire starters, a headlamp, a first aid kit, and any other small trinkets, go into a zip-lock bag. Then my clothing is stuffed into stuff sacks.
On my last adventure, I used the lightweight Eagle Creek Pack-It Cubes to pack my clothing. they are super lightweight and have a handle at the top. you literally just pull them out of your bag. I'll never have to go scrounging for a missing sock again! The Pack-it cubes are designed for urban travel, but I found them to work well for my backcountry adventures.
When everything is compartmentalized, repacking is fast and convenient.
3. Pack heavily used items in easy to reach places.
I always keep a warm item or jacket, a knife, a map, a compass, a snack, and water, in easy to reach places. If it starts to drizzle, I won't have to dig to the bottom of your pack to keep dry.
I keep the knife on my person, with a fire starter, that way, if my pack is washed downstream when river crossing, or I stupidly wander away from it, I can build a fire to keep warm.
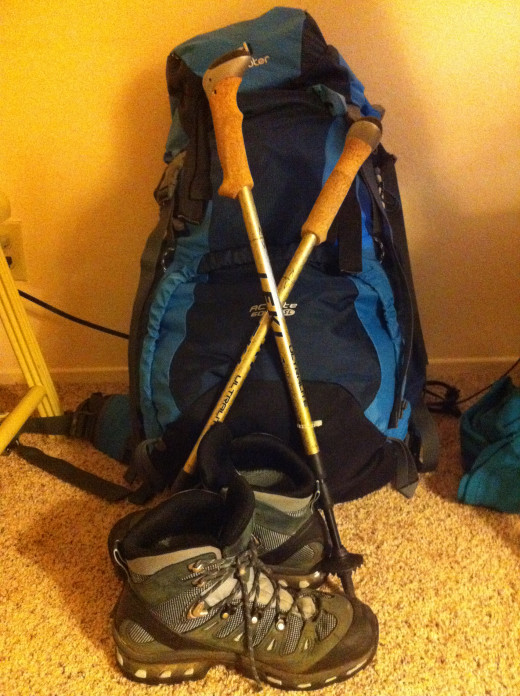
Safety Tips
1. Always tell someone where you are going and when you expect to be back.
If you don't show up to work on Monday, someone needs to know where to send search and rescue. If you leave a detailed itinerary with a responsible person, the chances of being found, or assisted, go way up. Even knowing which trailhead, and trail, someone left from, can cut hours, or days off of a search.
If all someone knows is that you went to Yosemite for the weekend, and you expect to be back maybe Monday or Tuesday, good luck getting timely help! With that information, the search wouldn't start until Wednesday or Thursday, and the search grid would be hundreds of square miles.
2. Always carry your essentials, even if you leave camp for a drink of water.
Don't ever underestimate the threat of getting lost or separated from your gear. History is full of backpackers who went out or a tinkle, down to the river to gather some water, or went for a morning stroll, and lost sight of where they left their pack and tent. Fog, unfamiliar territory, or the syndrome of every tree looking the same, can give you that awful feeling of where's my campsite.
While backpacking in a particularly disorienting wilderness, I encountered several lost people, which my group redirected. I was told a story of someone getting up in the middle of the night to dig a cat hole, losing her tent, pitching an emergency shelter and waking up within a hundred feet of her tent.
When I first arrived at camp, I pitched my tent and then headed off for a known backcountry outhouse for a little quiet time on a porcelain thrown, about a 100 yards away. When I came out of the loo, I quickly realized I didn't know which direction was camp. However, I did have all of my other gear, so it wasn't the end of the world.
Sure, I could have blown a whistle and ended my predicament within five minutes, but I wanted to find my own solution to my problem. So my Divemaster training kicked in and I decided to do the same search patterns I would use, if looking for a lost diver. I had a central location, that I knew was a certain distance from camp, but I didn't know which direction. So, I took headings and reverse headings, in a giant circle, until I found my tent.
Years later, I watched a t.v. show about a couple who also got lost in the exact same spot, and their harrowing journey out of the wild. What was particularly disturbing is that they found the body of another lost guy, while trying to find a way out themselves.
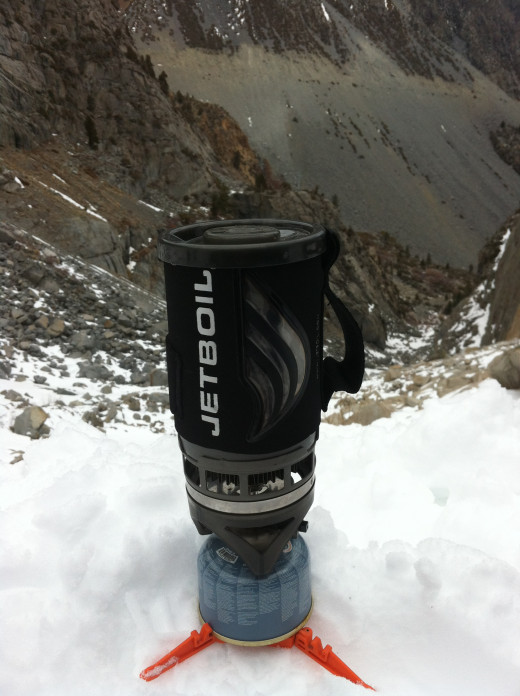
General Tips
1. Tread lightly.
What is treading lightly? Treading lightly is packing out your waste, being careful of sensitive foliage, doing all of your cleaning away from water sources, staying on established trails, being respectful to others, share the trailing, not feeding the wildlife, and not distracting other adventure seekers with noise pollution. After all, everyone you come across is looking for a little solitude and peace and quiet. They don't want to hear Justin Timberlake blasting from your i-phone,
2. Pick quality, lightweight gear.
That 10 pound sleeping bag, from the dollar store, might seem like a good deal, but in harsh environments, you need hardy, lightweight gear that you can rely on. Often it is cheaper to buy what you really need the first time, than to have items break, or not be ideal for your activities, and have to upgrade later. Well maintained equipment will give you peace of mind and you will get longevity out of your gear.
You can buy a cheap tent that you throw out at the end of every season (which is not eco-friendly), or you can buy a quality one that lasts you a decade.
How many backpacking trips have you been on?
For Local California Adventures, Backpacking Tips, and travel Ideas, Please Visit My Adventure Blog
© 2014 Jennifer Arnett

