Everything About Nail Polish and Easy Nail Art Designs - Six Popular Nail Art Techniques
Why Nail Grooming is of Such Importance?
Keeping your nails catchy, neat and hygienic should be given as much equal importance as that being given to the cleanliness and makeup of your body. If everything is looking smart and nails are ugly, then what is the point in maintaining a good look? You will be moving among your circles and may be shaking hands with them. Think how awkward will it seem if they noticed that your fingernails are bad! So, maintenance of healthy fingers and fingernails can boost your image and spirit. And you can catch the attention of your special ones also. Who doesn't like to be in the company of ladies sporting good looks and beautiful nails?
So, it is always a plus point to groom and cure your nails with whatever nail polish or nail gel applications that you may deem fit from time to time. Doing beautiful nail art can enhance the overall personality of your body sporting a gorgeous outlook
I have got some experience and interest in these things as I occasionally used to involve myself in the trimming of my spouse's nails and applying the nail polish with simple art designs.
I am now going to describe in this article some of these very easy to follow nail manicuring and nail art application tips and some of those popular nail art techniques that can help in maintaining an overall pretty look of your nails.
One thing I may want to be clear is that I am not a professional in this field. But I am here to share my knowledge so that I may be of some use to those common people who can't afford those heavy priced visits to salons.
Nail Polish Facts
The use of nail polish dates back to thousands of years ago and probably originated in China. India also has an age-old tradition of using nail polishes. Later it spread to Western countries. Initially, these polishes were herbal- mostly made out of vegetables, herbs, eggs, and gums that got mixed with colors. Later, they started including oils, creams, perfumes, and metals into these polishes that made up the present forms of nail polishes. These compounds have been ever-changing with newer inventions in the fields.
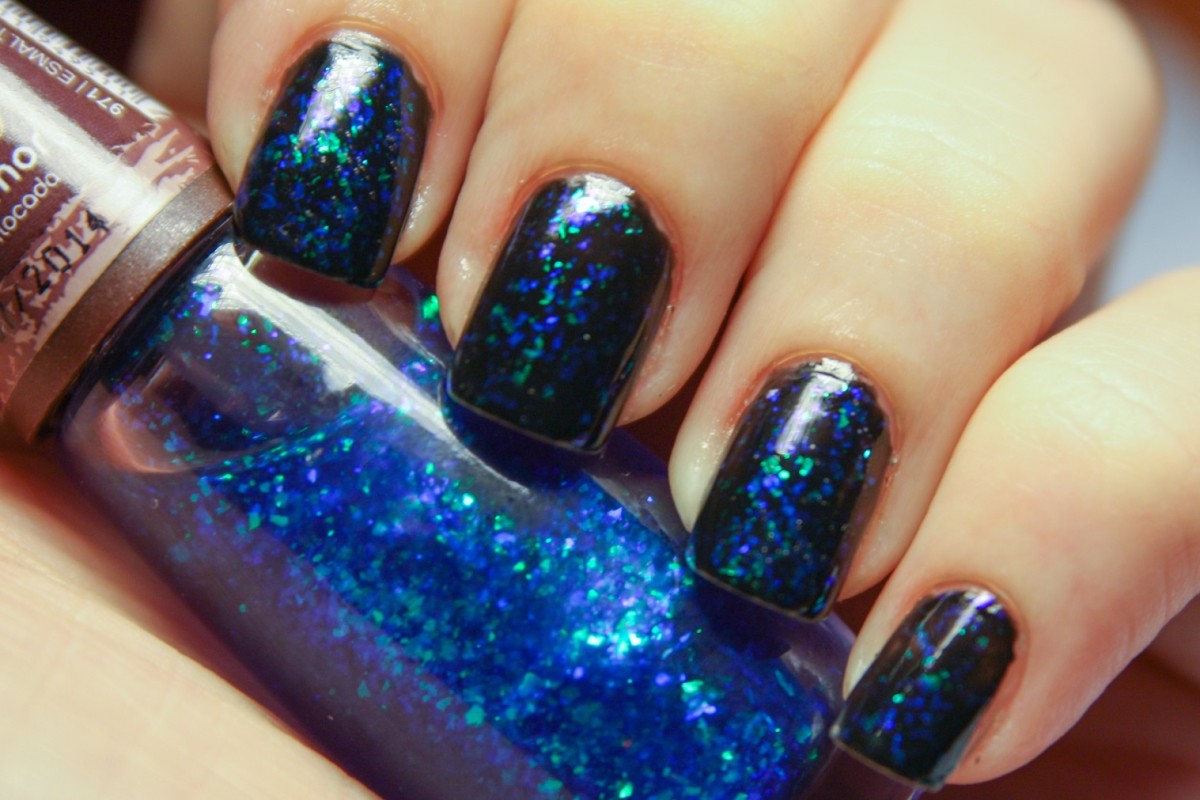
Most of these later brands of nail polishes contain organic polymers with many other additives added for thickness, durability, perfume, and shine/ glitter.
Ordinary nail polishes are less durable and get chipping or cracking within 2 to 3 days.
About Gel Nail Polish
Gel nail polish is an improved version of ordinary nail polish. This polish is of high durability and harder than ordinary polish.
The term 'Gel nail' was initially used to refer to a certain process of creating nail extensions using this hard quality polish which gets curated under the heat of UV light or LED light rays. These extensions are then fixed to the fingers to give the nails a more beautiful look and extra length.
Gel or UV gel nail polish lasts for longer durations of 3 to 4 weeks while ordinary nail polish does not last even for one week. Moreover, it does not chip and crimp and could be removed by filing with some tool or soaking the fingers for lengthy times in nail polish remover known as 'acetone' (a chemical substance) and then peeling off or pushing out with some tools.
Basic Requirements for Doing Nail Art
- Base coat (ordinary nail polish)
- Topcoat (this may preferably be gel nail polish)
- Your choice of different shades or colors of nail polish and UV gel nail polish.
- Polish Remover
- Brush for applying the nail polish or doing the nail art
- Other tools like nail cutter, file, sponge, tape, cloth, a dotted-pen or any other sharp pointed tools like a hair-pin or bobby pin, etc.
How to Do Your Nail Polish or Nail Art
- The first thing you need to do, if you are already having stains of nail polish previously applied to the nails, is to remove the old polish and the stains from your nails. This is done by applying the nail polish remover (or acetone solution) and / or by scratching the nails with tools and then washing your hands with water and soaps. You may find some more instruction regarding how to remove gel nail polish with your kit of nail polish.
- The next step is to trim your nails with the nail cutter. While trimming, you may need to take care that entire tips are not removed. Leave some extra nail than your actual finger size so that it will look better and there is enough space to apply your nail arts.
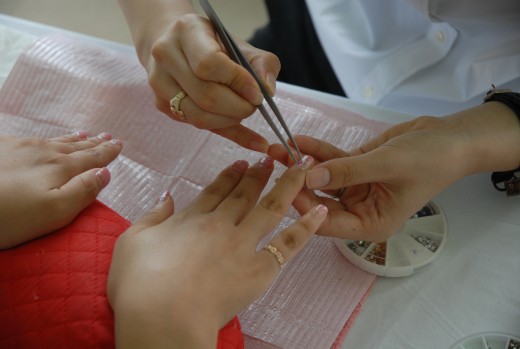
- Manicuring the fingers by softening the skin around nails and removal of dead skin or trimming of cuticles also needs to be done before applying nail polish. This is done with the help of manicuring tools available in the cosmetics market. Filing of nail edges for perfect shapes is also a part of manicuring.
- Now, you can apply the base coat. Base coats are done with transparent ordinary nail polishes mostly either of white colour, skin colour or very thin light colours. Allow the base coat to dry for one or two minutes.
- After the base coat, you can apply one more top coat with any colour of nail polish or with a gel nail polish. This will make your base more durable and solid for performing nail art. This top coat also needs to be dried for some minutes before doing designs or an artwork on the nails. If you are not interested in giving the top coat at this stage, then proceed with nail art straight away.
- If you applied a top coat after the base coat, then you can do all your nail artwork more safely using different techniques and easy nail art designs that are available as discussed below in other capsules. The artwork will be more durable if done after a top coat or second coat.
- Remember that each coat should be allowed to dry well before doing the other coat or performing the artwork.
- After completing nail art, you need to give one more top coat to protect the artwork from damages. This will lengthen the life of nail art.
6 Popular Nail Art Techniques
Different types of nail art methods are being used by people involved in nail art designs. Some of these popular methods are discussed here. You should remember that these techniques are applied after giving a base coat to the nails.
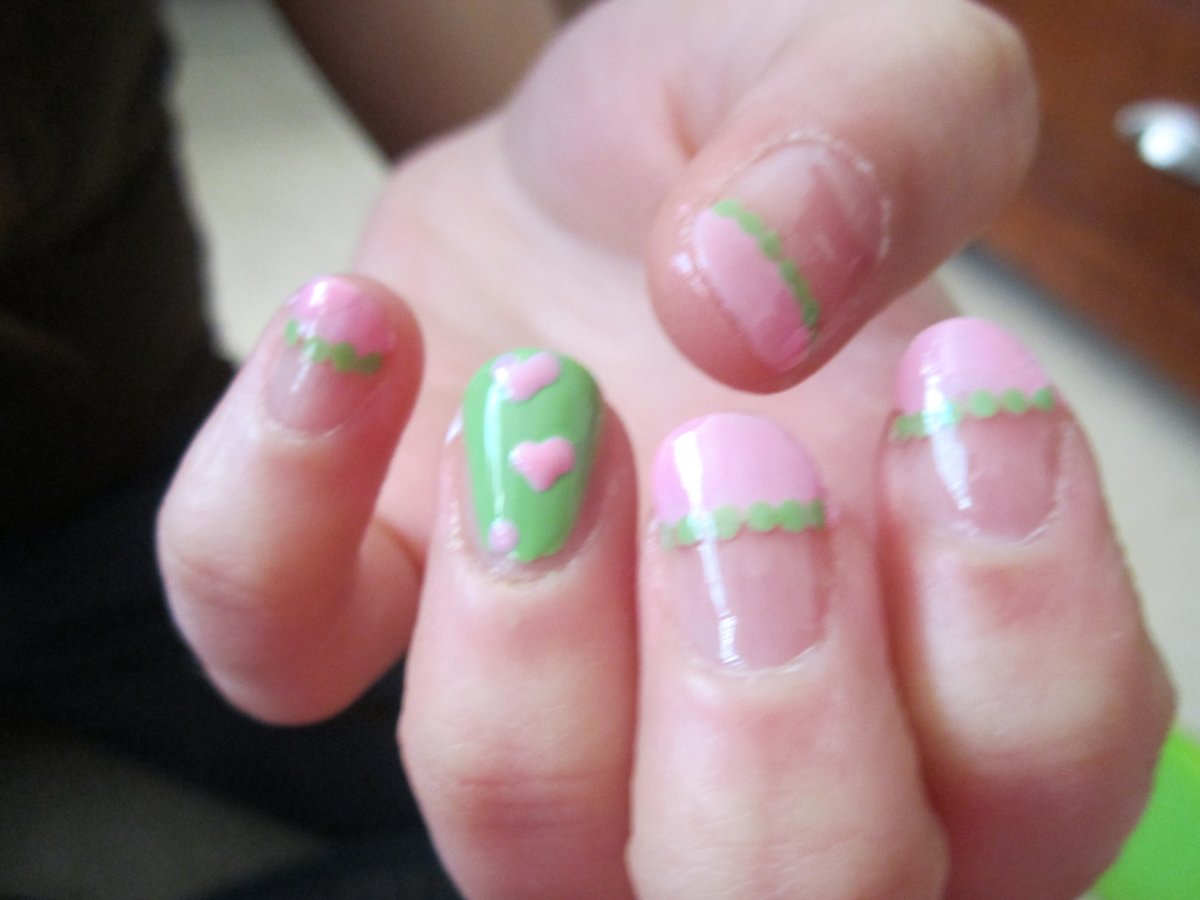
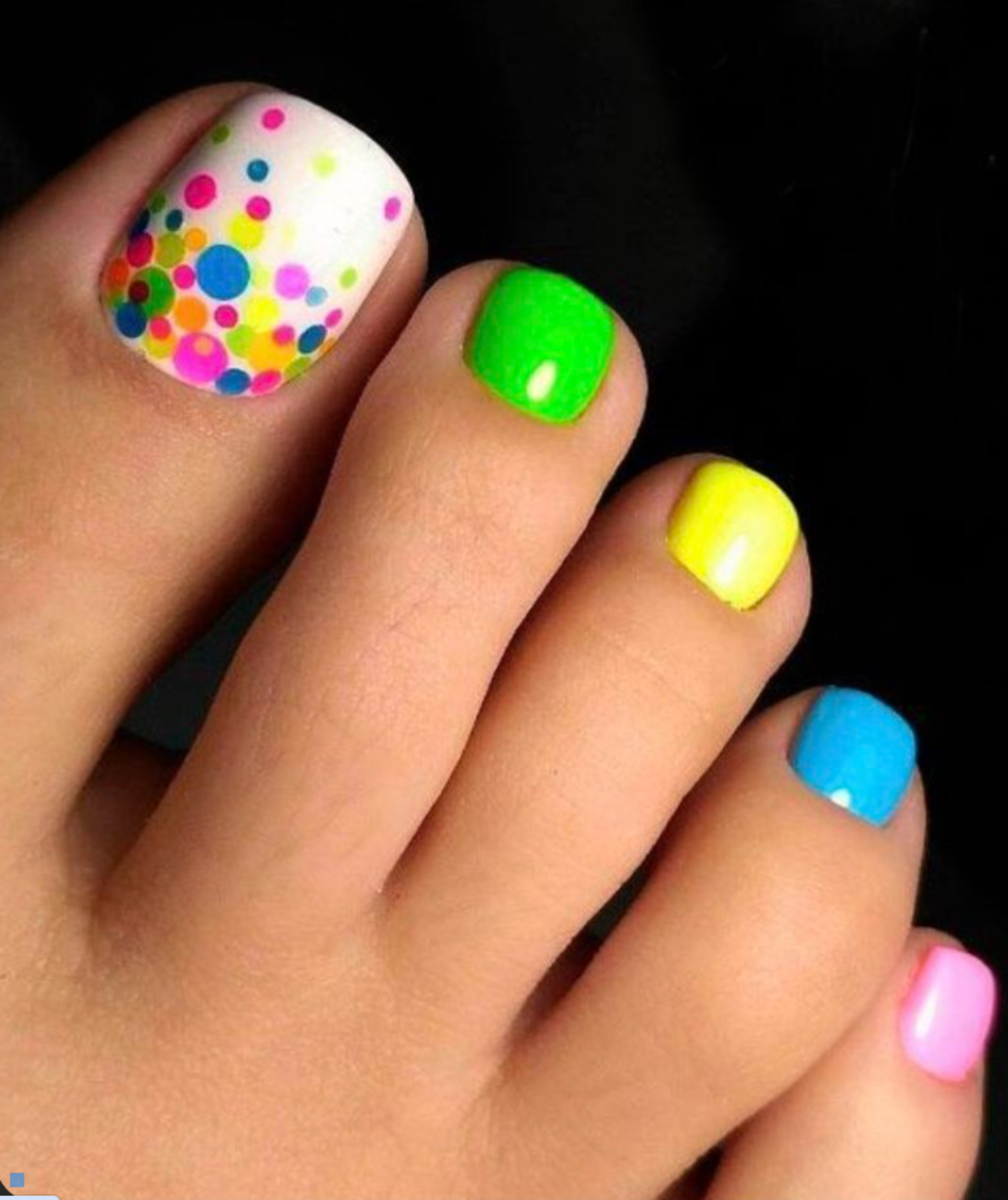
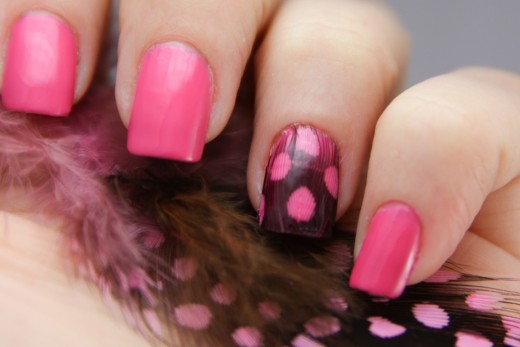
- Dotting nail art technique: In this method, a dotting instrument is used to make dots on the polished nails. You can use any instrument like dot pen, toothpick pin, bobby pin or any other sharp pointed tool of various sizes to make designs with dots on the nail. Various types of designs or nail arts can be created using different shades of colours with this technique. You can make artistic flowers, leaves or other images on the nails. A little bit care and patience are needed while putting the dots so that it may not get mixed up. Light dots work out well with occasional thick dots to bring a good look.
- Free hand drawing technique: This technique is good for those who are skilled at drawing. Instead of making designs with dots, you can straight away draw the leaves, flowers or any images using a pen-like instrument or thin brush or any sharp tool. If you are good at it, this one is very simple and quicker for you than putting dots making it more awesome. Your hand should not shake while doing this art.
- Stamping Nail art technique: Stamping nail art technique involves incorporating images on the nail with the help of a stamp. The tools required for applying this stamping technique are the image plate, stamp, scraper and the nail polish or gel. In this method, after keeping your nails ready, you will apply the polish to the image plates of your choice and remove any extra polish from the plates with the scraper. After that, gently roll the stamp on the polished image and stamp the imprint on your nails. This requires much smartness and speed as the images may dry up before you make the imprint on nails.
- Sponge nail art method: In this method, you will be using a sponge to make the designs on your nails. Dip a tip of the sponge into the polish of your choice and apply it lightly to the nail. You can apply different shades of colours to a single nail to give rainbow effects. Gradient designs are more effective while using this sponge art technique.
- Airbrush spraying technique: This is one more popular technique being used more often. This method uses an airbrush and a stencil to do the nail art work. Polish is sprayed to the nail through a stencil containing the design. The brush uses air pumping technique and the pressure or velocity is controlled while spraying the polish. This method is simple as you use the stencils having ready made designs.
- Taping nail art technique: This taping method uses tapes for hiding portions of the nail to make striped designs or other squares, circles, cones, etc.As you cover the spaces with tapes, those portions remain uncoated and form into designs.
You can combine two or more of above nail art techniques to make complex but beautiful designs.
Nail art techniques
Which nail art techniques do you mostly use?
About Gel Nails and How To Do Gel Nail Extensions at Home
It has become a fashion to use artificial extensions to the nails to lengthen the nail sizes and to provide enough space for doing awesome nail art designs.
Gel nail extensions may refer to the process of applying UV gel nail polish to the artificial extensions of plastic or acrylic nails or it may simply indicate to the direct application of gel on original nail tips to slightly extend the length of tips. The gel applied is immediately cured and dried to become hard and strong with the help of UV lamps or LED lamps.
Regarding how to apply the artificial gel nails to natural nails, the procedure is as follows:
- Trim the nails as usual with a nail cutter, file, and the cuticle pusher.
- Select the artificial nail extensions (plastic or acrylic) from the markets that suit your nails. Your cuticle curve should match the curve of the selected extension.
- You may like to resize the extensions to fit your nail exactly using the same tools as above.
- Now, apply glue to the hollow part of the extension that is to be fixed to your nail.
- Without delay, place the glued part of the extension over the tip of your nail perfectly and press hard to stick to your nail.
- Now you can shape the extension to your likes and to suit your finger perfectly employing the processes of cutting, sharpening, filing, etc.
- Then you are free to apply the nail polish and do all your nail artwork on it as usual.
Advantages and Disadvantages of Gel Nail Art
Advantages
| Disadvantage
|
|---|---|
It is more durable and lasts for many weeks
| As it lasts for longer periods, gaps may develop between cuticles and polished nails. This can be averted by filling the gaps occasionally with fresh polish.
|
It provides superb appearance and glow to your nails.
| But, researches have proved that gel polishes are more prone to health risks than ordinary polishes. Continuous applications of gel deteriorate the skin and may lead to skin problems.
|
It is very much easy to do nail art and get it quickly dried using UV lamps or LED lamps.
| Usage of UV and LED lamps are risky as they may burn fingers and cause pain and some cases of exposure to UV light rays may lead to cancer like symptoms.
|
Important Points to Take Care of While Doing Nail Art
You should always keep in mind to take some precautions while indulging in any kind of nail manicuring or nail artwork.
- You should use the tools carefully and very gently to avoid scratches or cuts on your nails and fingers.
- Trimming cuticles is particularly risky as they are very sensitive to pain. You should be very soft and gentle in dealing with them.
- Wash the fingers and nails neatly before and after the manicuring process and then only start the nail polish coats.
- While doing the designs, you should concentrate on the work with more attention so as to prevent any mistake and avoid making it ugly. You can clean some minor mistakes with polish remover, but not often.
- You should be fast in your actions as the polish dries up very quickly even before you apply it to the designs.
- While using UV lamps for drying each coat of gel polish, you should take care that it focuses only on the nail and does not get shaken towards the sides of the finger. You should remember that only the nail can bear the pain of heat and not the skin of your fingers.
- You may keep giving a coat of polish every few days on the UV gel nail polish designs to keep them more durable for longer durations.
I wish you can do this nail artwork now on your own and even be able to employ some of your own ideas and skills of easy nail art designs into it. Wish you happy and pleasing nails.
This content is accurate and true to the best of the author’s knowledge and is not meant to substitute for formal and individualized advice from a qualified professional.

