Recycled Glass Transformed Into Beautiful Jewelry
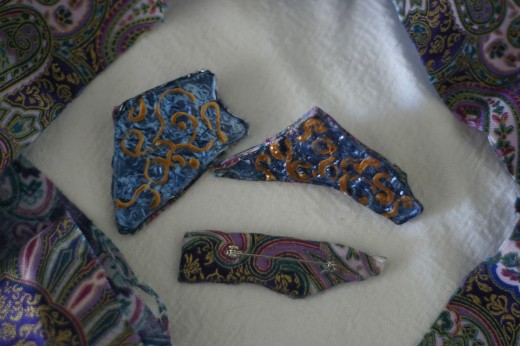
Materials Needed
Please gather the following materials before you begin:
- glass cobbles in any color which appeals to you; these can be bought in a craft store; they are a "green" material, recycled and tumbled to remove sharp edges
- glass paint; the brand you want for this project is:"Pebeo cloisonne outliner"or Pebeo cloisonne'/PORCELAINE in a color you feel compliments the glass you chose
- aluminum foil
- pins to glue to the back of your brooch
- scrap material in complimentary colors or patterns to the glass you chose
- glue; my recommendation is "Liquid Fusion clear Urethane Glue" - this stuff works great, it is the only thing I use.
- You can fine all of these materials at "Michaels" or "AC Moore" stores.
Step I
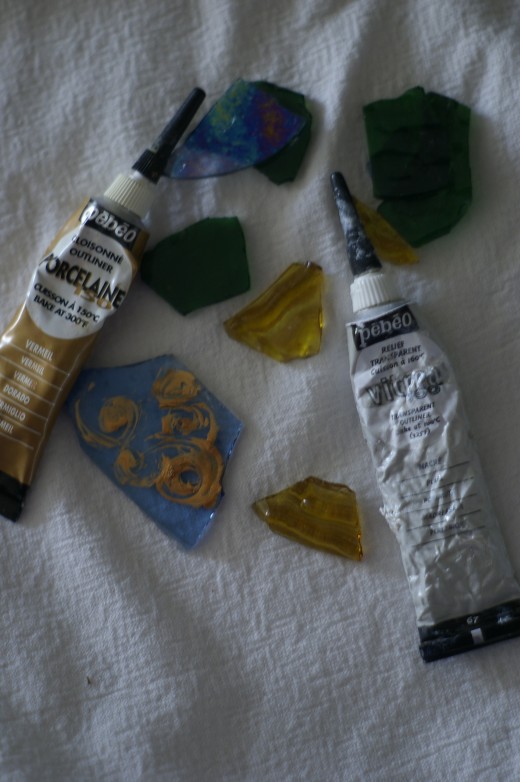
Here you will find the initial supplies to start your project. Gather your glass cobbles and pick out the most compelling shapes to you. Use your glass paint right out of the tube to "draw" a design that appeals to you directly onto the glass. Let dry for 24 hours.
Bake in oven at very low temperature. When you put these pieces in the oven to bake, arrange them on a piece of aluminum foil. Even though the paint instructions say to bake at 300 degrees; I would bake mine at 200 (or even 150 degrees) fahrenheit for about 30 minutes. This will temper and bind the paint onto the glass. Let cool completely.
Step II
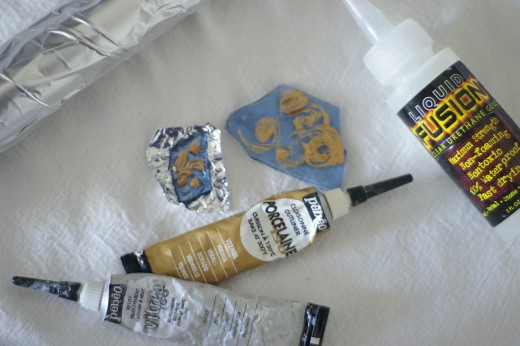
This is a very simple step. You will be placing a backing onto your glass once it has completely cooled. Here I have used aluminum foil, although you may use a sheet of copper/gold leaf. Follow the instructions on the package carefully if you choose to do the leafing process. Let aluminum dry completely. Please do not substitute the "Fusion Glue"; it works perfectly and is non toxic.
Step III
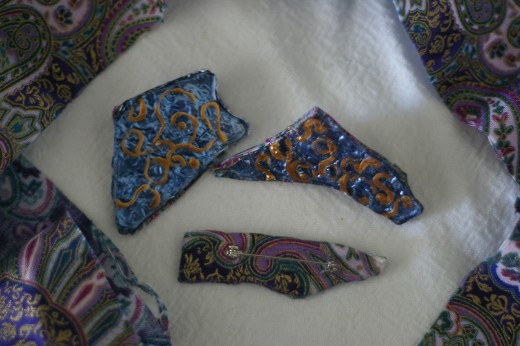
Gather your pins for the back of the brooches and the material you would like for the back. Before you will be putting the pins together, you will need to trim the tin foil edges tightly around the glass cobbles.
Cut the backing material by placing the piece of glass down and cut around the shape leaving between 1/8th and 1/4 inch extra material all of the way around. Slip the material between the pin base and the actual straight part of the pin. Lay down a thin bead of the glue where you want the pin clasp to be placed on your cobble. Make sure the material is facing right side up, so that when you are finished, you will have a very polished look to your pin. Let this dry for about 20 minutes.
Now comes the tricky part: everywhere that there is a corner on your cobble, cut a diagonal line on the cooresponding part of the fabric. Put glue on the edge of the glass and work with just one side at a time. Tuck your material under to the edge of the glass and glue down. When you come to the corners, tuck these individually and glue down. Let dry completely and enjoy your creation. Any questions, please feel free to contact me at HubPages!
You can find these pins at:
- Signup For HubPages
Write about your interests and earn ad revenue on hubpages. Follow the link to find out more.

