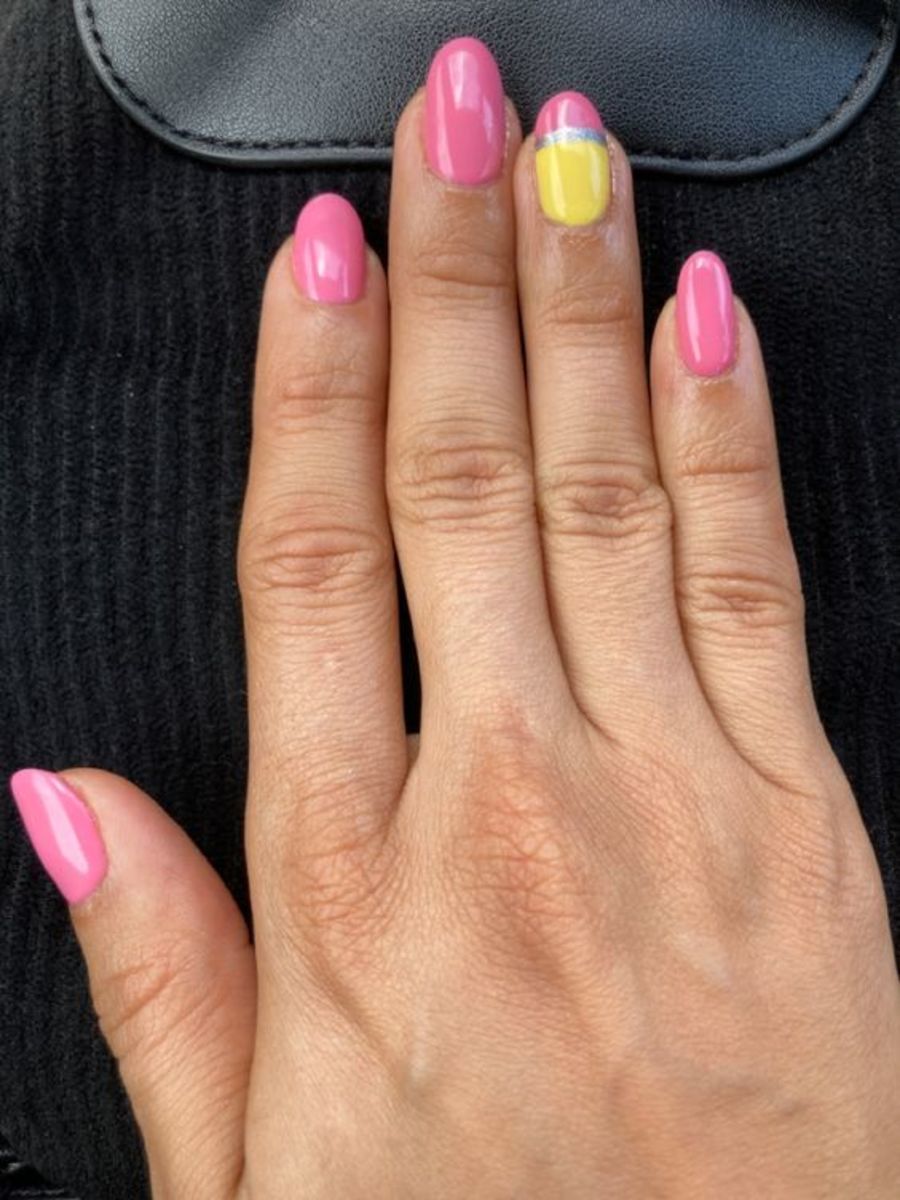
Easy Nail Art at Home
Flaunt your stylish nails. Easy nail art at home is just a matter of minutes. You don’t need to be an artist; just bring out the ‘Creative You’ and get pretty nails the inexpensive way.
Read on to learn this super cool art which is a quick and easy way to spice-up your look and is loads of fun.
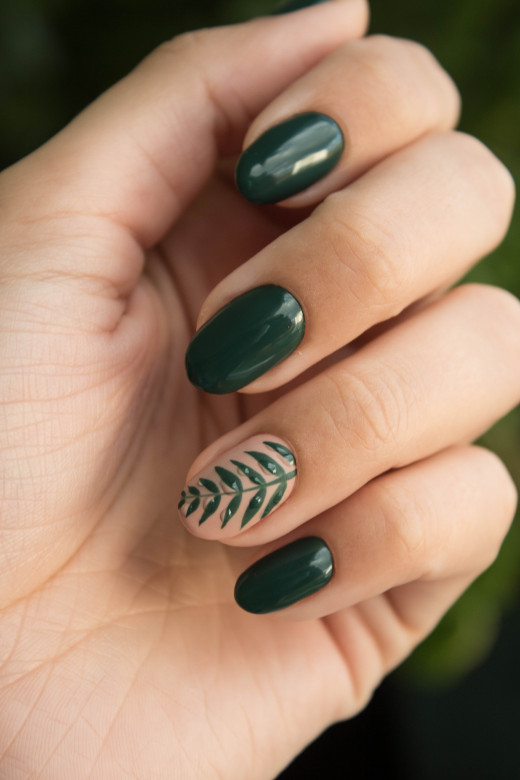
All you need is:
- Nail polish
- Acrylic paints
- ‘000’ number paint brush
- Transparent nail enamel
Follow these simple steps:
1. Clean your nails: Use nail polish remover to clear the old nail polish and make sure your nails are clean. Unclean nails are both unhygienic and unattractive.
2. Shape & File: Make sure your nails are in good shape. Use a good nail file to give your nails, the shape of your choice. You can go for the trendy square shape or classic ‘U’ shape.
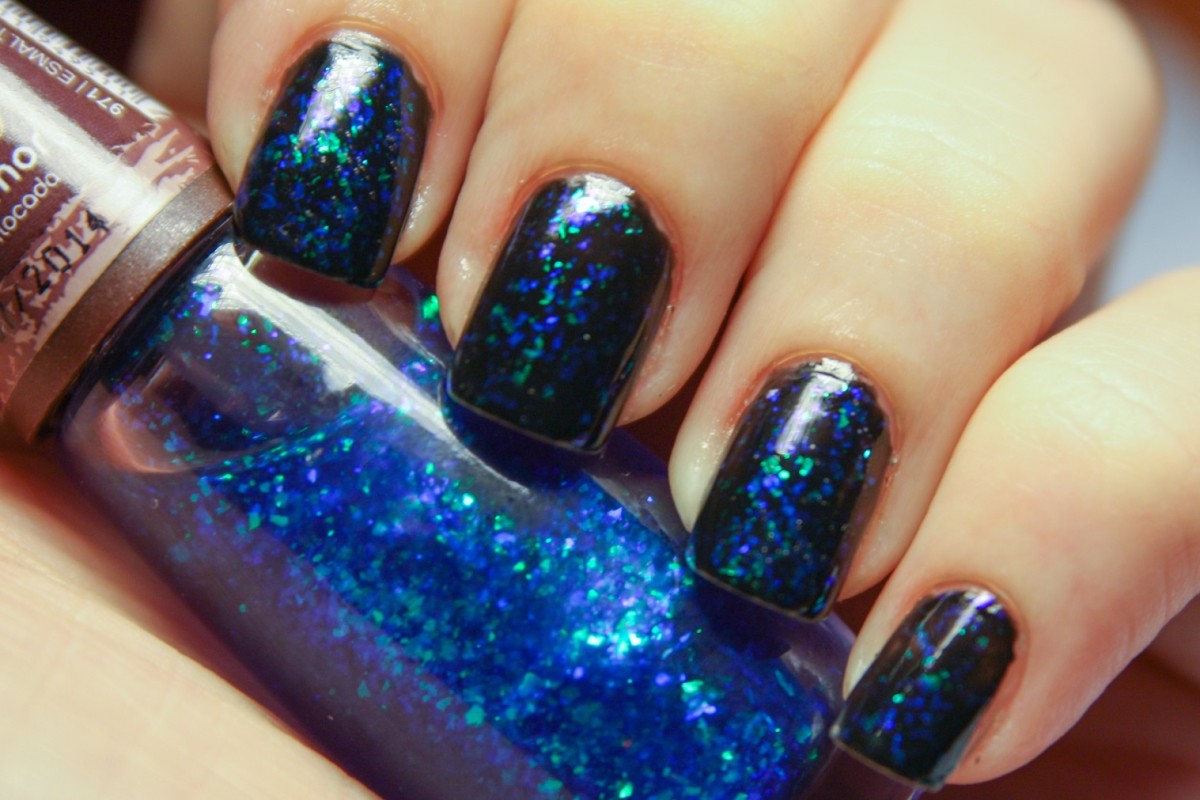
3. Base Color: Apply one or two coats of your favorite nail polish and let it dry. Beginners may want to start with solid colors. It is easy to mix and match acrylic paints if you choose a solid color / matt finish nail polish instead of a glittery or glossy polish. Once you master the art,experimenting with glitters becomes easier.
4. Design: Choose acrylic paints that will go with your nail polish. Preferably colors that contrast your nail polish. Use ‘000’ number paint brush to draw simple designs on your nails and let them dry. The advantage with using acrylic paints is that you can mix different colors to get that perfect shade you want.
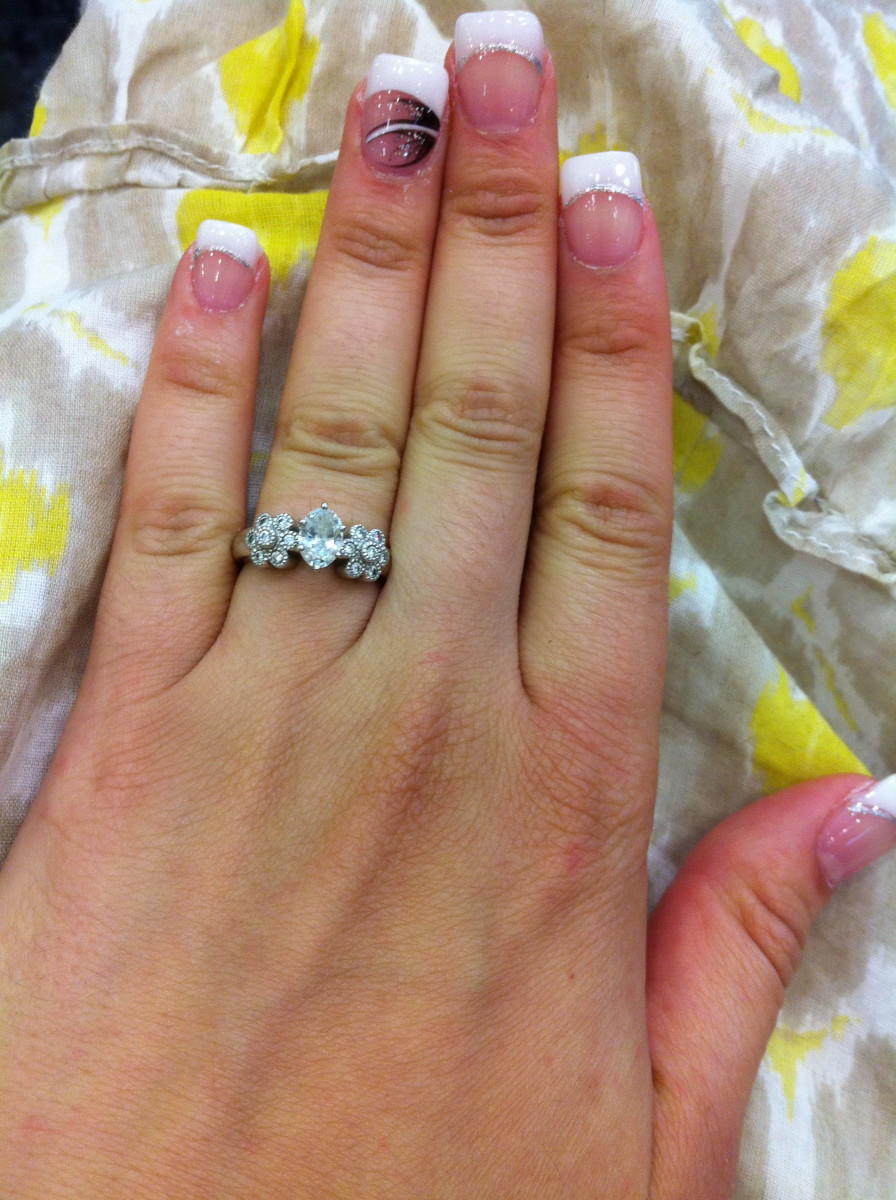
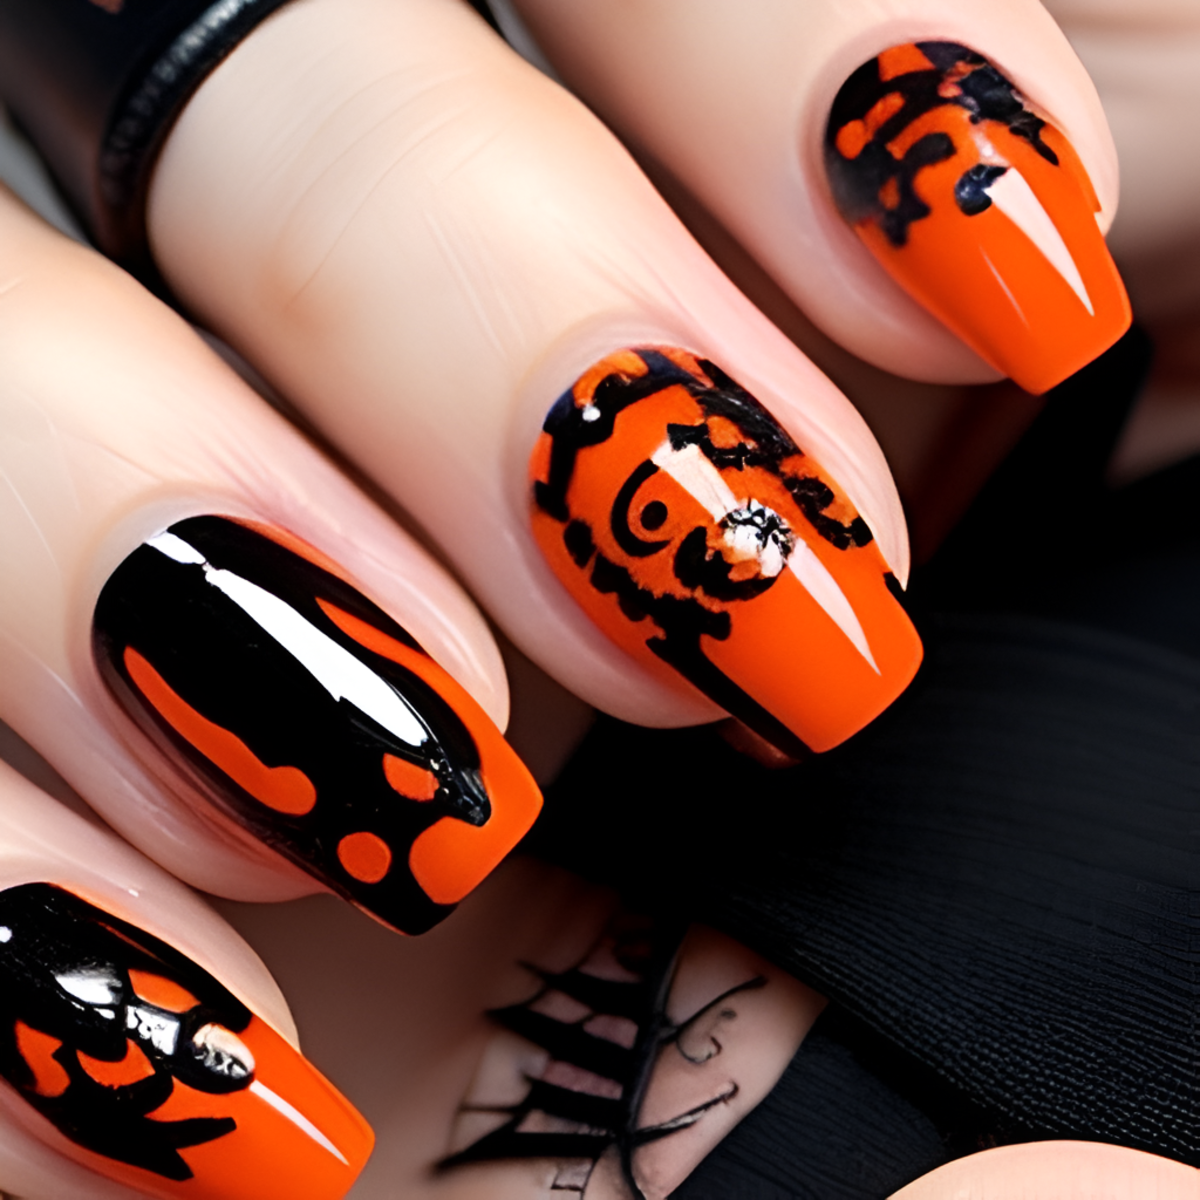
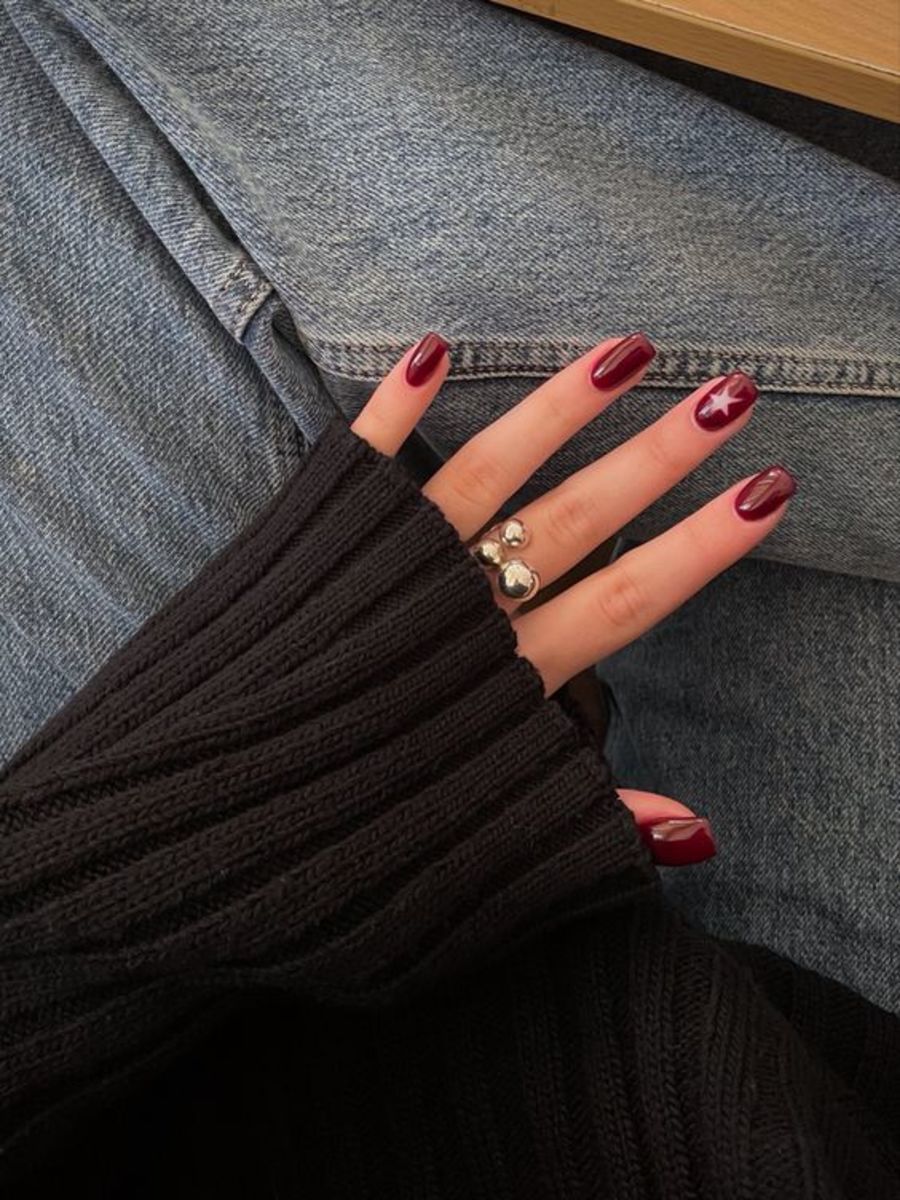
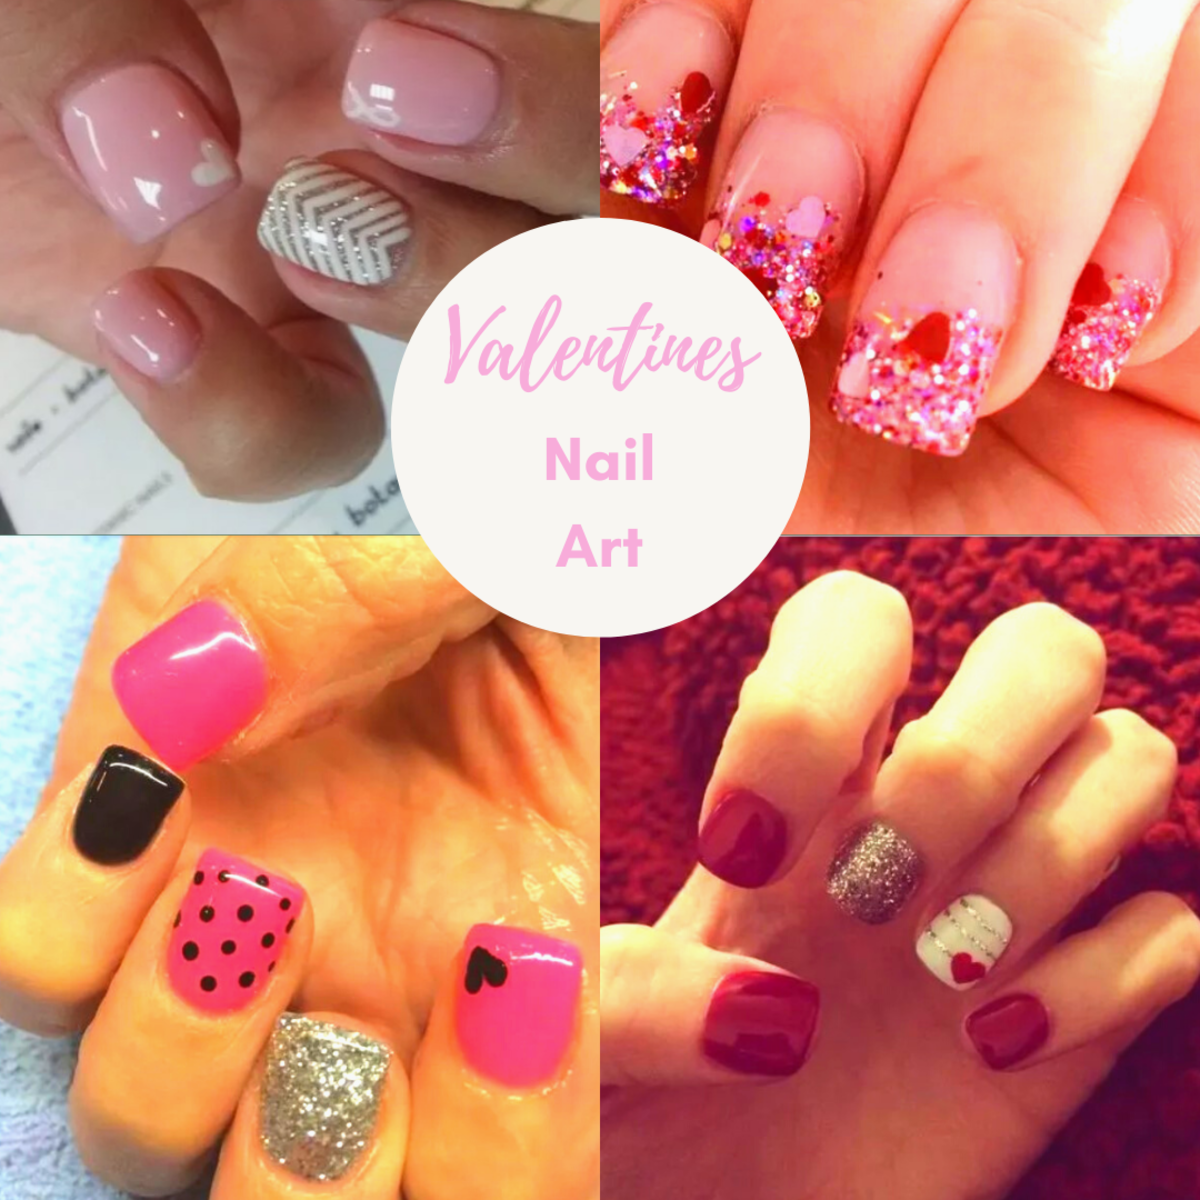
Tap your creativity and experiment with the designs. It could be anything ranging from simple flowers, leaves, petals, polka dots, stripes, checks, lines, shapes, patterns, hearts, stars, sun, moon, butterflies, to abstract art. From subtle, trendy, funky to wild, there is no end to the styles.
5. Smooth Finish: Apply a nice coat of transparent nail enamel as the finishing touch. Let it dry and you are good to go! Transparent enamel does three things:
- Adds the much needed extra zing and shine to your nails.
- Helps the acrylic paint to stay intact and saves it from getting washed off in water.
- Your nail polish stays longer.
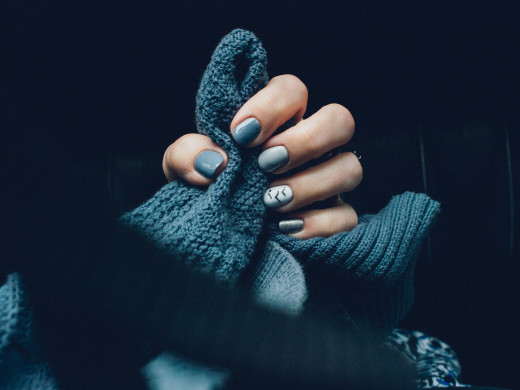
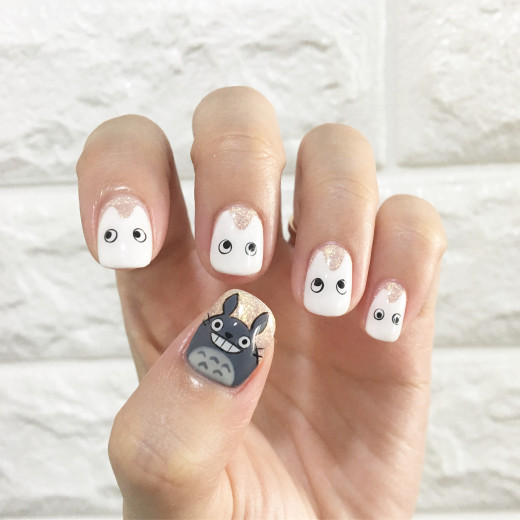
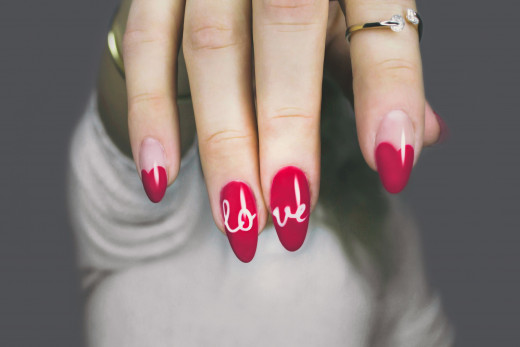
Let me take you through a few simple nail art designs that you can try.
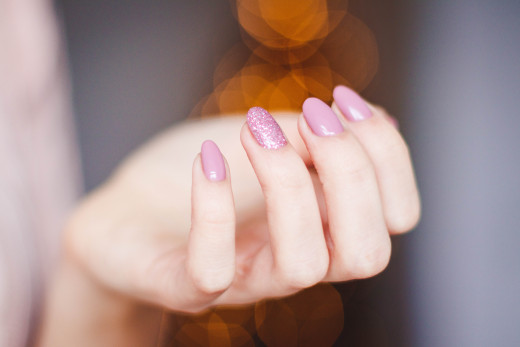
Tips, Trivia & Tricks:
1. Dry nail polish faster: The trick is to pour cold water on your nails after you apply your nail polish, it dries faster. Let the water dry out by itself. Do not use cloth to dab off the water; it may spoil your nail polish.
2. Go Funky: For a funky look you may try using different colored nail polish on each of your nails or you can use two colors and apply them alternatingly on your nails.
3. Tapes: Use tapes if you want to paint parts of your nails with more than one color. Cover part of your nail with tape, apply nail polish and peel off the tape. This avoids smudging and mixing of colors. Special nail tapes designed for this purpose are easily available in the market. Nevertheless, the regular clear tape works just fine.
4. 3D Nail Art: You can use beads to stick on your nails in different shapes to get that 3D look.

© 2012 Petite Hubpages Fanatic

