- HubPages»
- Fashion and Beauty»
- Body Art, Tattoos & Piercing»
- Body Painting
Face Painting Tutorials: How to Paint Your Face Like A Zombie for Halloween
Why are you becoming a zombie?
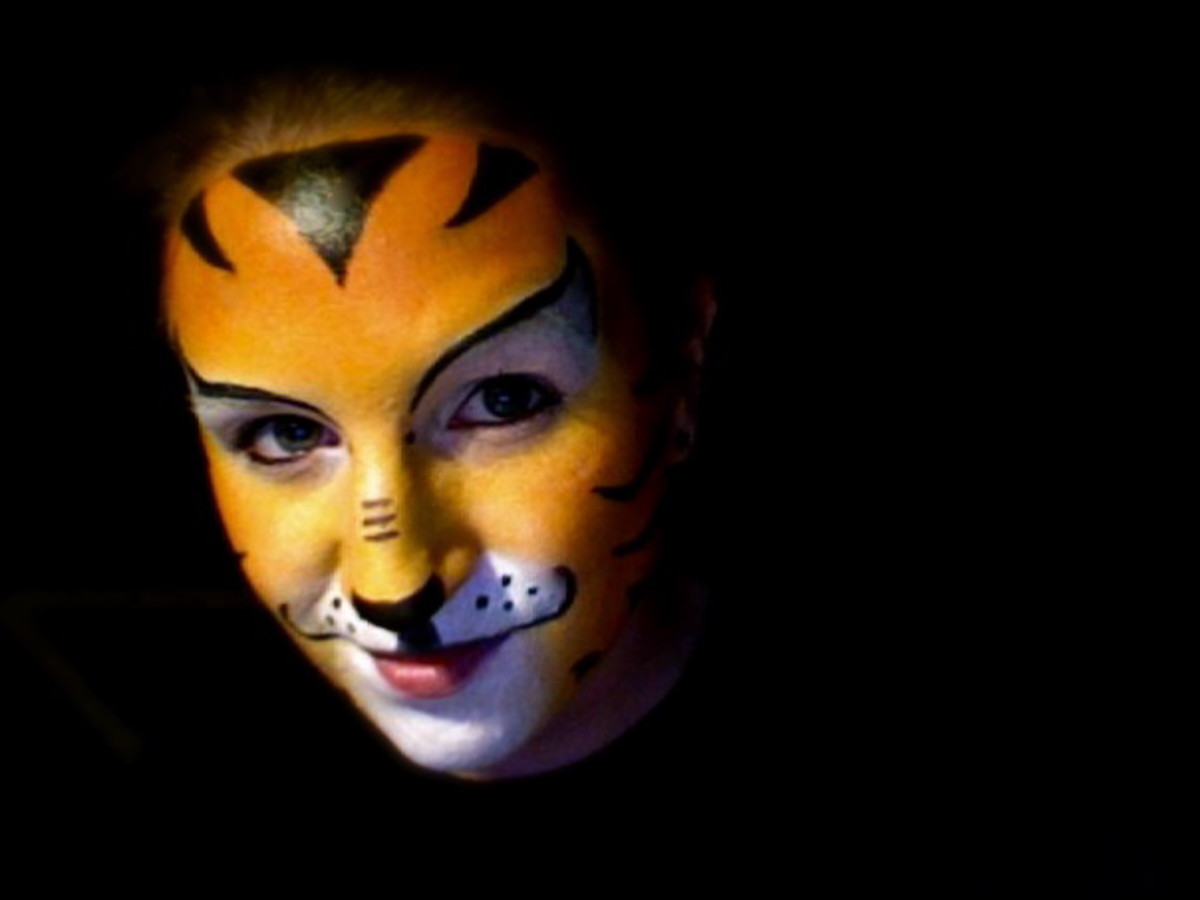
While Halloween is just around the corner, now is the time to begin thinking about what to do for a costume. Will you go as a tiger or lion? Perhaps an old person? My favorite thing to do for Halloween is paint my face. I feel that face painting is an easy, inexpensive way to create a look for Halloween that is not only unique, but looks good too.
I have been painting my face every Halloween since 2007, and yes, I do intend to this year as well. Being the poor post-grad (with student debt) that I am, I find that picking up a face painting set is much easier (and not to mention cheaper) than purchasing a $30+ costume from Wal*Mart that every other person is going to wear.
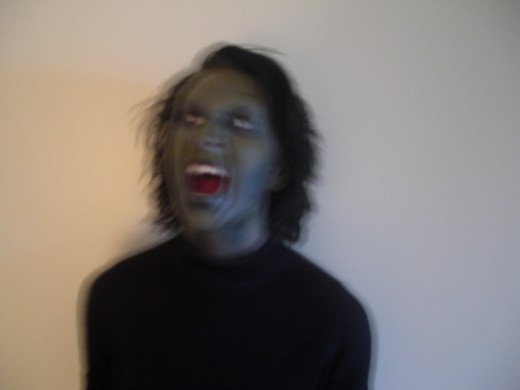
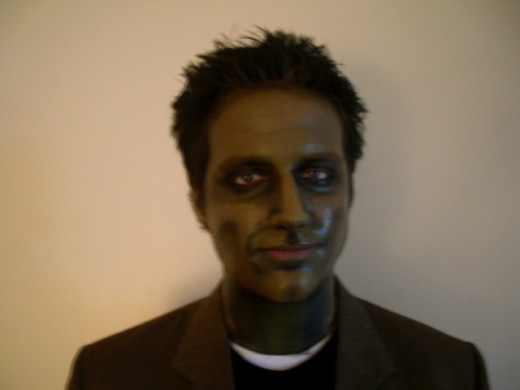
This year I have decided to share some of my previous Halloween face painting ideas so that you can bask in the endless compliments you will receive on your newly learned skills. This tutorial shows how to create a zombie look that surprisingly did not scare as many children as I was afraid it would. I apologize ahead of time if the diagrams I have created seem overly simplified, but I thought it would be a good idea to break down the colors as simply as possible to make it easy to comprehend.
Now that we have all that covered, let's begin!
What You Will Need
Here is a list of materials required to create this zombified look:
- a face painting set that includes at least black, white, green and blue. (some people choose to buy professional face paints, but I found halloween sets that worked perfectly fine for very reasonable prices)
- a sponge to apply the paint. (this is optional- I actually found that it was much easier to get coverage and blend when I just used my bare fingers)
- a can of aerosol hair spray
- a can of hair color spray in black (this is very easy to find around halloween time. It will only stay in your hair for the night, and can be washed out very easily!)
- tattered clothing (stop by your local thrift store and find an outfit to tear up. Think zombie! I chose a black turtleneck sweater and jeans)
A note about face paints: Some stores sell tubes of face paint rather than the palette of colors. Do not buy these tubes of paint. I found that they do not cover as well, and do not blend at all. In fact, they actually become very dry and cracked, which made my face feel very tight. The paint almost stung to a point as well, as I do still get acne and the paint did not agree with my skin-type at all.
Step 1: Hair
It is a good idea to get your hair out of your face before you do anything with the paint. Begin by using your can of aerosol hair spray, spraying liberally to create a messy look. You want it to look like you haven't brushed or washed your hair in years, literally. If a zombie broke from underneath the ground to hunt for human flesh, he probably wouldn't care about what his hair looks like. That's the look you're going for, and therefore this is very easy to do.
Once you have your hair to your zombie mind's approval, it's time to color it. Have a friend help you spray your entire head of hair black, being careful not to get too much on your face or clothing. Don't be afraid to use a lot, as the cans are very inexpensive and this is what you bought it for right? When using cans of temporary hair color, it is a good idea to step outside and cover your shoulders with a towel or garbage bag. I made the mistake of using the color spray for the first time indoors, and lets just say I spent the end of that Halloween not eating candy, but washing every surface in my bathroom.
Now that your hair is complete and out of your face, let's paint!
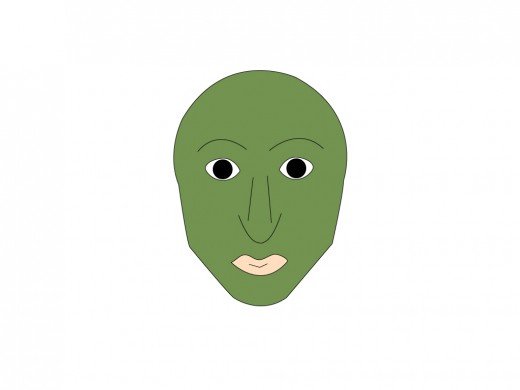
Step 2: Green as a Ghoul
Beginning with a clean and dry face, take your green paint and begin to mix it with small amounts of black, blue, and white to mute the shade. You don't want to be green as a leaf, you want your skin to look more faded and dull, like it's dead.
I mixed my shade of green as I went directly onto my face, but it might be a good idea to pre-mix your shade of green on a plastic plate, or any flat surface that won't absorb the paint.
Cover your face liberally with your green mixture. You don't want to be able to see any skin underneath at all, and this can take quite a bit of paint. The trick to getting a really professional look is to not be afraid to use a lot of paint, this way it won't fade away and will look smooth and even across the entire surface of your skin.
Make sure that your paint extends all the way into your hairline so that there is no natural skin tone revealed. Also, if your ears are exposed, paint them as well. This includes your neck too, paint all the way down to where your shirt begins. It is optional to paint the back of your hands, but as it is cold in my area during Halloween, I wore gloves the entire night and chose not to.
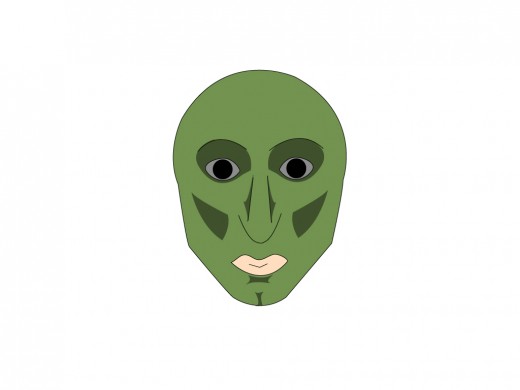
Step 3: Shading
Now that your face is completely covered with your base tone, the fun begins. Using your black paint, begin darkening areas of your face. Add black to your entire eyelid, extending up to follow your brow line and underneath your eyes as well.
**It is important to blend your shades so that there are no hard lines. You want this to look as natural as possible**
Where you choose to shade your face is up to you. If you want to bring out your cheekbones to give yourself a "sunken-in face" appearance, add a line of black to your cheek, right underneath where you want your cheekbones to be most prominent. Once you have added your guideline, fade the black out so that it is lighter as you move up toward your eye. This will give the illusion that your cheek is sinking back in space, and the lighter area (your cheekbone) is jutting out further.
Add black to the top of your chin, under your lip and fade downward to your chin. This will bring out the shape of your chin.
Justin wanted to bring out the depth of his cleft chin, so he added a line of black in the center of his chin and blended outward on either side.
I added the appearance of unevenness and texture to my face by randomly blotting black paint on my face and blending it slightly.
Remember, all of this shading is optional. You can choose to follow how we did our faces to a tee, or you can follow your own facial features, find which parts are most prominent, and make them even more prominent.
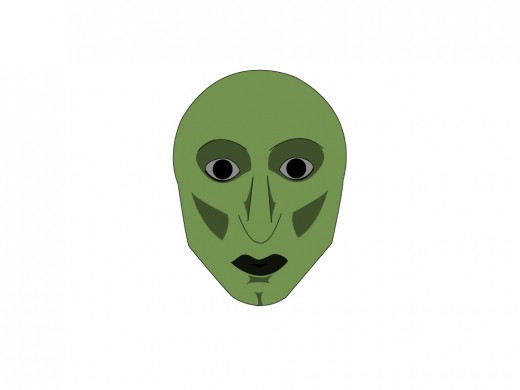
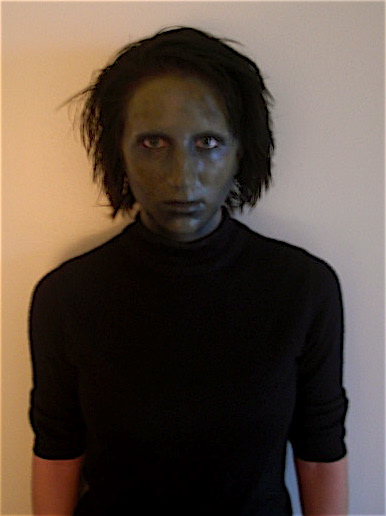
Step 4: Final Touches
It might be a good idea to blacken your lips, and apply black eyeliner if you have any. Once you have finished that your face and hair are complete!
To achieve the entire zombie look, run to your local thrift store and buy an outfit that you think you would see a zombie wearing. This could be as simple as a basic sweatshirt and pants, a sport coat, etc. The options are endless and entirely up to you.
Once you purchase your thrifty outfit, take it home and beat the crap out of it. Tear arm of your top, cut up the bottom of a leg of your pants, rip a hole in both! The more tattered and worn you make the clothes look, the better. You can even create a faded look by rubbing white chalk onto areas of your clothes.
You are now ready to hit the streets as the undead this Halloween! I hope this tutorial was successful in showing how easy it is to create a truly unique and inexpensive costume that is great for all ages. Enjoy and Happy Halloween!
