Give Yourself a Self-Love Pedicure at Home

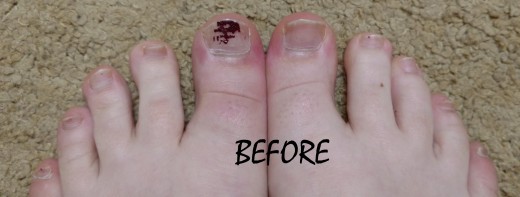
Let's Fix These...
Give Your Self A Self-Love Pedicure At Home
A typical pedicure can range anywhere from $25 to $85 depending on the types of skin treatments, massages and polishes included. If you are religious about your foot treatments, consider saving some money on pedicures by doing them yourself at home.
I apologize to any nail technicians that are shaking their fists or have become red in the face by the end of this article.
Gather Your Supplies
You will need:
- Your favorite body wash
- An exfoliating device
- A moisturizing lotion
- Nail polish remover
- Cotton balls
- Cuticle pusher
- Cuticle/nail nippers
- Nail file
- A strengthening nail base coat
- Your favorite color of nail polish
- A top coat
- Cuticle oil (I make my own, comment below if you would like an article on the recipe)
- Your favorite movie or binge-worthy show
- Drink of choice - Currently, mine is ice cold, orange flavored Pedialyte
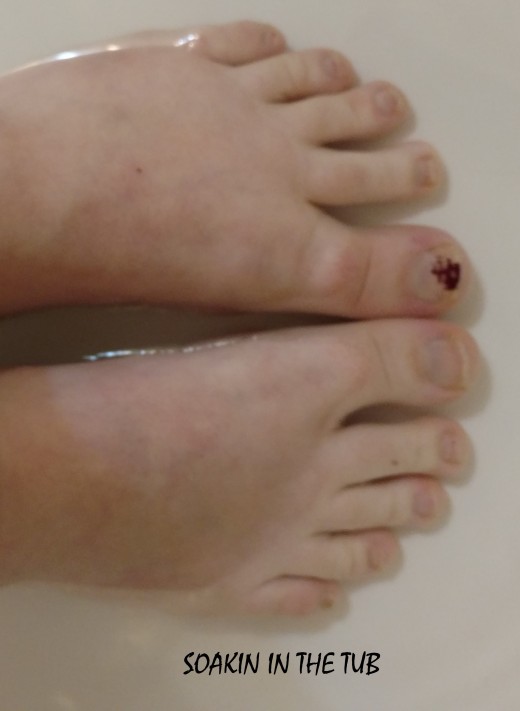
Soak Those Tootsies
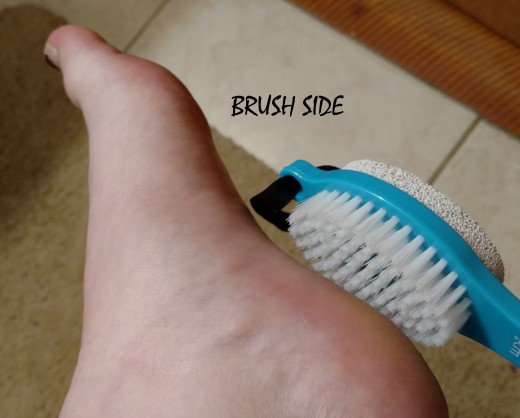
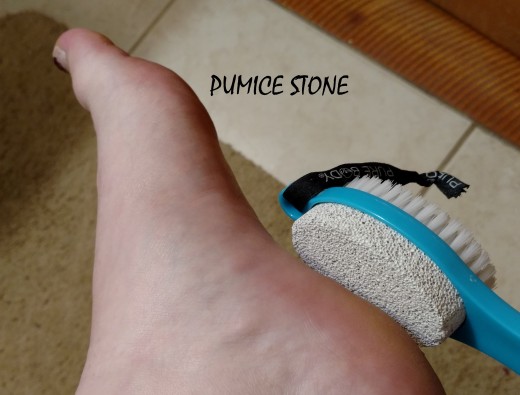
I prefer to exfoliate my feet pre-soaking, but this could be done afterward as well. I have this small exfoliating tool that has three different surfaces (technically it had four but the sandpaper bit fell off on day one). I use this tool all the time and really appreciate its versatility. I do not recall where I purchased the exfoliating tool in the pictures, so consider the kit that I have provided a link to below the following pictures.
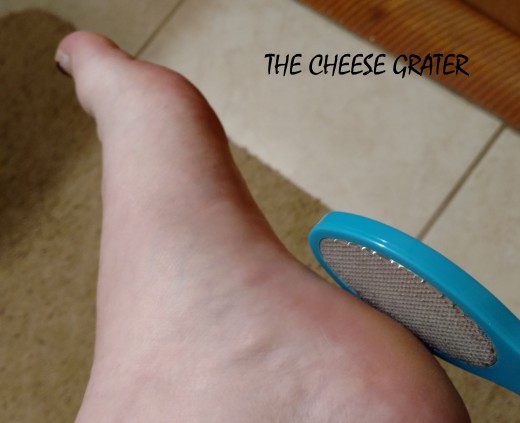
First I use the brush side. This brushes away any loose debris such as toe fuzzies. I pay special attention to my toes here because the other two exfoliating surfaces prove to be challenging in the nooks and crannies of my tootsies. Next, I go at my heels and the balls of my feet with what I would describe as the cheese-grater side. Be VERY CAREFUL while using this surface, before you know it, you’ll have exfoliated way too much and your skin will be tender. Finally, I smooth any rough edges out with the pumice stone.
I draw a shallow and warm bath and add my favorite body wash, “In The Stars” by Bath & Body Works. Holy moly is this luxurious! I gently wash my feet until they feel nice and cleansed. I usually make it about five minutes before I get bored.
Dry off and apply a generous amount of moisturizer all over your feet. For general maintenance, sometimes I apply a VERY generous amount, slap some socks on and call it a night.


Television Activate!
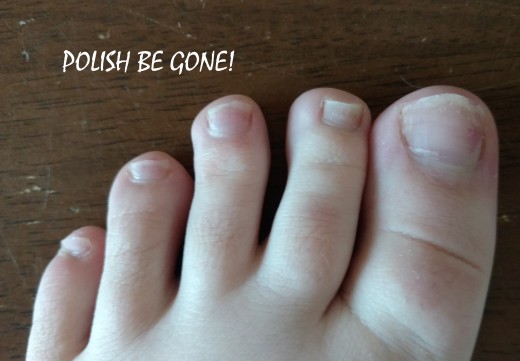
Or, “Alexa, turn on ‘Charmed’” or press the power button like me. I flip on “Charmed” through my handy-dandy Netflix subscription via my Amazon Fire Stick and start removing any previously applied nail polish. This part has to be disclaimed: Make sure that you are in a well-ventilated area, do not drink the nail polish remover, do not spill the nail polish remover on your varnished coffee table, do not leave the nail polish remover unattended around children, do not drip any nail polish remover into your eyeballs, ears, nose or any other creative orifice that you can think of and finally, do not mistake the nail polish remover for a vinaigrette salad dressing. I use a small amount of nail polish remover on a cotton ball and rub. Even if only a couple of toes have polish on them (as seen in the pictures), I still wipe every nail with the remover to get any moisturizer off. If the nail polish remover is not being applied to the cotton ball, the bottle’s lid is screwed down tight.
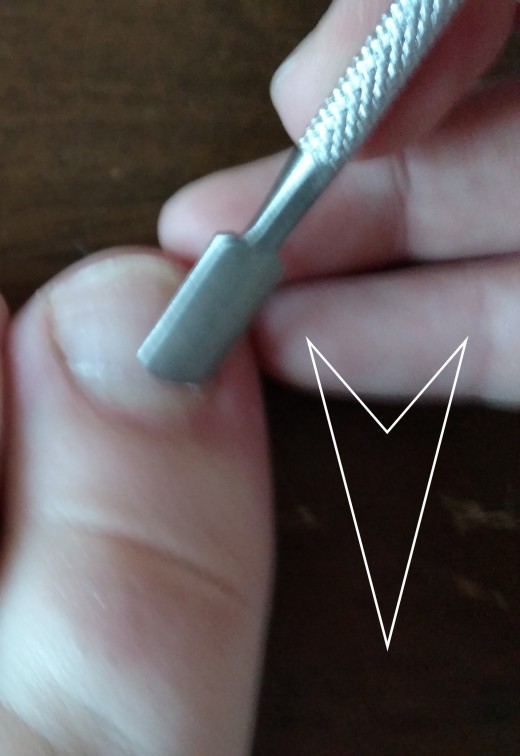
Next is the nasty part. Remove all the dead skin cells from beneath your nail, being careful not to damage the nail bed. Push any loosey goosey cuticles back towards your cuticle line, proximally for my anatomy friends out there. If you are more consistent about pedicures than me, you will not have to trim any cuticle away. However, sometimes it’s been a while and they need to be tamed. Be careful!


Trim the Horse Hooves!
I consider this part of my weight loss program for the day. Trim the actual nail back to just before the nail bed. If you trim them back too far, you can cause bleeding and discomfort. Shape the nails; round toenails seem to cause less ingrown nails for my husband and me.
Polish
You should be well into your movie or beginning your second episode by now. It’s not a race ladies. My best piece of advice is to let each layer dry as much as you can stand to before applying another coat of polish. Your pedicure will last much longer this way and someone else can do the dishes because you are busy practicing self-love.
Apply the strengthening base coat and let this dry completely. COMPLETELY.
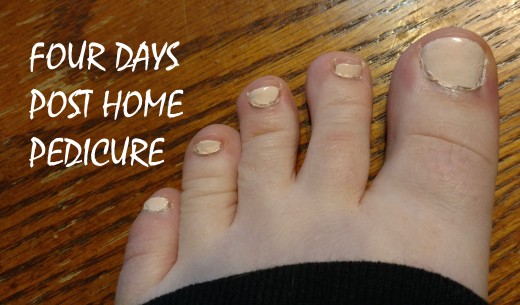
Apply the first coat of nail polish in the color of your choice. I chose this sweet pale pink. Shocker, I am having a pink flavored baby. If you have purchased a high-quality nail polish (of which brands I know none) then you shouldn’t have to apply too many additional coats. I, on the other hand, pick up a polish every now and again when I am feeling frisky at the grocery store. Because the color I chose is rather sheer, I applied 4 coats.
There are many theories, techniques and descriptions of the best way to apply nail polish. I just try my best by starting as close to the cuticle line as possible and using long, even strokes towards the end of my nail, distally for my anatomy friends. If I make any mistakes along the way, I gently scrape them off with one of my fingernails.
Once you have the proper amount of coverage for your color and your pampered tootsies are thoroughly dry, apply a final clear, or sparkly if you want, top coat. I am not the most graceful kitten in the world so I need an extra layer.


Finish Up
Put all of your supplies back into your box that holds nail stuff, lie back and relax. Finish out your movie and your Pedialyte. Once the credits role, apply some cuticle oil, this creates the professional look that we all love and nourishes your skin.
Well, I hope that this walkthrough is slightly elevated from the traditional, “I’m going to paint my nails now” chore.
This content is accurate and true to the best of the author’s knowledge and is not meant to substitute for formal and individualized advice from a qualified professional.
 Way to Use And Store Nail Polish Remover")


