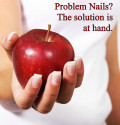
Beauty 101: Hands & Nails: Recipes, Manicures, Health, & Products


A Great Manicure
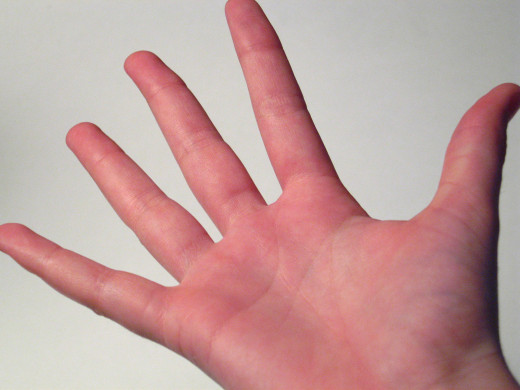
This series of beauty HubPages is meant to help you help maintain a beautiful appearance. Hopefully this will teach you new things about doing your manicure. This hubpage will show you the basics. A french manicure makes you look professional and poised. Your fingernails are something you see a lot. Looking at a manicure when you look at your hands, you will feel beautiful inside and out. Keep your nails looking younger by reading about the health conditions listed below. This hubpage covers homemade recipes for hand and nail products.

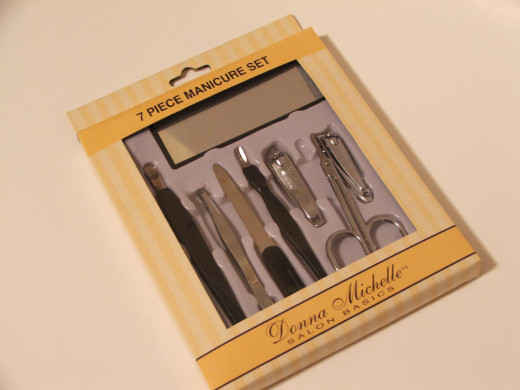
A Simple Tool Kit You Will Need in Order to Do a Basic Manicure
Here are a few suggestions of basic manicure equipment.
- Scrap or Newspaper (to protect surfaces)
- Cotton Balls
- Q-Tips, a Nail Touch-Up Pen, or Toothpicks (to correct mistakes)
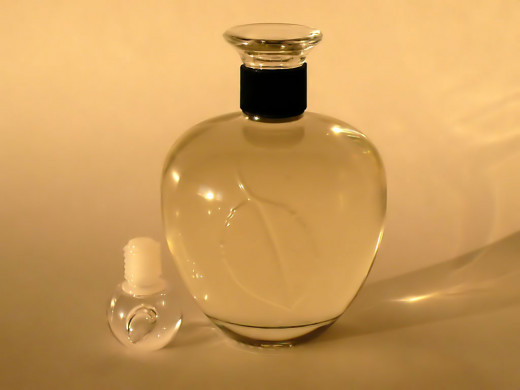
- Nail Polish Remover
- A Nail Brush
- A Nail Dryer (optional)
- Cuticle Cream
- A Cuticle Pusher or Orange Stick
- Nail Clippers
- Nail Files (often there are cute ones on clearance at your pharmacy; find one you like, but make sure it is strong enough to file your nails well)
- Nail Buffer (possibly Nail Buffer Powder)
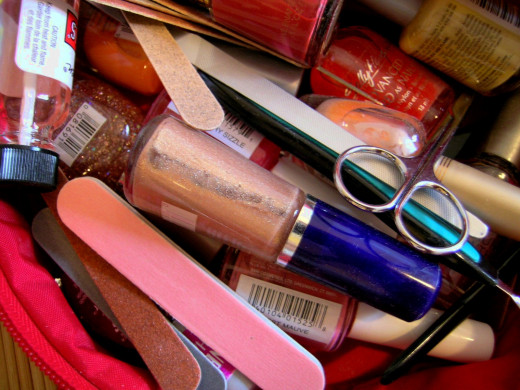
- Nail Polish (A base coat, a top coat, and a colored polish)
- Hand Cream or Lotion
- Nail Art Supplies (optional)
Tools
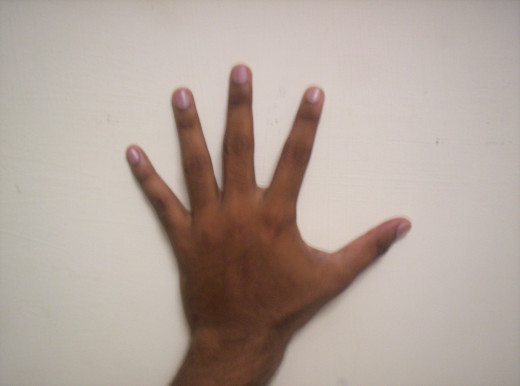
Do you own all of these manicure tools or equipment?

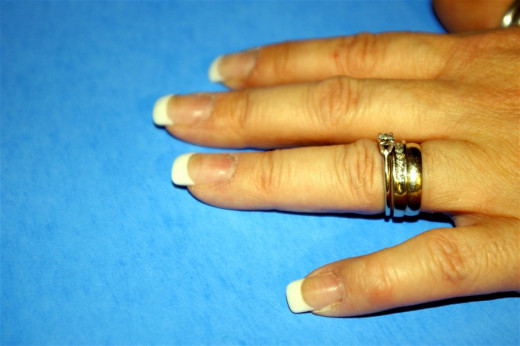
How to Do a Basic Manicure
Here is a basic kit with all of the essentials I will show you before we run through the steps of a manicure.
- How to Give Yourself a Manicure
Follow this step by step guide with pictures to do your own at-home manicure. This guide will help you know the steps needed in order to prepare the perfect manicure in the comfort of your own home.
Manicure Basics

Step 1: Remove Old Nail Polish.
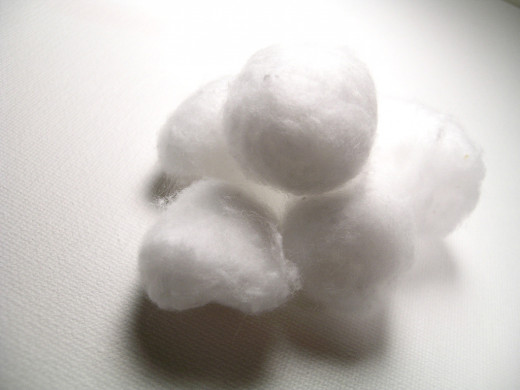
Remove your old nail polish on scrap paper to avoid damaging surfaces. Put a small amount of nail polish remover on a cotton ball. Gently remove the old nail polish until it is completely gone. Also, try nail polish remover pads.

Step 2: Trim Your Nails.
Use nail clippers, and trim your nails to your desired length. Shape the clippings in a clean, round shape, rather than angular. Try not to over-trim them; instead clean up any points or roughness left by the clippers with a nail file.

Step 3: File Your Nails
Use an emery board to shape your nails. You may like the squared look or the rounded look. With the rounded shape, you are less likely to break your nails on objects around the house. When filing, concentrate on your nail tips. If you file the sides, you weaken the nail, creating ragged edges. File your nails in one direction to your desired length. Do not saw back and forth. This causes breakage and weakening of your fingernails. Make a smooth curve with each stroke of the nail file, avoiding flatness.

Step 4: Buff Your Nails.
A proper nail buffer is covered with chamois or cloth. Use a stick or pad type nail buffer with buffing powder if desired. Do not overdo it when you buff. This will thin and weaken your nails. Buff the tops and sides of nails lightly in one direction for about twenty-five strokes with a nail buffer to create a smooth surface. This speeds up the circulation in your fingertips, helping your nails to grow longer. Buffing your nails regularly will give your nails a natural shine.

Step 5: Clean Your Nails.

Soak your hands in a mixture of warm water and soft body wash for approximately two minutes to soften your fingers and ensure your nails are clean and ready for a manicure. Use a nail brush to scrub your nails clean. Gently clean your hands too. Soak your hands in the soapy water for a few minutes. This will loosen any dirt, dust, and any grit from when you filed and buffed your nails. The moisture will soften your cuticles and make them more manageable. Remove dirt from under your fingernails for a complete cleaning of your hands and nails.

Step 6: Gently Trim Hangnails.

Step 7: Push Back Cuticles.
Use an orange stick to gently push back your cuticles. Do not push them back too far or you will contribute to hangnails. Apply cuticle cream, and let dry.

Step 8: Paint Your Nails with a Clear Base Coat.
Allow the base coat to completely dry before moving on to the next step. The clear base coat ensures the polish will stay on longer.

Step 9: Polish Your Fingernails with Your Favorite Nail Polish Color

Shake the nail polish well. If it is clumpy, the polish is probably is too old to use and needs to be thrown out. When pulling out the nail polish brush, be sure to swipe the brush across the inside of the bottle to remove excess polish. This way the polish will go on in a thin smooth layer.
When applying the nail polish, begin with the inside of the fingernail, and stroke the polish smoothly toward the end of your nail. Slowly paint a vertical stripe down the center of the nail followed by another stripe on each side of the nail.
Apply the polish lightly. Press the strokes across your nails gently, so that the bristles will evenly spread out a little into a neat curve. Allow the first layer of nail polish to completely dry. Then apply a second layer to ensure the color is bright and beautiful.
When painting your fingernails, you are liable to make a mistake and accidentally get nail polish on your fingers. Using a tissue with a toothpick or a Q-Tip; dip it in nail polish remover, and apply the tool to the small areas on your fingertips' skin in order to remove the nail polish that accidentally got on there. Many beauty supply shops even sell touch-up pens which do the job for you without using a tissue or Q-Tip.
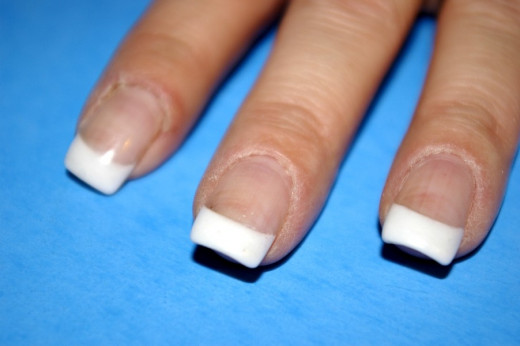
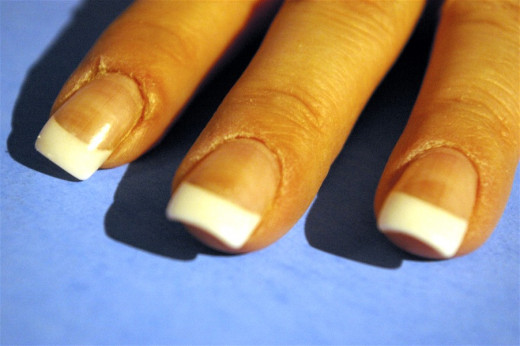
How to Give Yourself a French Manicure
Frequency
How often do you give yourself a manicure?

Step 10: Apply a Clear Top Coat of Polish.

A top coat is very important. It adds shine to your finished, polished fingernails and helps make your polish stay scratch and chip resistant. It also hardens your nails and serves as a primer for the nail polish making it last longer.

Step 11: Dry Your Nails Completely.
Nail Dryer
Do you use an electronic nail dryer?

Step 12: Apply Lotion.
To keep your hands and fingers smooth and soft, apply hand lotion to your freshly, beautiful manicured DRY hands and fingers. Massage an attractively smelling lotion thoroughly if desired. If your hands are prone to being dry, apply an intensive lotion. Once you have a thick layer of lotion on your hands, let it dry completely.

Step 13: Decorate Your Nails with Nail Art
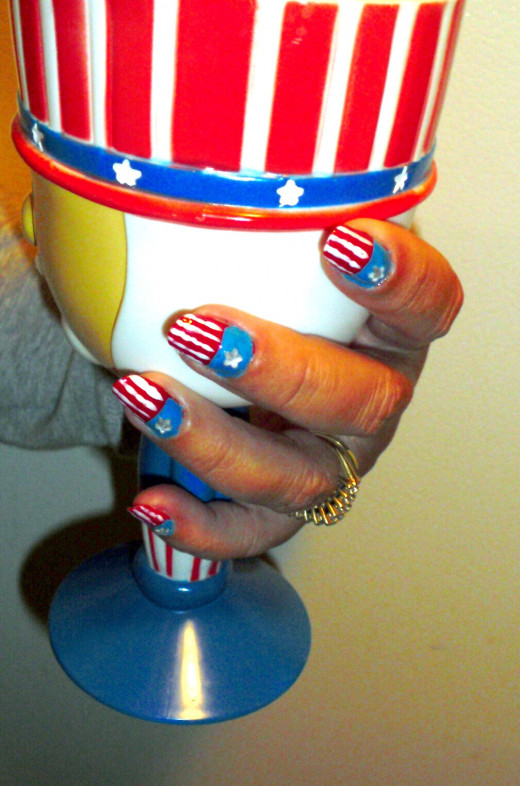

Unique Nail Designs
Penguin
|
Watermelon
|
Piano Keys
|
Candy Corn
|
Flowers
|
Butterflies
|
Newpapers
|
Stars
|
Dice
|
Polka Dots
|
Stripes
|
Zebra
|
Hearts
|
Bows
|
Lady Bugs
|
Rainbows
|
Snowmen
|
Swirls
|
The USA Flag
|
The Letters of the Alphabet
|
Zig Zags
|
Retro
|
Geometric
|
How to Create Nail Flowers
How to Do Nail Art at Home
Nail Art
Do you do Nail Art?

Manicure Tips and Techniques
1. To avoid chipped nail polish, brush clean nails with white vinegar. Allow the vinegar to dry. Paint your nails. The nail polish will be applied much more smoothly and will last much longer than usual.
2. If you are in a hurry when doing your manicure, to help your polish dry quickly, run your fingers under cold water for several minutes. AIR DRY!!
3. Do not chew or pull on hangnails. Instead, use a clean pair of clippers to carefully remove them.
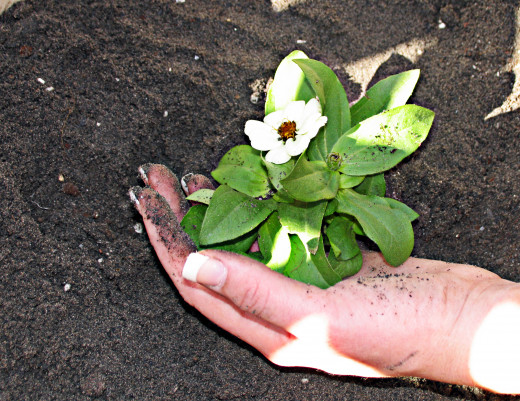
4. Moisturize your hands frequently to prevent or eliminate dry, cracked skin.
5. Nail files are very inexpensive. Keep one with you at all times to prevent you from biting your fingernails. Put a small one at different locations you frequently visit in your home and car.
6. Do not file your nails when they are wet. You will shred rather than shape your nails.

Hands and Nails Recipes
Hand Rescue Treatment
For cuticle oil, put the following item in a bottle, and apply to your cuticles.
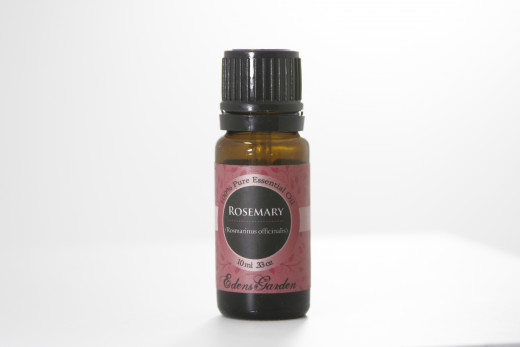
1/2 cup of Hazel Oil, Almond Oil, or other essential oil.

Hand Butter
Combine the following for a great hand butter recipe.
1/4 cup of Almond Oil
1/4 cup of Hazel Oil
3 to 4 tablespoons of heated Beeswax
2 to 3 drops of Lavender Oil
2 to 3 drops of Peppermint Oil

Hand Softener
Soften and soothe your hands with a paraffin wax treatment. Use this recipe to ward off dry skin and ragged cuticles. Use this recipe at least once per week to maintain soft hands.
2 cups of Buttermilk
1/4 cup of Petroleum Jelly
6 to 8 drops of Vitamin E Oil
Heat the buttermilk until warm to the touch; do not overheat. Soak hands in the mixture for about fifteen minutes. Do not rinse. Cover your hands in a thin layer of the Vitamin E Oil. Next, apply the Jelly. Cover your hands with plastic wrap, including between your fingers. Place cotton gloves over the plastic wrap, and leave them on overnight. In the morning, remove the cotton gloves and plastic wrap. Wash hands with mild soap and water.
- Summarized from Nancy Weinberg Simon, Beauty Editor for Family Circle

Spa Secret Hand Revitalizer
1. Hands are often damaged from aging and sun exposure. A fruit acid peel will help make your hands more youthful. This is an essay, inexpensive recipe to create at home will help make your hands more youthful. This is an easy, inexpensive recipe to use at home with the quality of a beauty spa.
2. Do this ritual weekly in order to exfoliate, soften, and diminish brown spots on your hands. Warning: If you have any broken skin on your hands, do not apply the mixture to your hands, because it will sting.
3. In a bowl, combine the juice of 1/2 of a grapefruit with the juice of 1/2 of a lemon. With your fingertips, rub mixture on the top of your hands and palms. Allow it to set for ten minutes. Rinse well with warm water. Dry your hands.
4. Apply a generous dollop of cream containing Shea butter or sweet Almond Oil. This will help with healing of your hands. Massage the mixture in one hand for a few minutes, and then do the same thing for the other hand. Be sure to apply generously to your palms, cuticles, and the sides of your fingers.
- Summarized from Nancy Weinberg Simon, Beauty Editor for Family Circle

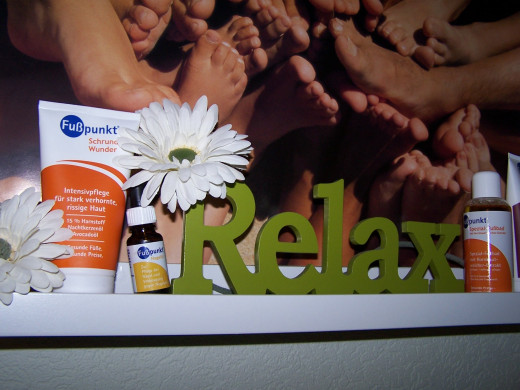
Health Issues
Medical Conditions
The following nail problems are medical conditions that may need to be addressed with your doctor. Consult your doctor if you notice these problems.
1. Blue Nails - indicate a lack of airflow, a respiratory disease, or a vascular problem; usually your blood and oxygen levels will be checked by your doctor.
2. Pale Nails - is a sign of Anemia, cognitive heart failure, liver disease, or malnutrition.
3. Cracked, brittle, thin, lifted, or split nails - indicate a thyroid disease or inflammatory arthritis.
4. Spoon Nails - sign of iron deficiency, such as Anemia or a liver condition. It could also indicate a heart disease or hypothyroidism.
5. Nail Clubbing - indicates low oxygen, lung disease, AIDS, Irritable Bowel Disease, or a cardiovascular disease.
6. Gnawed Nails - caused by anxiety or Obsessive Compulsive Disorder. Seek help from a psychiatrist for anxiety.
7. Puffy Nail Fold - could be a result of Lupus or other corrective tissue disorder; could be the result of an infection.
8. Dark Lines - could mean Melanoma, the most dangerous skin cancer.
Consult a physician if you suspect you may have any of the above listed conditions.

Medical Condition
Nail Pitting - associated with psoriasis; treated with topical, oral, or an injection of medication. Light therapy might be needed. An ointment may be the answer.
Medical Condition
Rippled Nails - indicate psoriasis or an inflammatory arthritis.
Medical Condition
Yellow Nails - could be a fungal infection, severe thyroid disease, a lung disease, diabetes, psoriasis, immunodeficiency syndromes, rheumatoid arthritis, and nails crumbling.
Medical Condition
White Lines - could indicate kidney disease, liver abnormalities, a lack of protein or other nutrients, or a result of trauma.

This HubPage has covered the tools you need in order to do a manicure. It has also gone into detail on how to do an at-home manicure. If you are talented enough to do Nail Art, some suggestions for unique Nail Art designs are listed. Manicure tips and techniques are also included in this article. This article lists homemade recipes and health issues related to nails and hands. Hopefully, you will learn something new about manicures from this article.
 Way to Use And Store Nail Polish Remover")