Foolproof Blonde Highlights for Dark Brown Hair: Highlight Brunette Hair at Home Without Brassiness
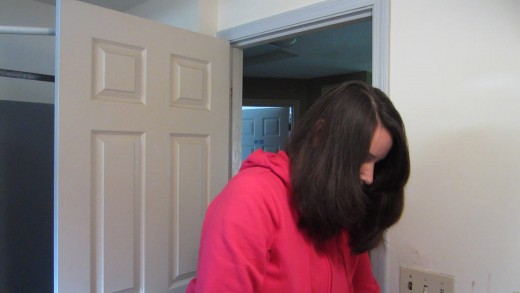
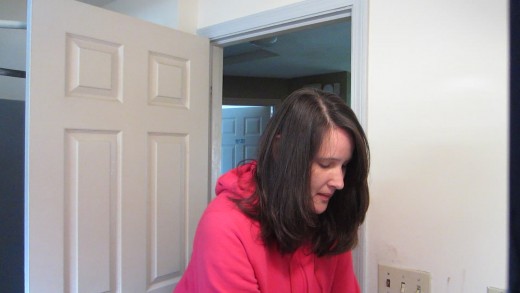
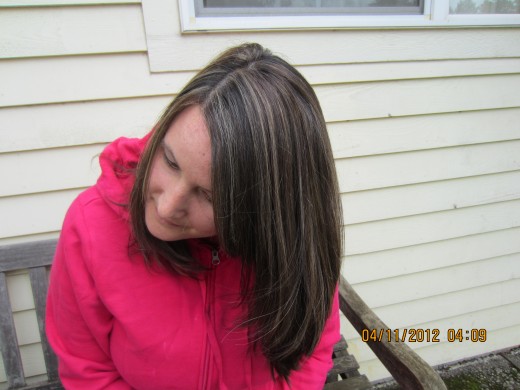
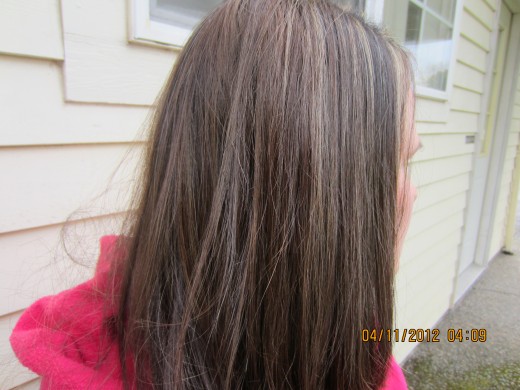
If you have dark brown hair like me, you may know how difficult it is to create highlights that you can wear with pride. I tried highlighting my hair at home numerous times and failed miserably. In fact, it was such an epic fail I ended up having to spend a lot of money getting it fixed in a salon. For quite some time thereafter I gave up trying to do my own highlights. Instead, I paid a ridiculous amount of money getting them done professionally.
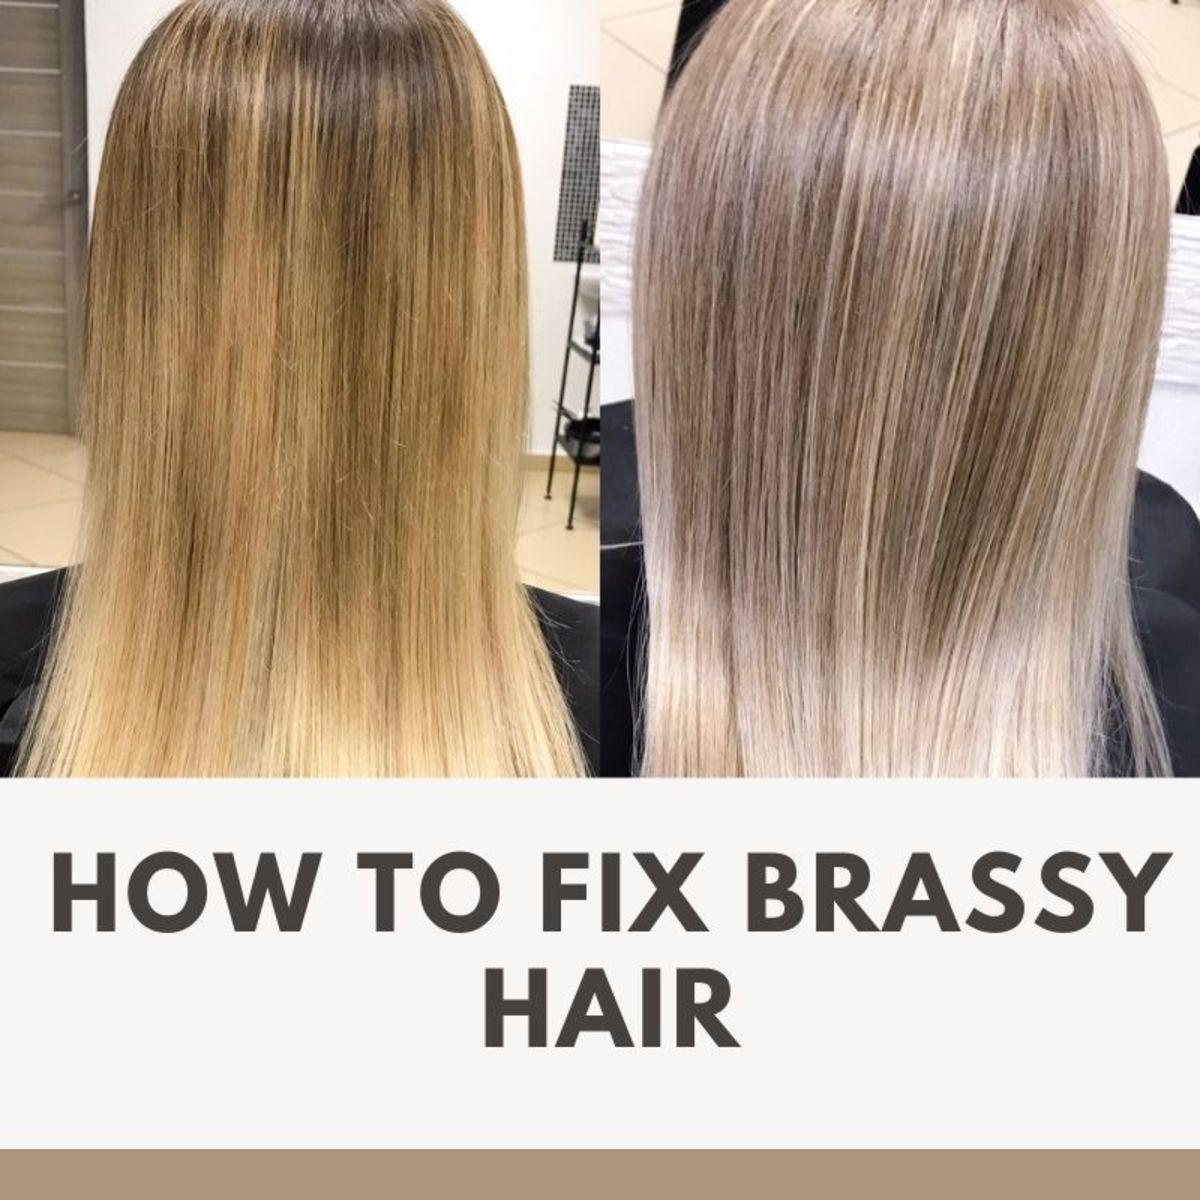
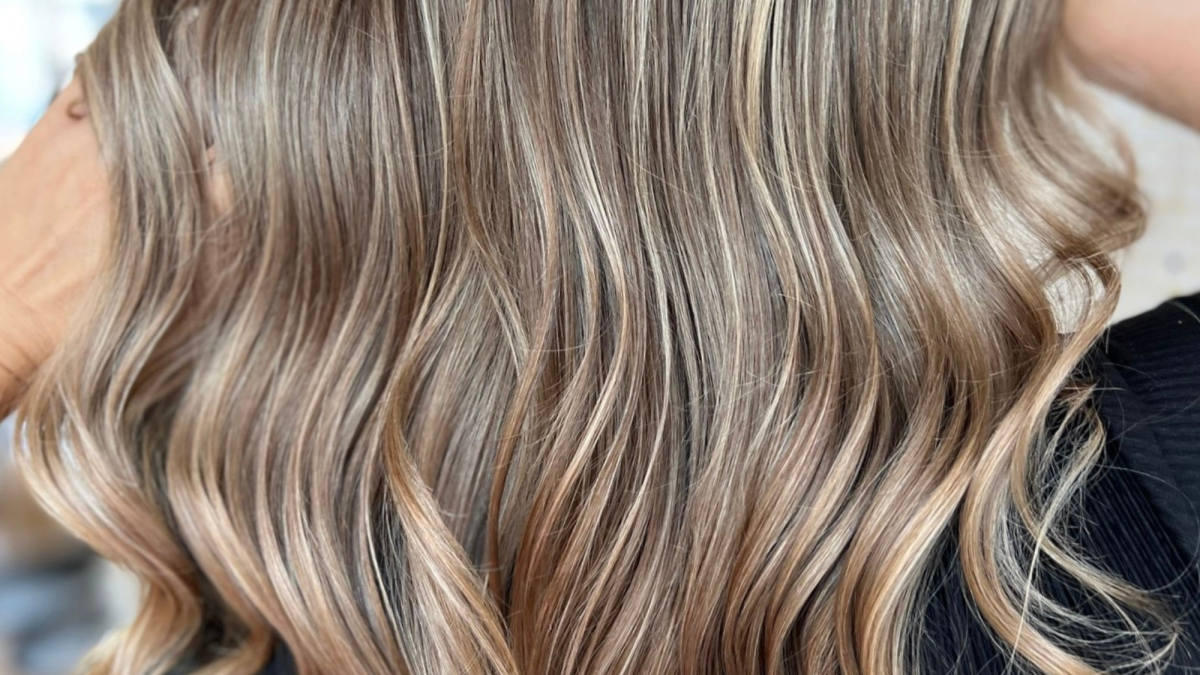
After some time had passed, I decided I couldn't justify draining our bank account for my hair. I decided I wanted to revisit highlighting my hair at home, but this time I'd do a lot of research. I wanted to avoid that dreadful orange, brassy look brunette hair likes to turn during the lightening process. Lucky for me, a neighbor moved in who happens to be a pro at highlights. Her natural hair color was just about the same as mine, too. I complimented her on her gorgeous, NON brassy, natural looking highlights one afternoon. She said: "Thanks, I do them myself!" Huh? How on earth did she accomplish that? By the next weekend, she was sitting in my bathroom showing me her secret procedure. Well, okay... it's not really a secret. In fact, it's certainly not a secret now!
Tools You'll Need to Have on Handy
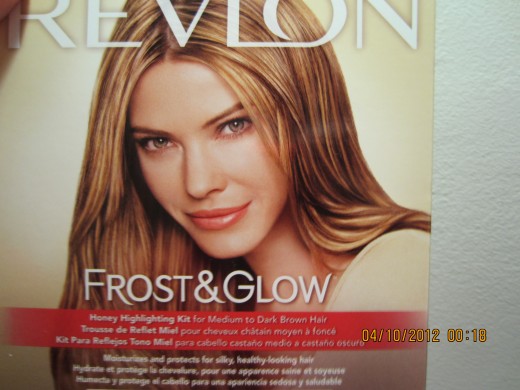
- L'Oreal's Frost and Design Kit for Medium to Dark Brown Hair
- An old shirt you don't care about
- A towel
- A blow dryer
- A timer
- A friend to help with the back of your hair. It can be done alone, but it's tricky.
- A LOT of time and patience!
I'm not kidding about having a lot of time and patience, either. Don't even consider undertaking this task unless you have at least two hours! And, no... I'm not kidding.
How To: Step by Step
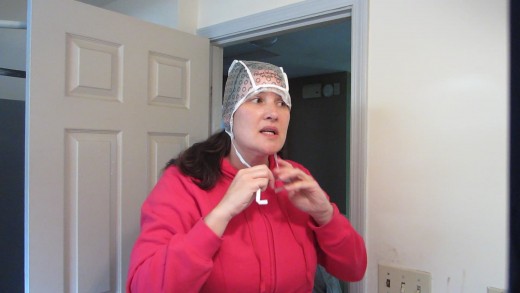
- Find the gorgeous cap you will be wearing for the next hour and a half, give or take... Secure it tightly on your head. You don't want any slack to be at the top of your head. When it's positioned well, tie the glamorous bow (sarcasm included here).
- Decide how dramatic you want your highlights to be. As you look at the cap, you'll notice it's divided into sections to assist you: sides, front, top, and back. Some of the holes have circles, some don't. The holes are there for ease of spacing. I normally pull my hair through the holes with the circles. Pulling your hair through every hole would create a drastic effect, one I don't particularly like. But, that's up to you, of course.
- It's easiest to begin at the top/front of the cap. Begin pulling the hair out of holes with the pick that's included in the kit. Be VERY careful not to pull out too much hair or you will be sorry! The trick is to pull out small amounts of hair. This will make for a much more natural look... really important with dark hair.
- Avoid pulling out the hair in front of the ears... It's VERY tricky to get the highlights close enough to the scalp through the cap. Even a tiny one millimeter gap between the root and the highlighted hair will be very noticeable. Basically, I'm talking about the "sideburn" area (sorry, that's about as close as I can get to describing it accurately!).
- If you have a very kind friend, partner, or spouse, by all means elicit his or her help. Pulling the hair through the holes back there is a colossal task. It's not only very difficult to see what you are doing, but it's pretty rough on the arms. A mirror will reverse your actions, making it even trickier. With some practice, you can perfect doing it alone. But, be ready for some frustration and shoulder pain! Remember it's not the end of the world if you skip some holes back there.
- Once you have all the strands you want pulled out, brush the hair you want to highlight. It helps to start with untangled hair... plus, little hair loops tend to form when the strands don't get pulled all the way through. You want to make sure those are gone before you start highlighting or you may have a funky, undesirable look.
- Thoroughly saturate the strands with the highlighting mix.
- Cover it with the overcap.
- Here the trick: blow dry the hair enough to keep it feeling constantly warm. I've found blow drying it for 1 to 2 minutes every 10 minutes is enough. It will assist with the processing and result in lighter, more true blonde highlights.
- Here's the second trick: wait for a full 60 minutes before rinsing out! Trust me, any less and you are asking for orange and brassy highlights. This, coupled with the blow drying will allow you to get the true blonde results you are after.
Protect Your Gorgeous Locks!
You want to make sure you take excellent care of your color treated hair now or all your hard work could be for naught.
What you need to do:
- Use Wen! Traditional shampoos strip hair of their natural oils AND any color you've added to your hair. I won't even touch regular shampoo if my hair has been highlighted. My hair looks so much better now that I only use Wen.
- Give your hair a break from heat for a while... Don't go nuts with the flat iron, curling iron, and blow dryer. Allow your hair to dry naturally... Use Velcro curlers or NON heat- dependent curling methods for a while.
- When you do use heat on your hair, spray on a heat protectant first.
VOILA! Enjoy your beautiful new highlights... I know I am!
- Stay out of pools. If you MUST go swimming, wear a bathing cap.

