How to Get the Most out of The Urban Decay Naked Heat Eyeshadow Palette

The multitasker in your makeup bag
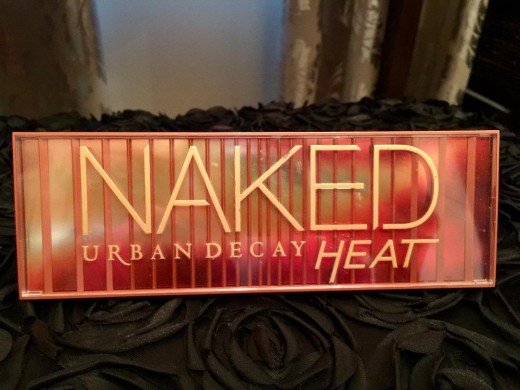
In 2017, Urban Decay launched the Naked Heat Palette and our hearts were on fire! With twelve shimmery and matte eyeshadows in gorgeous shades of rust, copper, and toasty brown, I sprinted to Ulta to buy my very own. Then, for most of us, this palette joined the palette graveyard and is likely not getting the attention it deserves. We have too many palettes and too little time. With new makeup coming out everyday, our new favorites become old favorites and soon, they're just forgotten.
I too fell into this category and have been feeling a little down about it. With a two week vacation on my horizon and the nagging desire to not pack too much makeup (again!) on my trip, i asked myself "Is it possible this palette can make my life easier?". Given the warmth of the colors, i had the thought that this little gem could multi-task. Sure, I could go to the store and buy another palette that has a blush, bronzer, a few eyeshadows, and a highlighter, or i can see if i can make this work as all those things because i already own it.
Keep in mind, this idea may not work on everybody's skin tone especially deeper skinned beauties or ladies with certain undertones but it's worth a shot. I am a natural brunette with light-medium skin that tans well and i have warm-neutral undertones. Give it a try with me and see what happens: Let's get started!
Is the Urban Decay Naked Heat Palette in your makeup collection?
 & No Flash (Bottom)")
 & No Flash (Bottom)")
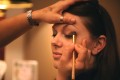
What i did step by step
1. First, i applied my favorite foundation and concealer. Urban Decay Naked Skin Weightless Ultra Definition Liquid Makeup has been my go to for about 6 years. I use shade 5.0 and applied it with a silicone makeup applicator. I then used the same applicator to apply my concealer. These days I'm loving Make Up Forever Ultra HD Invisible Cover Concealer (shade Y31).
Now that our base is done, we will start using colors from the palette to build a complete look.
2. Next I did some contouring. I used Ashes (2nd from right) and applied it with a light hand under my jaw and under my cheekbones. Use it however you would use the dark color of your contour kit. And then be sure to blend really well.
3. For a bronzer, i used Low Blow (4th from left). I squeezed a fluffy brush into a thinner profile and carefully made sure i just got that color on the brush and blotted it on my counter to ensure coverage all over the brush before applying. Then i applied as i would my regular bronzer.
4. I used my favorite blush brush and, again, squeezed the bristles together to get just the color(s) i wanted onto the brush and blotted on my counter to cover the whole brush to minimize streaks. I used two of the shades as blush; Sauced (3rd from left) and He Devil (6th from left). I applied along my cheekbones and blended well.
5. I used the lightest color on the far left, Ounce, as a highlighter. I used that underneath my eyebrows and along the highest part of my cheekbones for a little shimmer and to reflect light.
6. To fill in eyebrows, you will want to consider your hair color and these are some colors i think could work, but again, experiment for yourself too. You also may find that, for you, it is best to mix two or even three shades. I used Low Blow for mine.
- Blonde Hair - Low Blow
- Brunette/Black Hair - Ashes
- Light to Medium Red Hair - Sauced and/or He Devil
- Medium to Dark Red Hair - Cayenne and/or En Fuego
7. If you want to top the look off with a lip color, there are quite a few that can be used. I used Sauced and He Devil for mine and then i topped it off with my favorite lip balm (O'Keeffe'sL Lip Repair). Here are the colors i thought were best:
Mattes
- Sauced
- He Devil
- Cayenne
Shimmers
- Lumbre
- Dirty Talk
- Scorched
8. I finished off the look with Ashes on my eyelid and Ember as an eyeliner. I also put on a coat of mascara.
")
The result
Below is the before and after. I put this look together really quick once i had decided on the colors that i wanted to use. I was so excited about trying these colors everywhere else that I didn't spend much time on my eyes (that's another tutorial) but i did just a little so they wouldn't be naked.
I hope you enjoy this process and have fun experimenting with this idea yourself. You can take or leave any part of this process, for example, maybe contour isn't your thing or you just don't need to fill in your eyebrows (lucky!). However much or little you do,it should help you get more use out of this amazing palette and i know i will be much less overwhelmed trying to get ready on my vacation.

Share your experience
I would LOVE to hear about your experience and how it went for you in the comment section below. Also, please share if you have any tips or tricks you discover along the way.
This content is accurate and true to the best of the author’s knowledge and is not meant to substitute for formal and individualized advice from a qualified professional.
© 2019 Jess B