- HubPages»
- Fashion and Beauty»
- Clothing»
- Women's Fashion & Clothing Styles
How to Cut a Sweatshirt for Sewing Projects
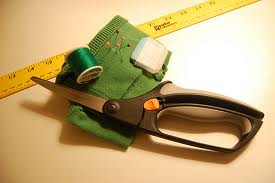
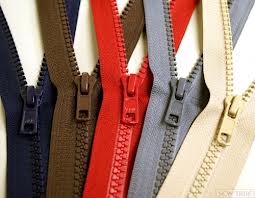
Supplies Needed For Sweat Shirt Project

Sweatshirt Sewing Project
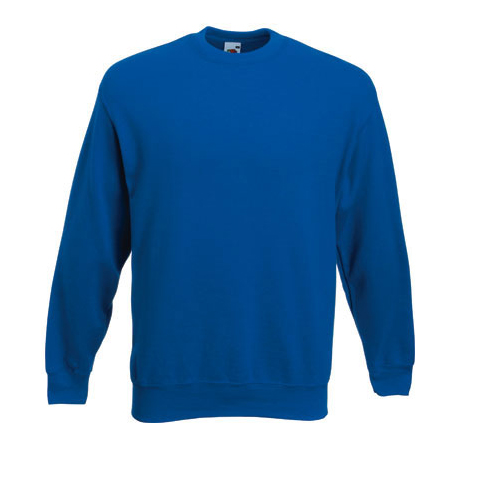
Many items can be constructed from an ordinary sweatshirt but in this hub, we will learn how to change a pullover to a full zipper closure. Once the garment is finished, embellishments may be added.
This garment may be sewn by hand if a sewing machine is not available. Purchase a sweatshirt or if you have an old one, that will be fine.
Easy Method
This is the method I use to quickly construct a zippered jacket or cardigan. Lay the sweatshirt on a flat surface such as a table with the front side up and smooth out or press lightly. Find the center of the shirt by putting the shoulders together and mark the center with the chalk. Place the yard stick down the center where you made the center mark. Use the chalk and draw a straight line from the neck to the bottom of the shirt. Use the scissors and cut on the line you have drawn from the neck to the bottom.
If you marked and cut the shirt on the wrong side, turn it to the right side now. Next, place the wash away wonder tape along the center cut edges from the bottom to the top edge. Take the paper off the tape and separate the zipper. The zipper does have a right and wrong side. Mark the right side of the zipper with the chalk. One of the zipper pieces has the zip, fold the top edge down and secure with a pin. This way you will not accidentally pull the zipper off. Place the right side of the zipper face down on the wonder tape, do both sides left and right sides. I start at the bottom of the shirt.
At the bottom of the neck ribbing, remove about 1 1/2 inches of thread, fold ribbing back. Once you fold it back, it should be right side to right side. Stitch in a 45 degree angle, on both center pieces. Trim off the excess zipper and turn. Now you are ready to stitch on top about 1/2 inch from the folded edge, zipper underneath the fold.While stitching making sure the stitches are catching the zipper underneath. Finish stitching the neckline, the neck ribbing that you removed the stitches from earlier.
The project is finished. You can use this method on almost any pull over shirt. See the photo of the shirt with the hood? That was a pull over shirt, I used the same method to add a separating zipper for a front closure. I prefer the hooded over the crew neck.
The Same Method As The Crew Neck

Add Decoration To Your Finished Sweat Shirt
The cuff, neck and bottom ribbing can be removed by cutting them off. Hem all where you have removed the ribbing. Decorative bindings maybe added, the options are unlimited as to what you can do. Initials maybe added or even a name.
Plan your work before adding decorations. Always pin in place first. I pin whatever decoration I'm going to use, then I try it on to see how it looks and I can then move them around or add to get the look I want.
Good Luck and happy sewing.

