Covering Spots with Makeup

Most of us get spots at some point and thanks to pollutants in both our food and environment they are not just restricted to teenagers and those with oily skin. Stress, chemicals and cosmetics can all clog our pores and lead to breakouts, often without warning. Thankfully there are ways to hide our blemishes so you can go about your regular day or special event without people constantly staring at that big ol’ shiny spot right in the middle of your face. Best of all, a child could do it and all we need are a few basic cosmetics which you (or your wife/mother/girlfriend/sister) probably already have in your home.
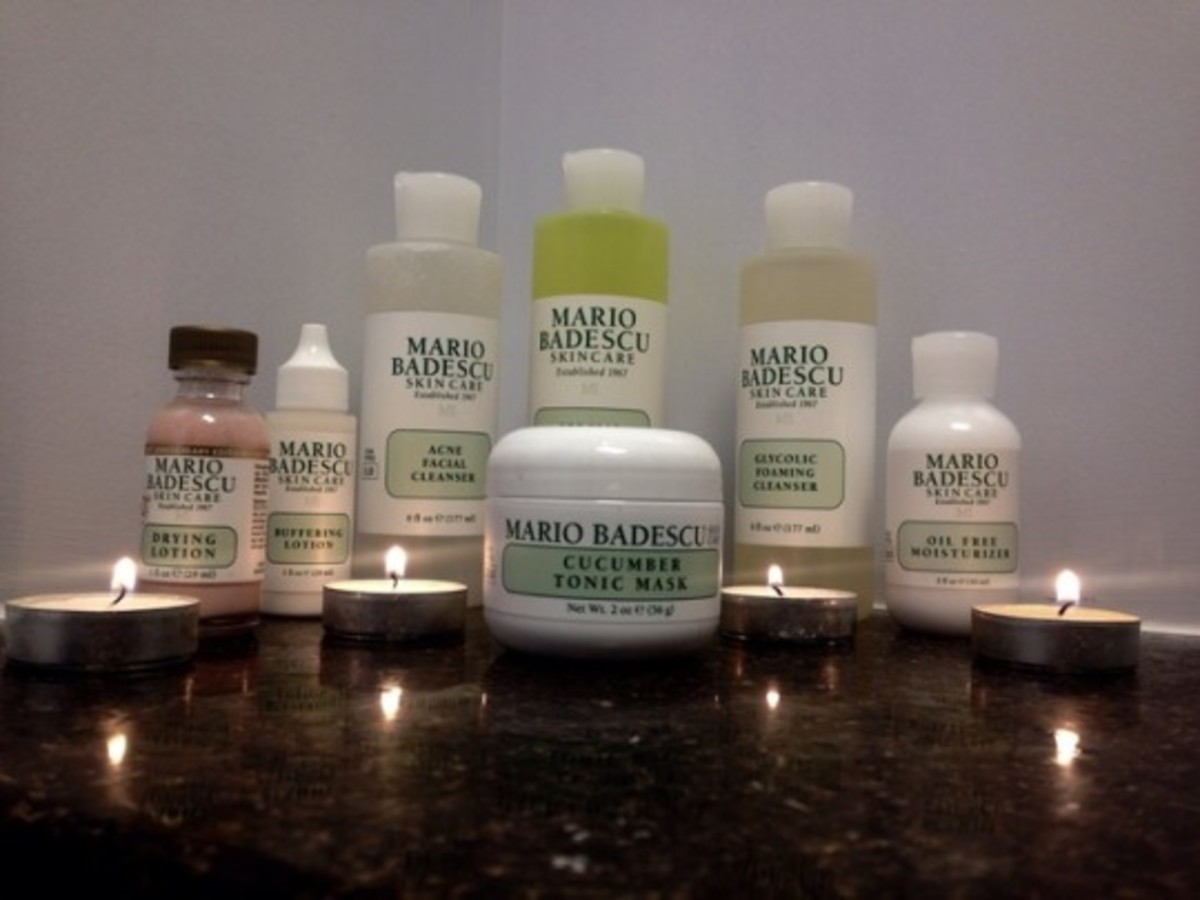
Cleansing
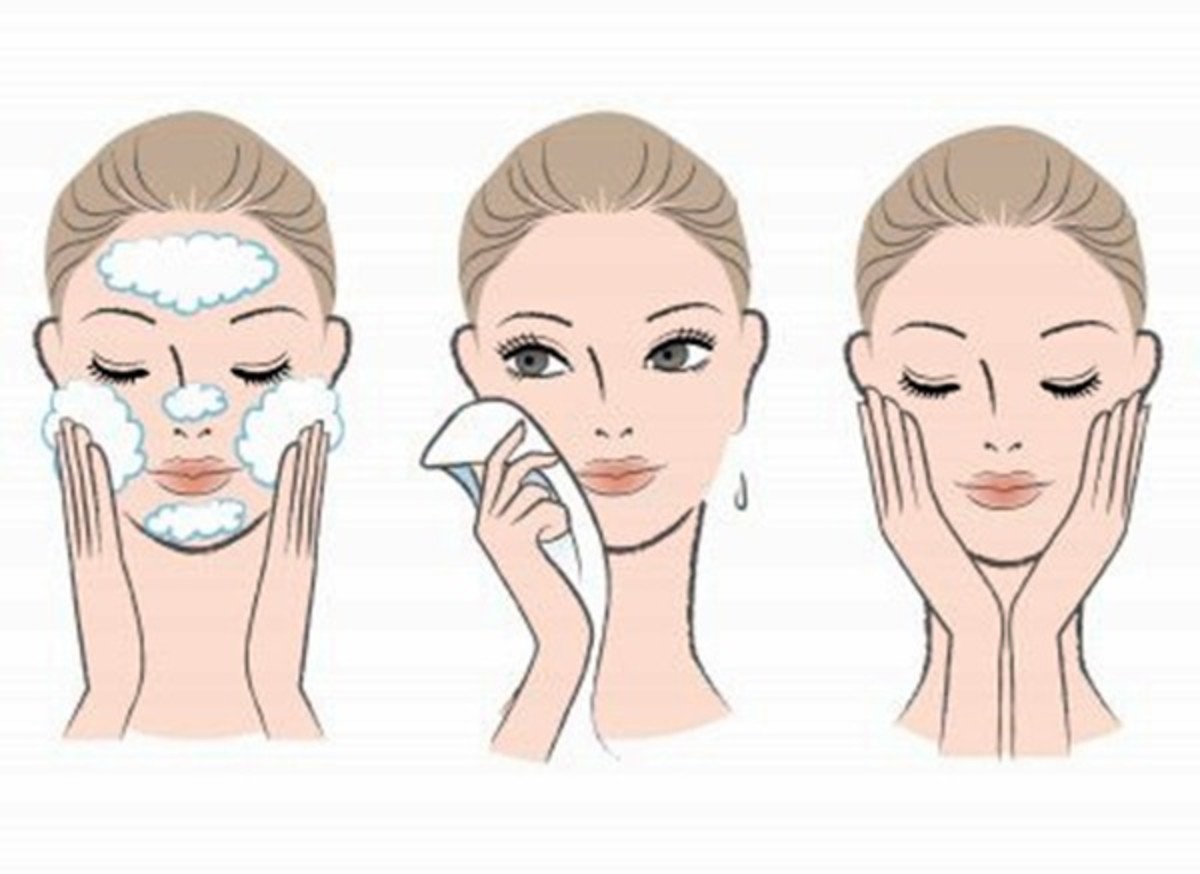
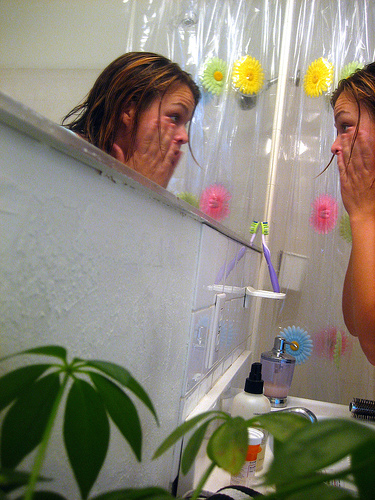
First off we’ll start by preparing your face. Wash with a cleanser or facial scrub, rinse with warm water before splashing on some cold to close your pores and then pat dry. I like to use Neutrogena Deep Clean Gentle Scrub although there is absolutely no rule that says you can’t simply mix a little table salt with a moisturiser and use that instead; the deep cleaning effect is the important part to keep in mind and will prevent new spots from breaking out while creating a clean base for our concealing make-up. A word of warning, if you have quite dry skin leave off the salt and instead make a scrub with sugar.
Moisturising
After your face is dry, apply a light moisturiser and leave it for five or so minutes to absorb. Any moisturiser will do so choose one you like the smell of and apply a small bit to your skin. If you apply too much then it's nothing to worry about, just wipe the excess off with a soft cloth, not a baby wipe! They'll take off the lot whereas a dry cloth won't remove the moisturiser that's already absorbed.
Okay, so are we all clean? Skin feeling soft? Great, now let’s get down to business!
Time to Prime
To create a base for the make-up we’re going to apply primer to the area (or your whole face, whatever suits you best). Simply take a small amount of primer and apply it to your face using your fingers; you could use a foundation brush but I find it much easier to just pretend its another moisturiser, after all this stuff is pretty invisible. The primer will make your make-up last longer and create a barrier between your cosmetics and the spot so your skin doesn’t get clogged up all over again.
Colour Correcting
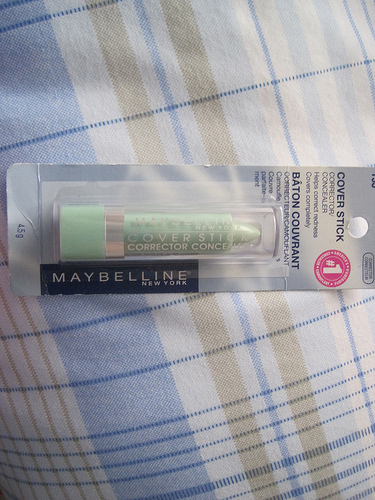
Next we’re going to colour correct that spot so none of the redness shows through. There’s two ways of doing this, the first is by far the simplest but requires colour correcting concealer whereas the second way is a little more complex but can be done with any normal coverstick and a bit of eyeshadow.
The easy way
For the first method you just apply a green colour corrector to the spot, preferably with a brush for accuracy as you don’t want to get any on your normal skin. Pat the corrector into the spot with a brush, or fingertips if you don’t have a concealer brush, and there you go, done!
The cheap way
To do the second method take your coverstick (that’s a thick, lipstick shaped type of concealer for those who don’t know) and dab a bit onto the spot, don’t rub it in just yet! Instead take a green eyeshadow and apply a little to the spot of coverstick, now you can rub it in but again try not to get much on the surrounding skin.
The reason we use green is because of the neutralising effects of opposing colours. On the colour wheel (Google it!) green is right across from red and therefore those two colours will cancel each other out.
Concealing
Right so now we’ve colour corrected (yes you now have a green spot on your face but just wait and that’ll disappear) we can get onto the actual concealing. Take a concealer, not a coverstick as that will just drag off our colour corrector, and put some on the back of your hand. You will need a brush, sponge or something to control the amount you apply as too much at once will remove the corrector. In a pinch use one fingertip, dip it in the concealer, dab excess back onto your hand and lightly tap over the spot. Likewise with a brush or sponge ensure you remove any excess and lightly dab over the spot; it is much easier to build up your concealer than it is to begin this whole process again should you remove your corrector by mistake. If you have a stipple brush to finish the process then you might just be okay to leave it at that for a more natural look. Of course this depends on how well the concealer blends to your skin and your blending technique.
Add the rest
For those of us who wish for a little more coverage then simply apply the rest of your make-up as normal. Be especially careful with your foundation and either lightly dab over the spot with your finger tip or use a stipple brush (a foundation brush it a little heavy-handed for going over the spot but if you choose to use on then simply pat your foundation over the area with a light hand).
And Done!
So there you go! Simple, easy and takes about 5 minutes (not including moisturising/cleansing time). This method can also work on scabs from picked spots (use a yellow toned concealer/eyeshadow) although it will be much less effective due to a scabs uneven surface. I hope this technique helped you and enjoy your blemish-free day!

