Sunless Tanning Application Tips and Advice For Self Tanners
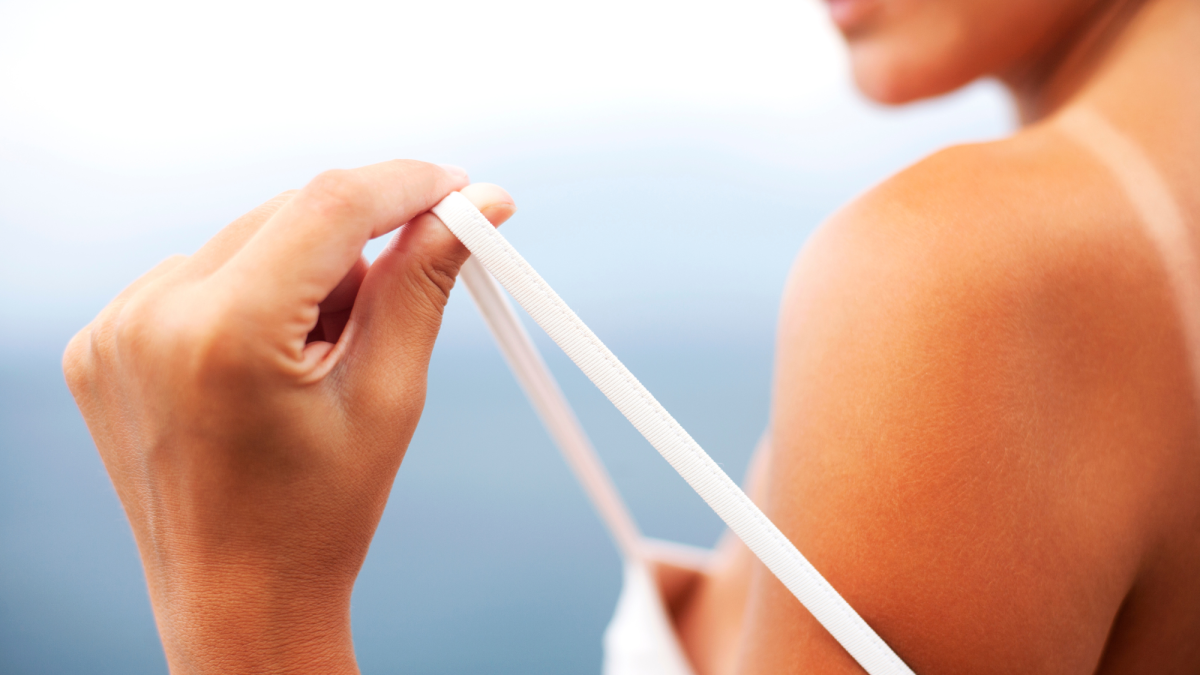
Tanning products have come a long ways and produce very similar results to the more harmful alternative when it is applied correctly. This hub offers great how to tips and advice to get a desirable natural looking tan.
Sunless tanning products have come a long ways since they were first introduced by Coppertone in 1960. Although there are many vehicles, all topical sunless products contain dihydroxyacetone or DHA. This active ingredient is what produces the pigmentation of skin.
With self-tanners, you can replicate a desirable healthy tan without laying for hours under the sun or beneath artificial UV lights. You are also doing your body a favor by avoiding UV lights. Skin cancer is the most common form of cancer in the United States.
There are definitely ways to achieve the best tan possible. With effective preparation, application and care you can have a tan that lasts anywhere from four to ten days.

How To Choose The Right Sunless Tanning Product
Before actually applying the product, you must decide which to use. For beginners, a gradual self tanning lotion used a few times a week minimizes the chances of messing up. And if you do, it will be subtle and not as noticeable.
For those who are less experienced but prefer a full sunless product, use either a lotion or mousse. These formulas will glide on easier and allow more time for application than their quicker drying counterparts.
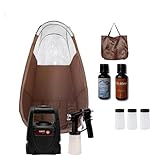
For hard to reach areas, enlist the help of a friend or significant other. If this is not an option than use a spray so that you can evenly distribute in hard to reach areas. Another option is to use a long handled sponge paintbrush.
Choose a shade that will complement your natural skin tone. Products labeled Deep or Dark will look better on people who have darker complexions and tan easily. For light complexions, start with lower concentrations of DHA. These will be labeled Fair or Medium. If you want to go darker, it’s always best to build up to a darker color anyway. This will be more natural and the blended colors will reveal fewer mistakes. You can do this by applying your formula two or three more times spread out over a few days.
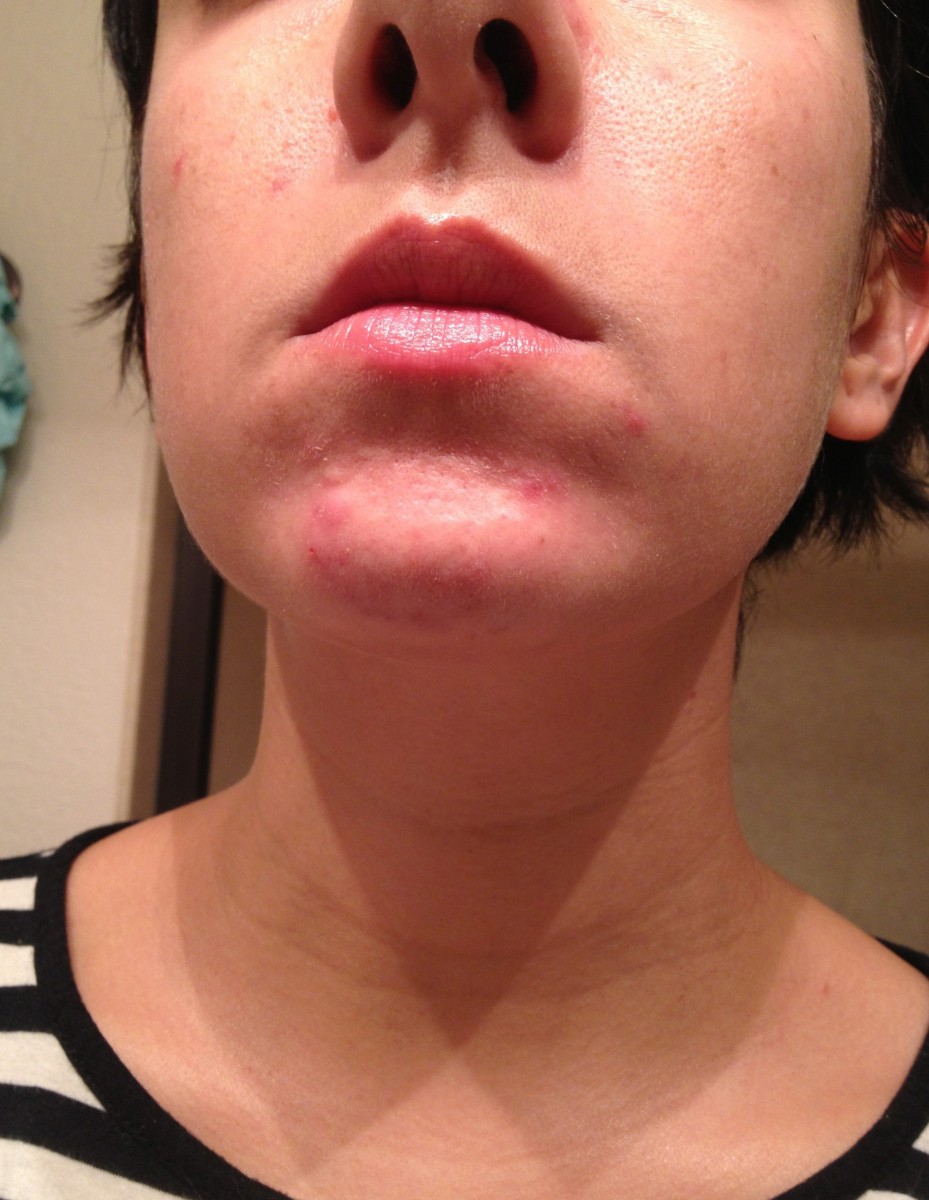
For facial application, you should consider using a special formula. Products specifically for self-tanning skin on the face has less oil and will decrease chances of clogged pores or breakouts.
Skin Preparation
The week prior to application should be spent priming your skin for the best effects. Ideally, you want an even platform without rough patches of skin. These dry areas will absorb more self tanner resulting in an uneven tan. You should exfoliate and moisturize at least a few days, preferably a week, before using your sunless tanner. Shaving also helps exfoliate and this should be done the day before.
The day of application you should start with clean, exfoliated skin. After showering allow time for your body to cool down. Do not apply your self tanner in a steamy bathroom. Both these steps will help prevent you from sweating and melting the self tanner. Drips and streaks will cause an uneven blotchy color.
While waiting for your skin to cool down prepare "erasers" that may be used on mistakes. Have cotton balls, Q-tips and towels ready. Hydrogen peroxide, lemon juice, a baking soda solution, eye make up remover, an astringent toner or toothpaste can be used to help lighten mistakes. You don’t need all of these, but I have listed them simply because some ingredients will work better with some people and their tanning product than another is capable of. If you prefer, there are self-tan removers available for purchase. Beware, they won’t erase but will help reduce mistakes.
Be sure to tie your hair back. Rub Vaseline on cuticles and nails if you are applying product without gloves. This will prevent staining and protect your manicure. If you choose to use a surgical glove be sure that it is tight. If you know you’re likely to streak you may prepare diluted product by mixing half self tanner and half moisturizer to apply to knees, ankles and elbows.
Have a towel close by so that you may dry your hands often . This is for those that choose not to wear gloves. If this is the case you should wash your hands every five minutes to avoid coloring palms and wrist. For example, do a leg then wash your hands, do the other, then wash your hands, etc.
Applying Sunless Tanning Product
When you begin application, you should begin with your limbs. Start with one leg first. Try to work slowly and be sure the product is rubbed in completely. Apply in long sweeping motions from your shin and calf down over your ankles and toes. Don’t apply tanner directly to your foot. Blending from the calf down is much more subtle.
If you opted to use the diluted portions on your ankle and toes, stop before your ankles and use the prepared tanner. Be sure to rub in thoroughly for a "seamless" look. Before you finish go over the entire area once more in wide circular motions. Wash and dry your hands well if you are not wearing gloves. Repeat this procedure on your other leg and wash/dry your hands once more.
You are working your way up so you want to apply the tanner to your thighs next. Apply the tanner from front to back in broad motions. Either use the remaining excess to blend carefully onto your knee or the diluted tanner. Whichever you choose, be sure it is well blended. Finish with circular motions over the area to prevent streaks. Remember to wash your hands approximately every five minutes to avoid brown palms.
Next, apply tanner to your hips, stomach and torso finishing with your shoulders and arms. Rub in consistent motion until product is completely rubbed in and blended well. If you have your sponge brush you may use this, this may take some practice and getting used to. If you’re new to this method, slowly build up product instead of applying too much at once. I prefer the spray because it is quick and less messy.
Extra Application Tips
An extra tip is to create an illusion of fabulous abs. You can create
this effect by using the tanner to contour your ab lines. Stand in
front of a mirror and lean to the side. See where your ab lines are and
use a small amount of tanner on your finger to trace the outside of your muscle. Repeat this step on the other side. Wait for the
application to dry and finish with an all-over coat.
To mimic
a more natural tan, apply tanner to the top of your arm only. From the
top, blend it completely around the arm. Be sure it is well blended.
Finish with hand application. Remove gloves and dry your hands. Put a
small amount of tanner onto a cotton ball or a damp triangular make up
sponge. Cover the back of each hand with a light coat. When cotton ball
or sponge is nearly dry with residual product, use it to blend around
your fingers. Don’t forget the thumb and the wrist.
Facial Application
For face application, you should prep your face the same way; with cleansing and exfoliating. Do not add moisturizer; however, you may apply an undereye cream. For a more youthful and natural appearance, it is desirable to have lighter skin under the eyes. If you are not using a special formulation, blend equal amounts of moisturizer and self-tanner in your palm and then apply evenly. Blend well into your hairline, jaw, neck area and ear lobes. Be sure to blend well around the eye without getting any in it.
Run a moistened cotton ball along your hairline to get rid of sunless product that may have settled. Also, wet a Q-tip with water or make up cleanser and lightly brush back and forth through your eyebrows to rid of tanner residue.
Wait at least 15 minutes for your self tanner to completely dry before putting on loose, dark clothing. Avoid any excessive energy that will promote sweating for the next few hours. It will usually take at least three hours for color to fully develop. If you would like to go darker you may repeat another application the following day.
Correcting Mistakes
Throughout the process, if there are mistakes you may use one of the ingredients listed above to lighten the area (Hydrogen peroxide, lemon juice, a baking soda solution, eye make up remover, an astringent toner or toothpaste.) Simply apply to a cotton ball and rub.
Care and Maintenance Of Your Sunless Tan
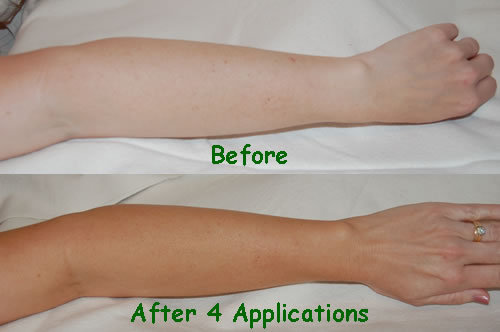
Skip the next shower’s shave and exfoliation to preserve the color. When you resume exfoliation, be sure to do so lightly. Moisturize your skin well to prolong the life of your "tan." The life of your color varies upon skin condition, product used and care. This may be anywhere between four and ten days. Typically, in order to maintain your new color you will need to reapply once or twice a week. The more often you apply the better you will get and the longer your color will last.


