Memory Box


Making a Memory Box
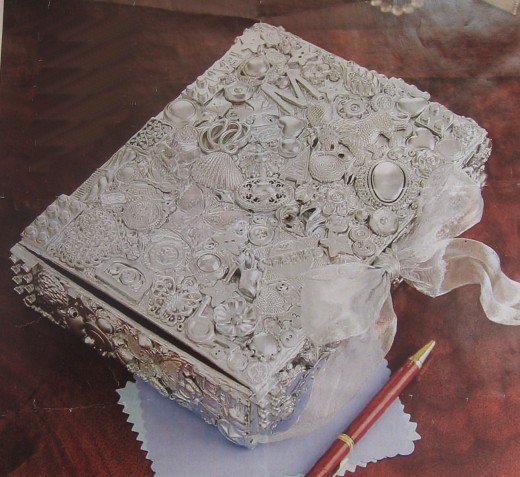
What better way to store your most favorite memories than in an elegant box you can make yourself?
Find a box, or even a tin, you would like to use. Now the fun part! Hunt for all your broken jewelry, any trinkets you've been hanging onto but not sure what to do with, sea shells, buttons, beads, even small toys you're sweet on.
Use your hot glue gun to adhere these to the box. Whether in a pattern or just randomly, glue them to the top and sides. Be sure to leave a space around the top rim of the bottom should your lid slide over the bottom.
Once you are pleased and finished gluing, leave to dry for minimum 24 hours. You want to be sure that the glue has had time to cure. When the time is up, check to see if any of your doodads are loose. If you find one just re-glue.
Choose the color of spray paint you'd like to use. Silver or gold metallic paint will make it look like it is from the Victorian Era. Coordinating your paint color with the room you plan to use it in will surely make a statement. Give it 2-3 light but thorough coats of paint outside. Let dry. Drying time depends on the temperature of the day.
Once your box decorated and painted, you can turn attention to the inside. There are several ways to finish the inside, if you would like. You could choose to paint the inside or line it with fabric, felt, paper or velvet. If lining is desired and your lid is hinged, you may want to glue a piece of ribbon to the inside of the lid and bottom front to enable tying. You would want to do this prior to adding the lining. To line, place the box on what you'd like to line it with and trace around it. Cut out and place inside. Adjust for size, if needed. Remove, add a little glue and replace. Repeat with lid.


