Simple and Easy DIY Nail Art Designs Tutorial: Green Nails with Black Abstract Design

Green Nail Art with Abstract Black Design
This is one of my DIY nail art designs that use two of my favorite shades of nail polish, and is really easy to do at home. You'll need a fan brush and a set of dotting tools for this, and that's it. You won't even necessarily need a steady hand, because the 'randomness' of the black design gives it character. This was one of the designs I mentioned in my easy nail ideas in green hub. Read on for step-by-step pictures and instructions.
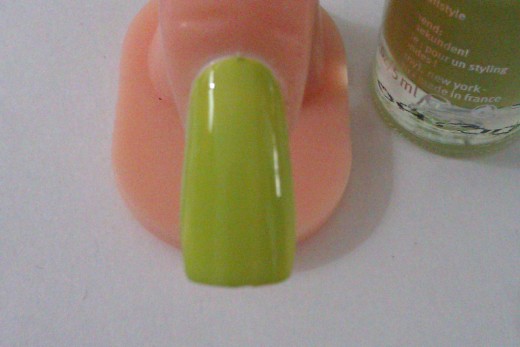
Step 1
I painted the entire nail in a bright lime green nail polish for this design. If you're doing a full manicure of this design, remember to clean the nails properly using acetone beforehand and push back the cuticles. Apply a base coat and then paint the lime green polish over it.
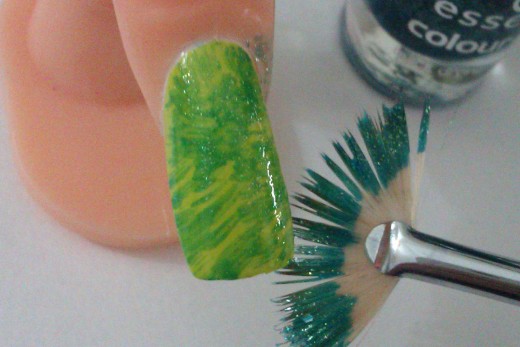
Step 2
Use the fan brush to paint glitter teal nail polish over the lime green base. The idea is to have the teal glitter polish sweeping over the lime green so that it still shows through.

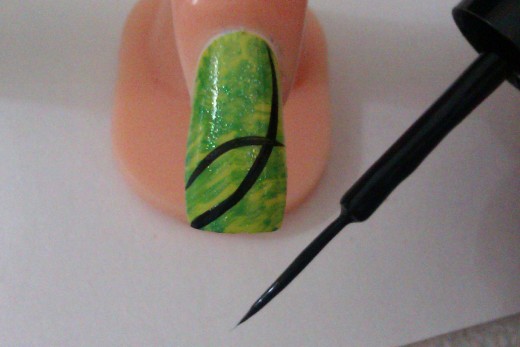
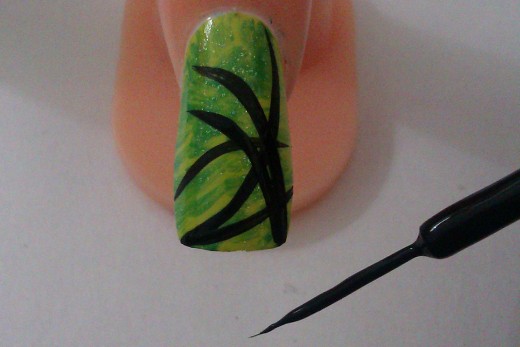
Step 3
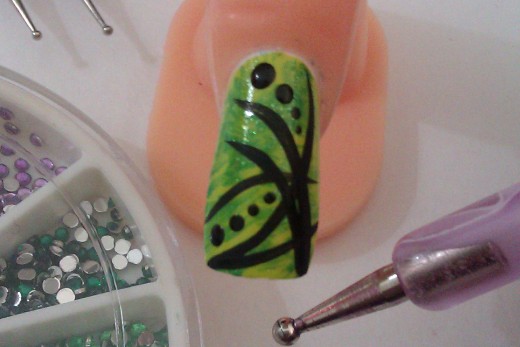
Use a black nail art liner to draw the first lines onto the nail. Use the picture as a guide if you're unsure of which lines to draw first.

Step 4
Use the dotting tools and black nail polish to create the dots. If you're unsure about where to place them, refer back to the picture. This design is really easy to do and if you want to change the design slightly, then you're free to do so. There's a lot of room for interpretation with this design, so it's perfect for beginners.
Once you've reached this stage, all you need to do is to let the design dry before you paint on a top coat of your choice. This is a very arty and fun design. I've had countless compliments on occasions when I wore similar DIY nail art designs, so you're sure to get a lot of attention. Play around with your favorite colors to put an individual spin on this easy nail design.


