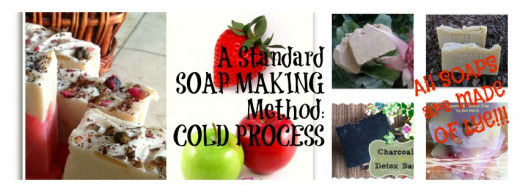
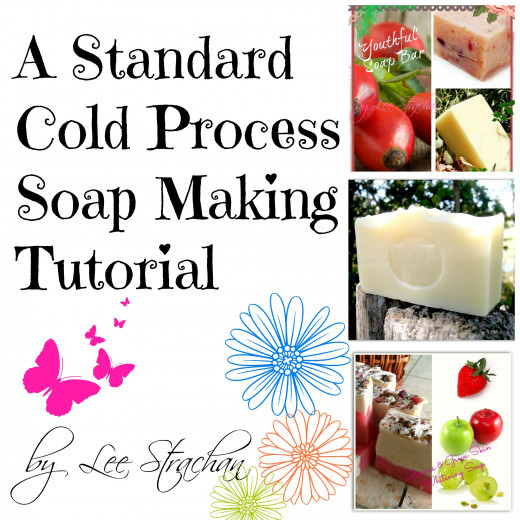
Standard COLD PROCESS Soap Making Tutorial

What do we need in this COLD PROCESS Soap Making?
We will need:
-Lye or Caustic Soda or NaOH
-Any Liquid
-Base/Carrier Oils
-A plastic container for mixing the soap
-A long plastic spoon or a wooden spoon (a spatula will do)
-pair of gloves
-pair of safety goggles
-your protective clothing (any long sleeves and apron will do)
-any Essential or Fragrance Oil (for Fragrance Oils make sure it is skin safe)
-a soap mould (maybe a plastic or lined wooden log mould)
-a digital weighing scale
-containers for your ingredients
A Standard Soap Making Method: COLD PROCESS
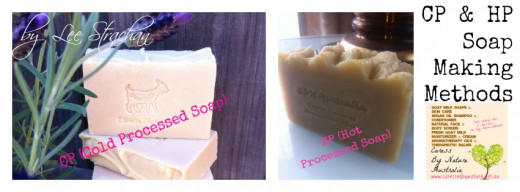
Basically, if you are new to soap making, you would ask; what is a cold process method? - In a very simple term, cold process soap making does not involve heat. We cook the soap without applying any heat, it is only the heat produced by lye that is needed for this soap making process. Now, when making a soap, it always involves LYE. All soaps, even those that you purchase from the shops, those glycerine based soaps which they call 'melt & pour' soap making are made of lye. The very base of any soap comes from lye.
So, let's proceed and learn about this simple method of soap making: The Cold Process Soap Making Method.
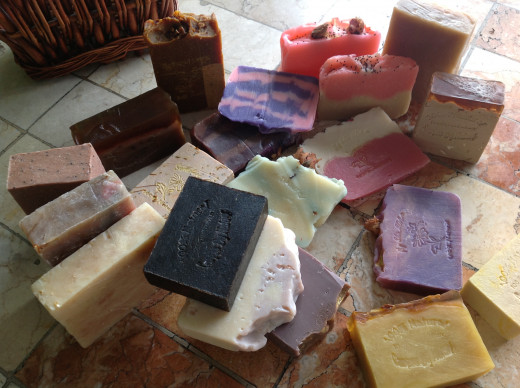
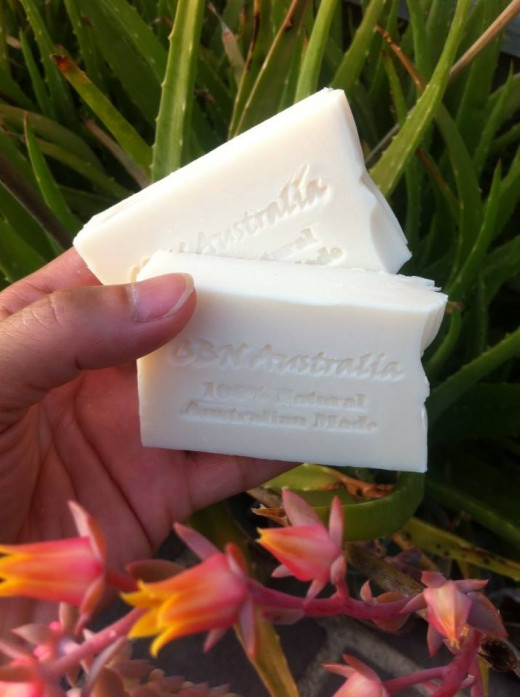
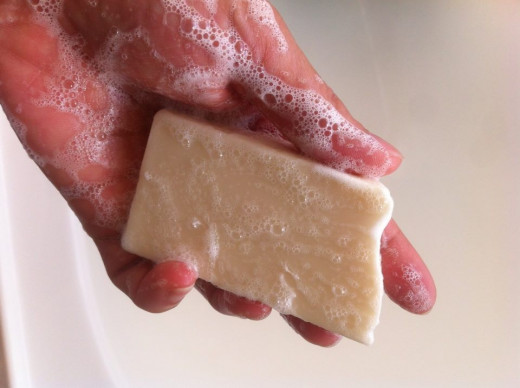
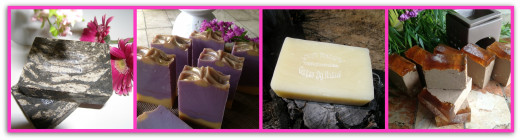
Cold Process Soap Samples
Click thumbnail to view full-size
The COLD PROCESS Method
- Prepare LYE Mixture: I always Use 25% Water from the total liquid requirement, reserving the other % for light trace (liquids that I use for extra benefits).
*(set aside to cool to room temperature)
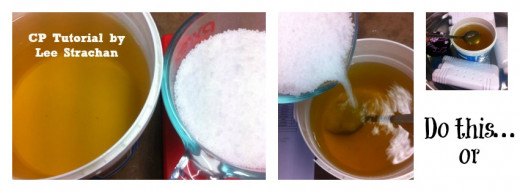

2. Prepare and line your mold.
3. Weigh all carrier oils required for the recipe and mix the oils in a soap container/pot.
4. Weigh other liquids & add natural preservatives (NatPres).
*NatPres:
-1/8 tsp Sodium Bicarbonate for every 1 Kg batch
-0.5% Potasium Sorbate or Sodium Benzoate or Geogard Ultra (INCI: Gluconolactone (and) Sodium Benzoate)
Set aside (for adding @ light/thin trace).
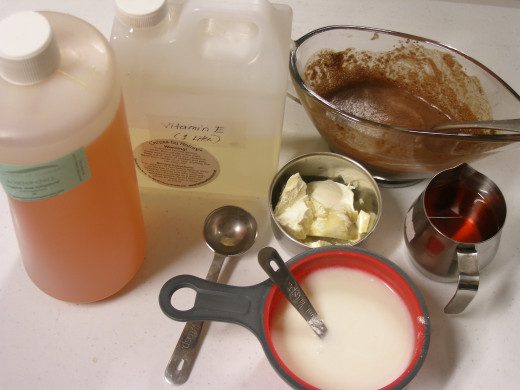
5. Weigh Fragrance or Essential oil blends and set aside. To be added later @ light to medium trace.
6. Let’s now start with the base/carrier oils. Add Silk Mica and mix until pearlized. This is optional. Silk Mica adds silkiness to your soap while having a shower.
7. Check LYE MIXTURE, if already at room temperature, add in to your base oils while stirring manually. Then, give a few short burst once in a while to incorporate the LYE MIXTURE to the Oils well until a light trace and creamy consistency is achieved.
8. @ Light Trace, add in your Other Liquids + Preservative (NatPres) mixture at light to medium trace, mix manually while giving short bursts using a stick blender.
9. Add in your Fragrance blend/Essential oil blends at any time during medium trace.
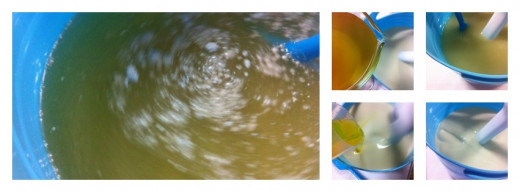
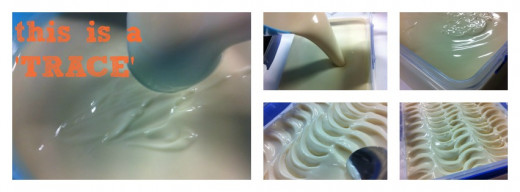
10. Alternately stick blending and manual mixing until a TRACE is achieved. It could be from 10 minutes to an hour depending on oil blends.
11. Pour on your moulds. Cover with a piece or cardboard, leave a small vent.
12. Wait for 24 hours to unmould. Cut & stamp as desired. Safe to use after 48 hours. But, remember: the longer curing time (4-6 weeks or more), the harder & more economical your bar will be.
The Standard COLD PROCESS Soap Making Method
COLD PROCESS Soap Making Video Tutorial
Check out my Youtube for the video tutorial of this blog:
My Soap Creations by Lee Strachan
Hope you enjoy this simple tutorial.
Visit my blog for more: http://caressbynature.blogspot.com.au/
Check out my Facebook Page: https://www.facebook.com/pages/Caress-By-Nature-Australia/
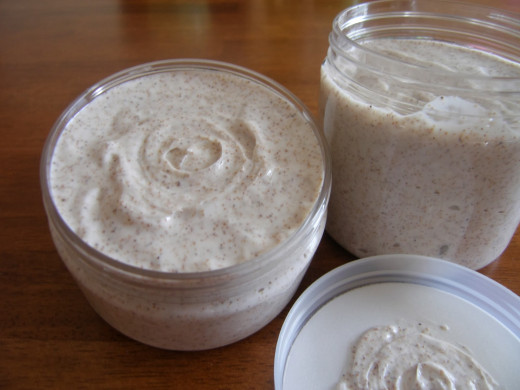
How to make a creamy goatmilk & apricot seed face & body scrub?
Want to learn more? Here's a tutorial on how to make n apricot and goat milk face & body scrub-
http://caressbynature.blogspot.com.au/2013/11/fresh-goat-milk-apricot-seeds-face.html
Thank you for taking time to read this blog!
Merry Christmas every one!


")