Tips for Organizing Jewelry
All right ladies (and some gents), do you have a lot of necklaces and dangle earrings that you would like to organize a little better for easy access? I know I have a lot of necklaces that tend to get tangled in jewelry boxes and my earrings get tangled in the necklaces. Basically every time I have tried to use a jewelry box to organize my jewelry, it always has ended up a big mess. Over the past few years I have tried to find other methods to organize my jewelry and I want to share some of these methods.
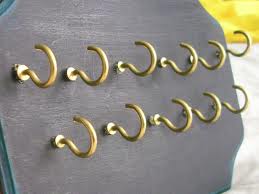
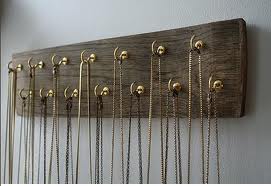
Tea Cup Hooks:
I know a lot of rental places will not allow the tenants to do anything like place hooks or nails in the walls because of it leaving holes in the walls. If you live in a place where you are allowed to put holes in the walls, tea cup hooks may be a good organization solution for you. At the time I tried this method, I was renting an apartment and I was not able to put holes in the wall so I had to come up with something. I found a scrap piece of wood that was about an inch thick, a foot across, and about 2 foot tall. I cleaned up the wood, sanded the edges, and painted the board with a can of cheap spray paint. Once the board was cleaned up, I used a ruler to measure and marked spots every inch across the top of the board. Then I moved down about 2 inches and marked spots below every other spot, basically every 2 inches. Again, I moved down about an inch and marked in between the other spots to create a staggered effect. Then I moved down 10 inches and repeated the pattern with one row at an inch apart and 2 rows about 2 inches apart in a staggered pattern.
Once I was done marking my spots, I then screwed in tea cup hooks at every point I marked. I was able to prop the board against the wall at a slight angle (on top of a dresser) which allowed me to hang earrings on the hooks at an inch apart and hang my necklaces on the staggered hooks. For my smaller earrings and rings that would not hang on a hook, I placed them in a plastic sandwich baggie and made a small hole in the bag to hang on the hook. This organization method worked really well until my cats figured out they could remove the jewelry from the hooks.
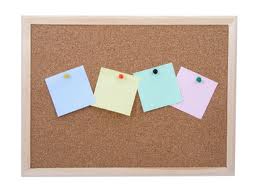
Cork-board with push pins:
Even though I was not supposed to make holes in the walls of the place I was renting, I decided to try a different method of organization. I bought a cork-board that is used for an office type organization method. I measured an area on the wall the width of the board, about 3 feet wide, and put push pins (thumb tack) where the top corners of the board would sit on the push pins. Once the board was hanging, I placed a small nail in the bottom corners to help hold the board against the wall. I then measured out points like I did with the tea cup hooks, only I used push pins instead of hooks. I was able to hang up my earrings and necklaces out of the reach of my cats.
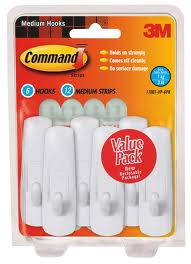
3m Hooks:
I ended up moving and living in an RV for a couple of years. With space being really limited, I did not have a wall area big enough to put the cork-board and I already knew that the board with tea cup hooks would not work due to my cats. So once again I had to come up with a method to organize my jewelry. After a lot of debating, I decided to try a variety of hooks from 3m since they can be put just about anywhere. I put the hooks on the wall of the shower stall opposite of the shower head, toward the top area of the outside edge where the curtain would cover most of the jewelry. Since I was limited on space, I used fewer hooks and placed multiple necklaces or earrings on each hook. It was during this time period that I came across some small metal buckets that worked much better for storing the small earrings and rings than the plastic baggie.
The only down fall of this method was trying to remove the hooks when I moved out. I know that 3m advertises that their sticky strips are easy to remove by pulling on the bottom tab, but it didn’t work take way. Most of the sticky strip tabs stretched until they broke when I tried removing them. Some of the hooks broke when I tried pulling the “easy remove strips”.
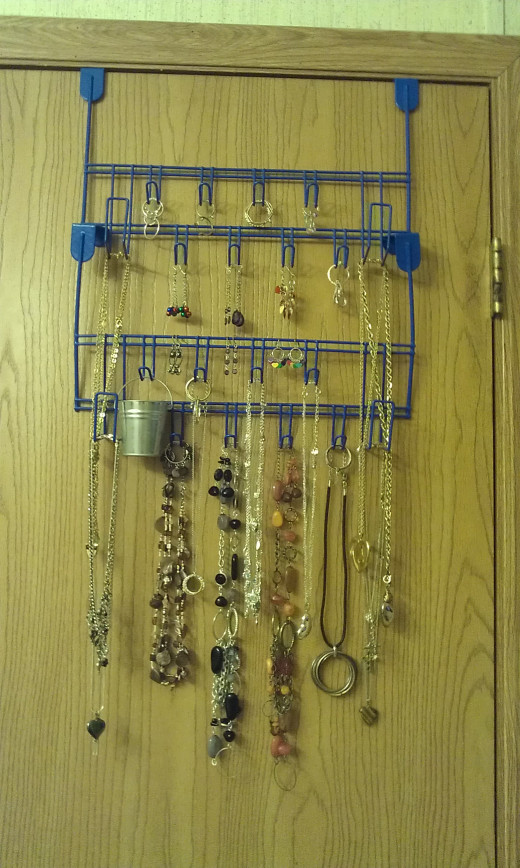
Over-the-door Hooks:
I was hoping to be able to buy some new sticky strips and reuse the 3m hooks, but I had to come up with a different method to organize my jewelry. For over a year, I kept my jewelry in a plastic bag … necklaces, earrings, and rings … all tangled up together in a bag. This was such a horrible way to keep my jewelry. It made it nearly impossible to grab the items I needed without dumping the whole bag. I kept looking for a new way to organize my jewelry and finally come across a method that might work.
The over-the-door hooks are normally used to hang up coats or bathrobes. While at one of the local “dollar” stores, I found some over-the-door hooks on sale. For some reason, I looked at the hooks and I instantly thought of organizing my jewelry. Since the hooks were cheap, I was able to bend one set just enough to hook into the other set, which gave me more room to hang stuff. I probably should have bought more than 2 sets but I wasn’t sure how well it would work. I had to place several necklaces or earrings on each hook but it is still fairly easy to grab what I want to wear. I may have to go back to the “dollar” store and get another hook set or two.
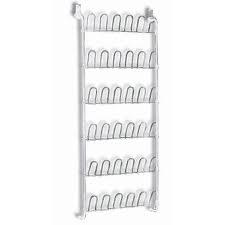
Another option: over-the-door shoe racks.
If you have a large number of jewelry items that you need to organize, you might look into getting a metal over-the-door shoe rack. It may sound strange but you can organize multiple items using an over-the-door shoe rack. Jewelry, hair accessories, scarves, and – yes – shoes.
Another use for an over-the-door shoe rack is to organize towels and wash clothes in a bathroom that has limited storage space.

