"Choose Your Own" Home Made Body Sugar


Make your own DIY Body Sugars, for yourself or for a great gift
Learn to create your own personalized body sugars, to indulge yourself or as a personalized gift for someone special!
Body sugars - a type of body scrub - are popular spa products, that are incredibly easy to make. What do you need to make them?
Sugar.
Oil.
That's basically it! Anything else added is optional, and wide open to your own personalization and creativity! Choose your ingredients to include favourite scents or to aid in treating specific skin conditions. You can keep it as simple as you wish, or go all out!
You are in control!
Home Made and Personalized Body Sugars - How to Mix and Match to Create a Truly Personal Gift

Body sugars are a luxuriant way to exfoliate, soften and treat your skin. By carefully choosing what ingredients you add to the basic mix, you can make a gift that is truly personalized. Likewise, you can choose ingredients to help treat specific conditions as well. Best of all, you have complete control over what goes in your scrub, and know exactly what's in it!
Time required: About half an hour or less
Difficulty: easy
Cost: Variable
Materials:
- 2 parts sugar
- 1 part oil (approximately)
- optional dry ingredients - citrus zest; dry milk powder; ground coffee; tea; herbs; ground spices; cocoa; etc.
- optional wet ingredients - essential oils; vanilla; vitamin E; honey; lemon juice; etc.
- wide mouth jars with lids
- optional decorative items and labels
Tools:
- glass or steel mixing bowl
- measuring cups and spoons
- canning funnel (optional)
- mixing spoons (or just use your hands)

Instructions:
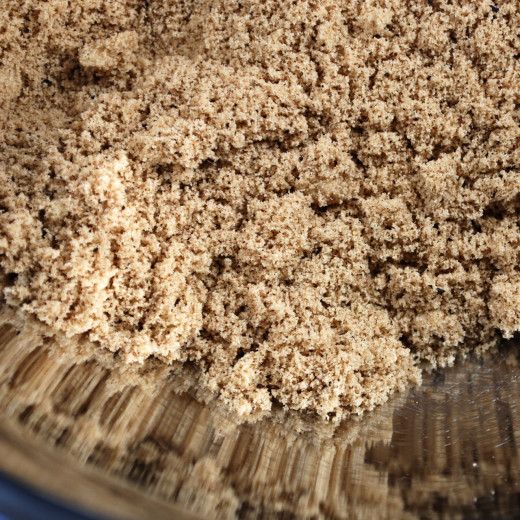
1. Choose your sugar:
In this photo, clockwise from the top left, I have granulated sugar, Dememera style cane sugar, grated palm sugar and golden sugar (what I usually use when a recipe calls for brown sugar).
Choose your sugar for such things as the level of coarseness desired, scent, or budget. Super fine sugars, such as icing sugar (confectioners sugar) would probably not be a good choice, as they would have little exfoliating properties, but really, any type of sugar will do.
In the mixes I made for these photos, I used 2 cups of sugar.
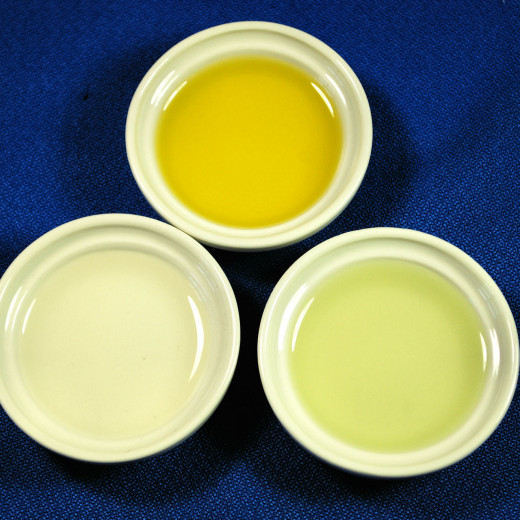
2. Choose your oil:
In this photo, I have Extra Virgin Olive Oil at the top, almond oil on the bottom left and grapeseed oil on the bottom right.
A basic, all-purpose oil to use is olive oil. This will do with pretty much anything, and is relatively inexpensive. Other oils to try include nut oils, such as walnut, peanut or almond oils, coconut oil, avocado oil, etc.
In the mixes I made for these photos, I used about 1 cup of oil, adding enough to get the texture I wanted. The amount will change depending on the moisture content of the sugar, and any other moist ingredients added.
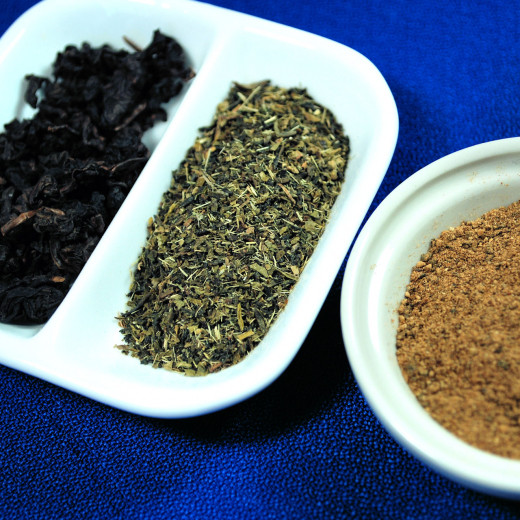
3. Choose your optional dry ingredients:
Here is where you can really start getting creative!
In this photo, from the left, I have black tea leaves (oolong), Nepalese green tea (lemon grass flavour) and a home made chai blend, which includes black tea, cinnamon, cardamom, cloves, allspice, coriander and nutmeg.
Other dry ingredients that can be added include citrus zest (such as lemon, lime or grapefruit), dry milk powder, ground coffee, any variety of tea blends (just tear open some bags of your favourite tea blends), dried herbs, ground spices, cocoa, etc.
I used about 2 Tbsp per 2 cups of sugar.
4. Choose your own optional wet ingredients:
I didn't use any, this time around, so I don't have a photo. As with the dry ingredients, you can really get creative with these, as well as very specific for the effects desired. Here are some you can try:
1 Tbsp honey per cup of sugar
Vitamin E oil: about 1/2 tsp, or the liquid from 1-2 capsules, per cup of sugar
A splash of lemon or lime juice.
Essential oils; just a few drops!
You can also add a drop or two of food colouring, if you are using white sugar as your base.

5. Mix your dry ingredients.
Use a glass or metal bowl, to prevent staining or absorption of odours. Measure out your sugar, then add your choice of dry ingredients. Mix well. I found it easier to just use my hands, as it was easier to break up any lumps of sugar I found.
In this photo, I have golden sugar with the chai tea and spice mix.
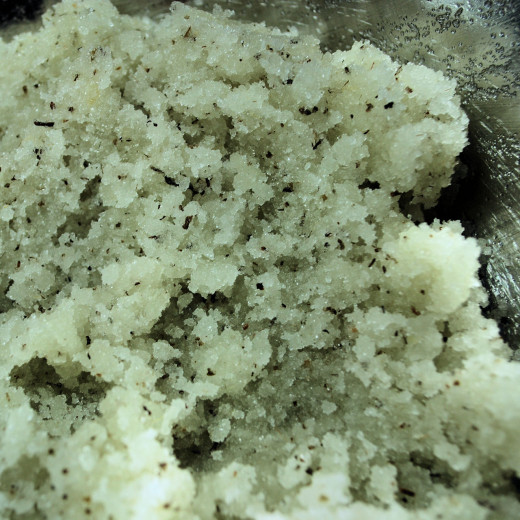
6. Mix in your wet ingredients.
In this photo, I have a blend of granulated sugar and grated palm sugar, with green tea and grapeseed oil.
If you are using wet ingredients such as honey or lemon juice, add those first, then add the oil. It is much easier, if messier, to use your hands at this point. Keep adding oil in small amounts until you reach the desired texture. (I like it a bit on the dry side.) The amount of any wet ingredients you've added will change how much oil you need, as well as the dryness of the sugar itself. Granulated sugar has a low moisture content, and might need more. The coarse cane sugar I used was very moist, and needed quite a bit less oil.
If using essential oils, be careful to add just a few drops. A little goes a long way!
7. After mixing all your ingredients, carefully put the sugar into a glass jar with tight fitting lid. I put them into canning jars, so that I could easily shake the contents later. A canning funnel, with its wider opening, will make tranferring the body sugar into a jar easier.
It's a good idea to let the sugar blend sit for a day before using.
If you are giving these out as gifts, divide the sugars into small, wide mouthed jars. Reuse old jars, or use some small canning jars. Whatever strikes your fancy!
Decorate and label the jars as desired.
Enjoy!
Some hints and tips for choosing your ingredients
Here are a few ideas and information for different ingredients you can add to your body sugar.
Note: always do your research before choosing additives for their effects and for safety. Everyone reacts slightly differently to things, and what works for one person might not work for another, or they might cause an adverse reaction, so choose carefully!
- Green Tea: used for brighter, flawless skin and to treat acne
- Black tea: used for the same benefits as green tea, as well as protection from the sun and the environment.
- Dry milk powder: for softer, smoother skin and to relieve irritations.
- Coffee: anti-inflammatory benefits, fighting cellulite and general skin toning.
- Cocoa: to alleviate sun damage and slow aging of the skin.
- Almond oil: moisturizing, sun protection, anti-inflammatory and wrinkle reduction
- Walnut oil: wrinkle reduction, anti-fungal and treatment of psoriasis.
- Grapeseed oil: contains high levels of vitamin E and used to treat sun burns, stretch marks, acne and eczema.
- Avocado oil: rich in vitamins and minerals, and used for moisturizing, healing sun damage and scars, reducing age spots, itching and irritation.
- Olive oil: moistens skin without clogging pores; reduces skin damage and relieves irritation
- Honey: for acne, sensitive skin, rosacea, eczema, evening out skin tone, scar lightening and anti-bacterial properties.
- Essential oils, herbs and spices: there are far too many to even begin listing here! See below for some good books to learn more about how to choose and use them.
Try this!
Instead of putting your body sugar into a jar, try packing it into silicon ice cube molds. The small amount is perfect for individual use, and makes for an attractive display. This is especially good when using coconut oil, which is solid at room temperature.
Learn More!
Using the right ingredients not only helps make a wonderful, personalized, skin care product, but will also help avoid potential risk. Just because something is "natural," that doesn't mean it's safe, or can be used by everyone!
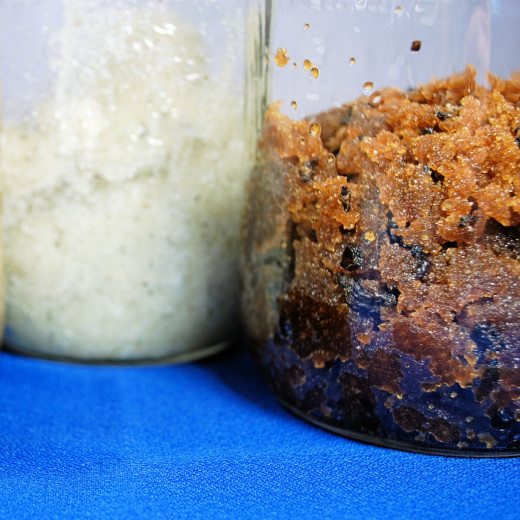
Body Sugars, three different ways.
Click thumbnail to view full-size


.")


.")


