How to Give Yourself a Salon-Style Pedicure at Home
Our feet work hard. Walking, running, standing up - you name it. They take us wherever and whenever we want to go. Whew! All this moving around can make your feet feel - and look -worn out.
You can show your feet some love by treating yourself to a pedicure. However, why go to the salon and fork out good money when you can do a pedicure yourself for a fraction of the cost?
This guide will show you how to give yourself a full pedicure at home. You’ll be able to save money, and pamper yourself at the same time. All you’ll need are some simple tools, and time to spend on yourself.
What You'll Need
- a small basin
- towel
- nail clippers
- nail file
- nail polish remover
- buffing tool
- nail polish of your choice
- nail art pens or 'stripers' of your choice
- cotton balls
- cotton swabs
- pumice stone
- your favourite bath soap
- Essential oil (optional)
- Lotion
1) Soak your toes!
First, pour some nail polish remover on a cotton ball, and wipe off any traces of previous nail polish. Make sure that all of it is gone – old pieces of polish on the nail can result in the pedicure looking lumpy!
Lay down a towel on the floor, preferably in front of a chair that you can sit in. Fill a basin with warm water, and pour a few drops of your favourite essential oil or bath soap into the water. Put the basin on top of the towel. The towel will help to absorb any water that splashes out, plus when you’re done, you can dry your feet on it.
Soak your feet for any amount of time ranging from twenty to forty five minutes. You can read a magazine or watch television while you do this.
2) Exfoliate and Moisturize
Dry off your feet with the towel – they should feel soft now, thanks to the soaking. Now, take your pumice stone and gently rub it on your heels and toe edges. Apply pressure and a little force when needed. This will help exfoliate your skin, and also help to get rid of calluses and dead skin.
Afterwards, moisturize your skin with some lotion.
3) Clip, Shape and Buff
Grab your nail clipper, and starting from one end of the nail to the other, trim them using small, even clips. Starting from the middle will cause your nail to crack. It's best to cut your nails to just a little bit above when the nail bed ends.
When all the trimming is done, you can shape them with the help of a nail file. Filing will also help get rid of any rough or sharp edges created during the clipping. When filing your nails, don’t use a ‘sawing’ action – this can cause flaws in the nail. Instead, move in only one direction.
If your nails have ridges in the surfaces (sometimes these can show through the nail polish), these can be fixed by a nail buffer. Buffing will help even out the surface, and will even add a natural shine. Follow the directions (these normally come printed into the buffer’s surface), and your toe nails will have a nice, even surface, ready for polishing.
4) Polish up!
Paint your toes in a position that is comfortable for you. Some people also like to use ‘toe spacers’ to help them, as it separates the toes and reduces the chance of them smudging against each other.
It's always recommended to apply a base coat first, as it prevents staining of the natural nail. Let this dry, then proceed to apply the nail polish in a thin coat. Let this dry before applying the second coat, and so on. This also reduces chances of smudging.
If you are not going to apply any nail designs, you can put on two layers of clear nail polish as a top coat – this will help prevent the colour from chipping, and will help it last longer.
Check out these great deals on pedicure supplies!
5) Art Time!
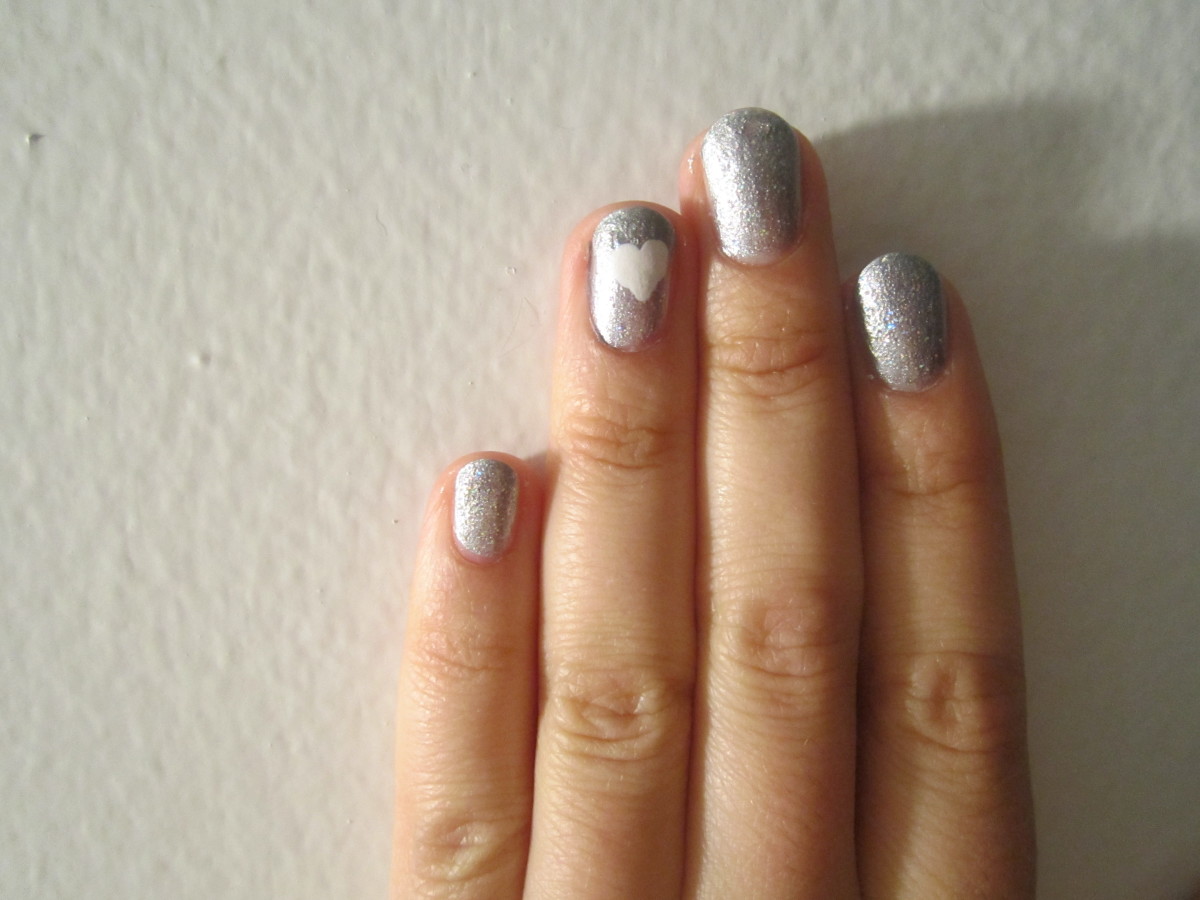
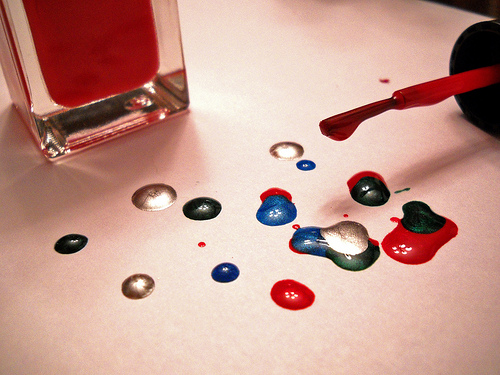
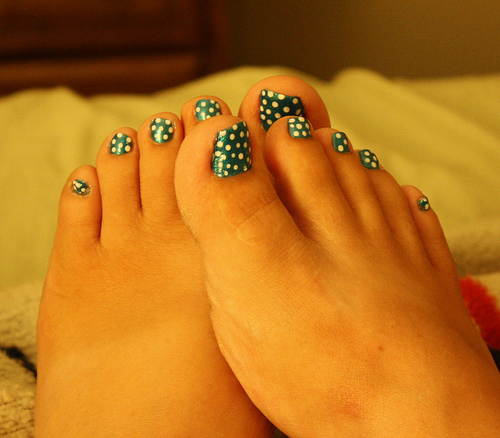
This step is optional, but gives your pedicure an extra touch of glam. You can draw designs on the nail using ‘stripers’ – bottles of polish with special thin long brushes made just for nail art. ‘Stripers’ are inexpensive, and can be bought from any beauty supply store. You can create little flecks or polka dots on your nails, or if you’re feeling adventurous, draw little designs (such as dolphins, hearts, stars, etc.) Don’t worry if you don’t get it the first time – simply paint a coat of the nail polish over it, let dry, and start again!
If you do designs on your nails, remember to apply at least two layers of top coat! This will let your nails shine, and preserve the designs for much longer!
You can also treat yourself to a nail art kit which would have other items, including little rhinestones that you can glue onto the nail for a glamorous look.
Try it out! You can make up your own look, or you can find inspiration online. YouTube has hundreds of nail art tutorials which show you step by step how to recreate designs.
There are so many benefits to doing your own pedicures at home. You save money, and you can create your own looks for less. Plus, it’s a great way to relax and have a little ‘you' time.
Good luck!


