Jewelry Making - How To Make Handcrafted Angel or Butterfly Wing Earrings
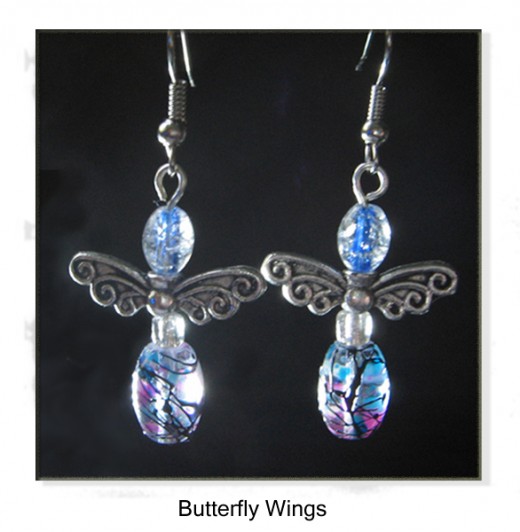
How To Make Hand Made Jewelry - Angel Wing Earrings
Hand crafted or hand-made jewelry has become very popular. Especially Earrings Necklaces and Bracelets.
With this in mind and being prompted by fellow Hubber and good friend 'sweetiepie' I decided to make some hand crafted jewelry, in particular a pair of Angel Wing Earrings
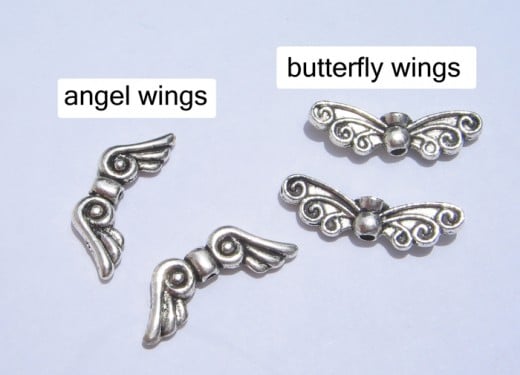
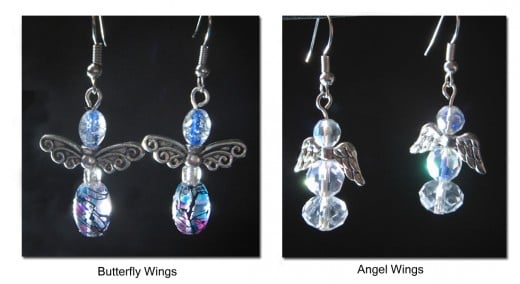
I would like to share with you the journey of me making a pair of butterfly wing earrings, as shown in the image, for my lovely wife.
This was not as difficult as I first thought it would be and all it requires is the butterfly wings and the beads and some basic tools and a bit of creativity.
But first we need to gather some bits and pieces to complete the task.
These wings be they angel or butterfly when hand crafted into great looking earrings would make a great Christmas present for the Lady in any mans life.
Beads and Findings
The set of earrings I made are for pierced ears and so the findings I'm showing are for pierced ears.
Here is a list of parts that I gathered for the set that I made.
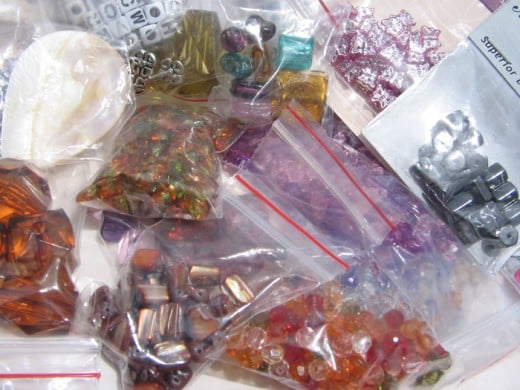
Beads (selected to taste and style of earrings required)
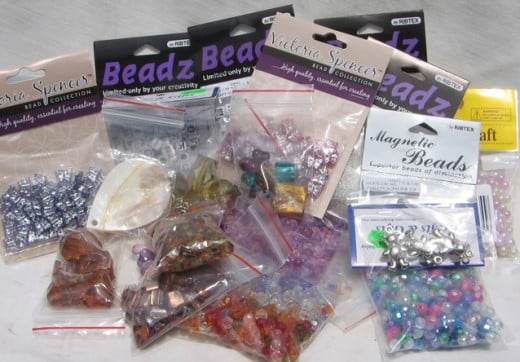
Beads of various sizes and colors are readily available at most Art and Craft stores.
Just keep in mind that you will be making a set of two, so to keep symmetry, if you are having a special bead on one side you will need a matching bead for the other side.
Findings
The other bits and pieces that make up the earrings are called 'findings'. Here is a list of some findings that you may like to use in making your earrings. Items marked with an ' * ' are used in this project.
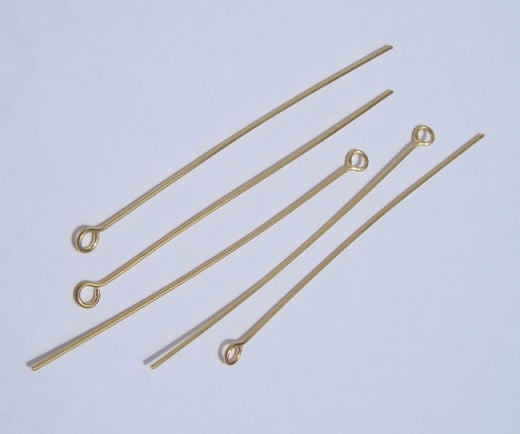
- *Head Pins Can be various lengths usually measured in inches. The pins we are using in this example are 2 inches (50mm)in length. They are used to hold the beads, crystals, embellishments together and there is a large cap at one end and after fitting your pieces an 'eye' is formed at the other end. If the beads have a hole that is too large a "bead cap" can be used to stop the pin going through the 'bead'.
- Eye Pins Not used in this project but as the name implies it has an eye on one end to make a more dangly type ornament.( A picture is down lower in the article).
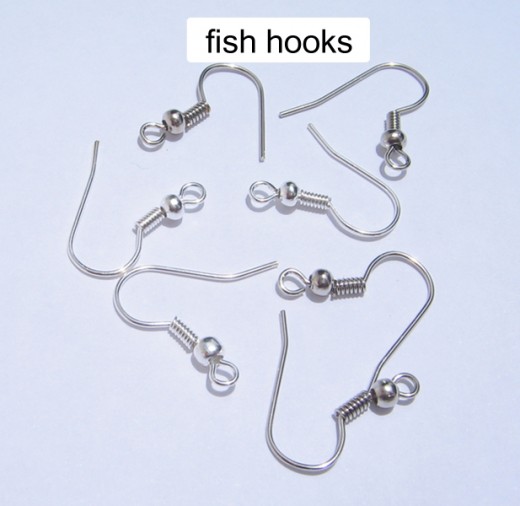
- *Fish hooks the The finding variety, looks like a fish hook and is used to attach the earring to the wearers ear.
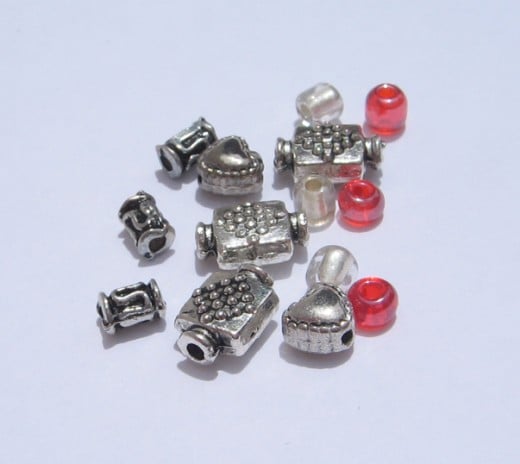
- *Decorative Spacers Can be metal, beads or virtually anything to fill up space around the more decorative beads or embellishments (see sample picture below)
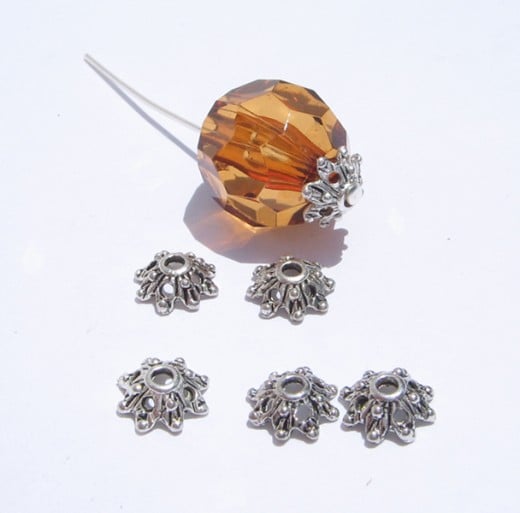
- Bead caps Are spacers to place on the ends of bead under the heads of pins to make a more decorative effect and more practically to stop the bead from slipping off the pin.
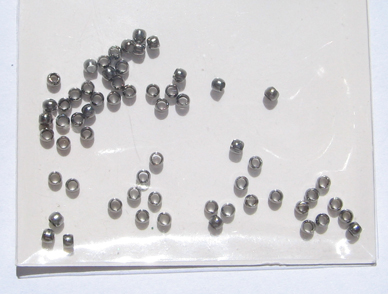
- Crimps are small metal ferules used to seal the ends of string, elastic and leather straps to stop the beads from slipping off the end of the line. (see sample picture below)
Various Beads to select from!
Wings
Head Pins

Fish Hook Hangers
Decorative Spacers
Tools
Before you start you will need to have some basic tools, if you are a handy person you will more than likely have these anyway!
At the least you will need a pair of Side Cutters and a pair of Round nose pliers.
Spring loaded handles come in very handy when doing a lot of bending and shaping!
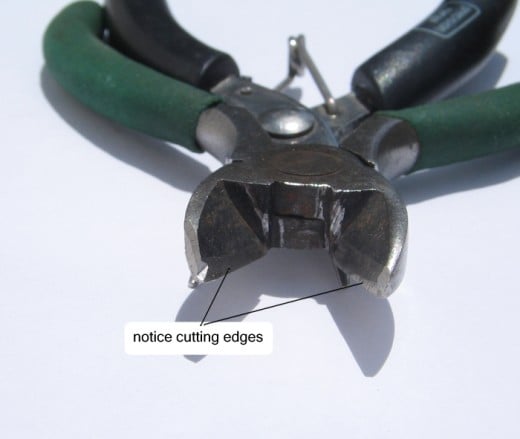
- Side Cutters sometimes referred to as Diagonal cutters are used for cutting the pins.
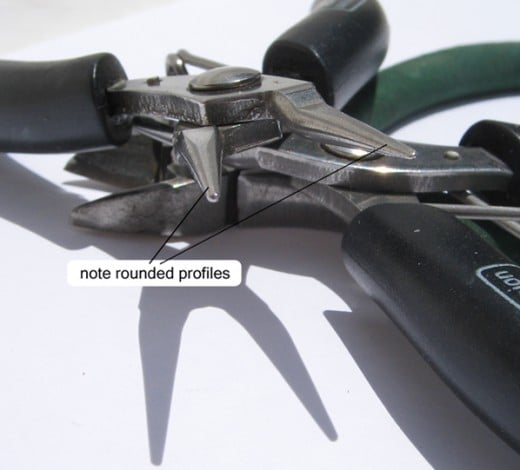
- Round nose pliers are used forming the "eyes" in the pins. They are also useful for twisting the pins and other wire into intricate shapes. The round nose profile will not put a sharp kink into the wire.
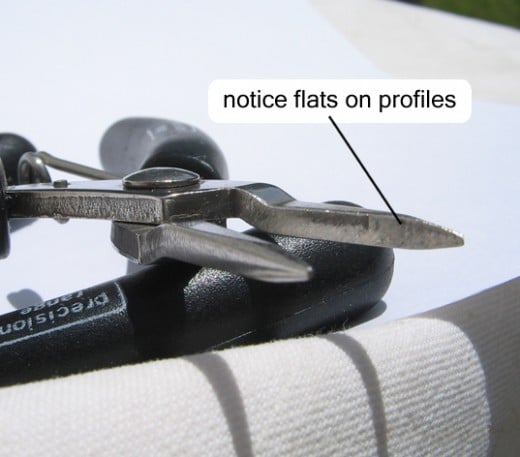
- Flat nose pliers are used for opening the "eyes" and aiding in assembly of earrings and other adornments such as bracelets and necklaces.
Making Your Earrings. The Fun Part.
The earrings I am demonstrating here are very simple but effective and I'm sure they will get many admiring and envious glances.
Making your earrings
Select the beads and findings for both sides of your earrings carefully matching them to keep symmetry.
Lay out all of the components on a tray or a neutral colored cloth (this stops the bits and pieces rolling all over the place.
Laying Out Your Earring
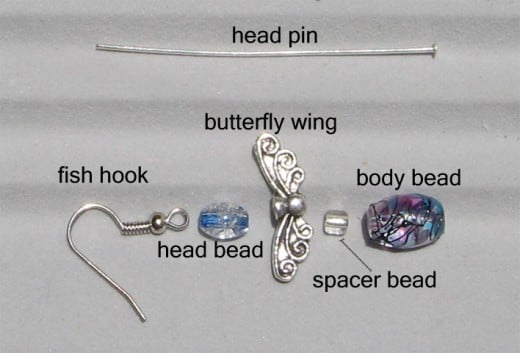
Assembly
When you are happy with the beads and findings you have selected, feed all of the findings and beads on to a head pin.
Assembly of Earring
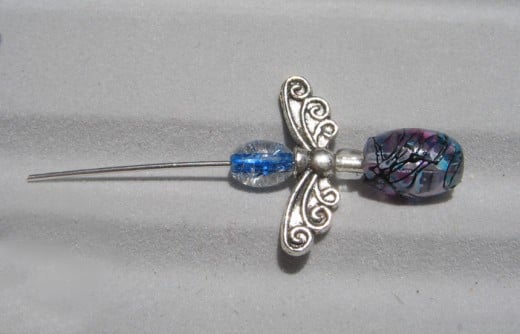
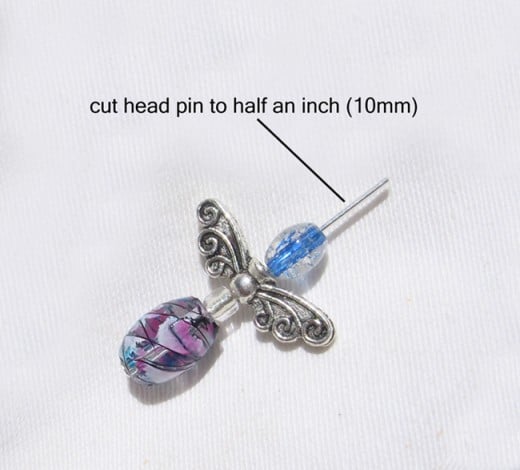
Cutting the Head Pin
After this assembly cut the head pin to length , leaving enough on the end to form the eye.
Earring trimmed.
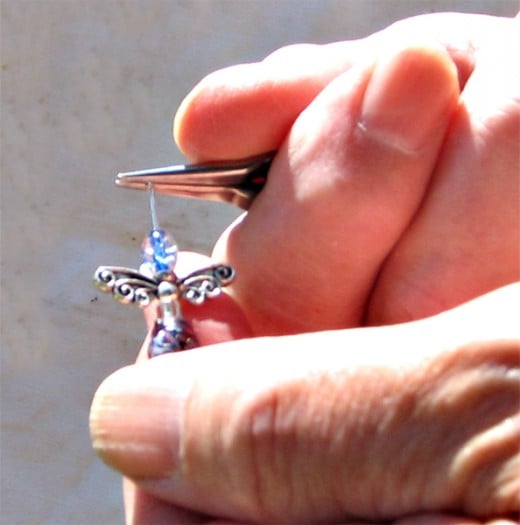
Forming the Eye of Your Earring
Using the round nose pliers .
Make the eye by grasping the very end of the pin and rolling the pin around the nose of the pliers. ( see the diagram )
Form the pin to make a nice "eye" so the center of the eye lines up with the pin. I would suggest that you practice this on another pin to get the correct technique . Try holding the pliers with your palm facing upwards. This will help get a full turn on the pin.
Forming the Eye
Finished Eye
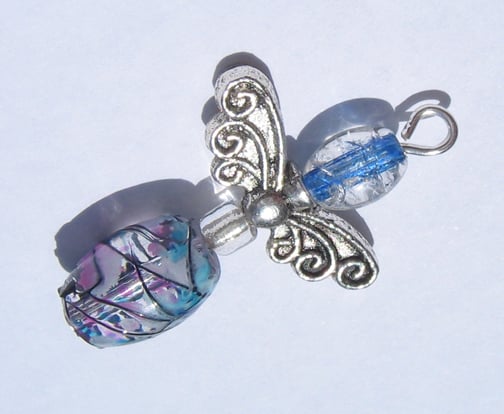
Fit assembly to Fishhook
The next step is to fit what you have just assembled to the ear "fishhook", to do this you must open the eye that you just made.
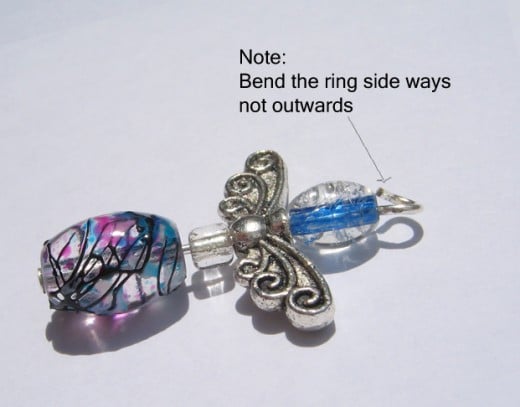
So as not to ruin your nice round "eye", use the flat nose pliers and open the "eye" side ways (see the diagram).
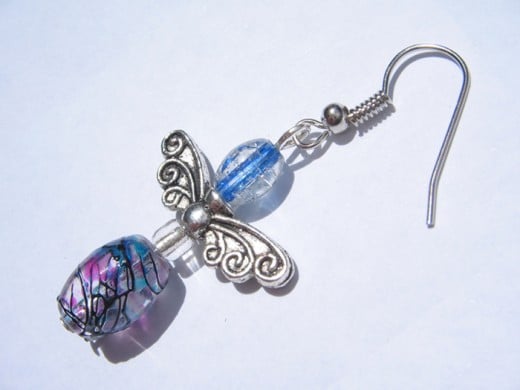
Slide the hook into the now open "eye" and then gently close up the "eye".
Make sure that you complete the circle , and as you are closing the "eye" the end of the pin is touching the other end of the circle, This will not allow the earring to come apart.
Opening Eye
Finished Earring
Finishing Off
When you are happy with that, assemble the other earring in the same fashion.
Pair of Earrings Completed
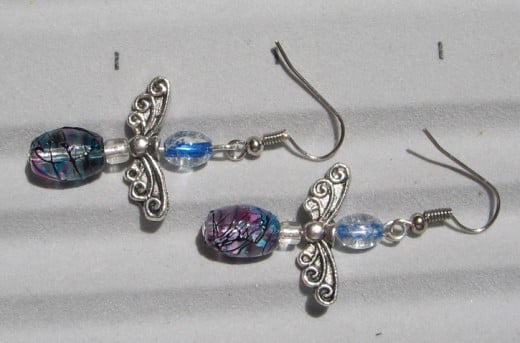
Butterfly Earrings and Angel Earrings
Below is an image of the pair of Earrings shown being made and another pair of a different style using Angel Wings and Faceted Beads.
Different styles
Great Hobby and Maybe Career
I enjoyed making these earrings enormously and my wife is wearing them all of the time. So there you go, I hope I have inspired many of you to have a go and make some for yourself, or as a present for a partner friend or relative.
You don't have much to lose as I estimate the total cost outlay for these earrings has been no more than $10. (excluding the tools).
A health warning
Just a small warning here. As these earrings are for pierced ears, it is wise to steralise them using something like alcohol wipes or what we call Metholated Spirits.
Do you make your own Hand Made Earrings or Jewelry
Eye Pins
Bead Caps
Crimps
Round Nose Profile
Flat Nose Pliers Profile
Side Cutters profile
Beads Multiple Selection
© 2009 Peter
