A Beginner's Guide to Building Home Automation Solutions With Raspberry Pi
The Raspberry Pi is a staple in any DIYer’s repertoire. The smart home and home automation capabilities of this tiny computer are nearly endless.
What is the Raspberry Pi?
The Raspberry Pi was originally intended to be a computer for teaching people in developing countries how to code. The Pi is compact and incredibly affordable, retailing at $35 for the base model. These features caused the Pi’s popularity to explode, especially with DIYers and amateur experimenters.
The enthusiasm for the Pi around the world has sparked countless user-generated guides, accessories, and software for the device. The Pi has been used as personal media centers, home security systems, and even to power robots! If you have a home automation idea, odds are you can use a Pi to achieve your goals.
How can I get started?
There are several generations of the Raspberry Pi, each with different features and price points. If you’re just getting started, we recommend you get the latest and greatest Raspberry Pi Model 3 B+. This way your Pi will be able to handle any of the projects you might find online.
Our Recommended Model to Purchase
Make sure to purchase a micro SD card if you don’t have a spare one laying around. This is the flash storage for the Pi. You need at least an 8gb card, but we recommend a slightly larger one.
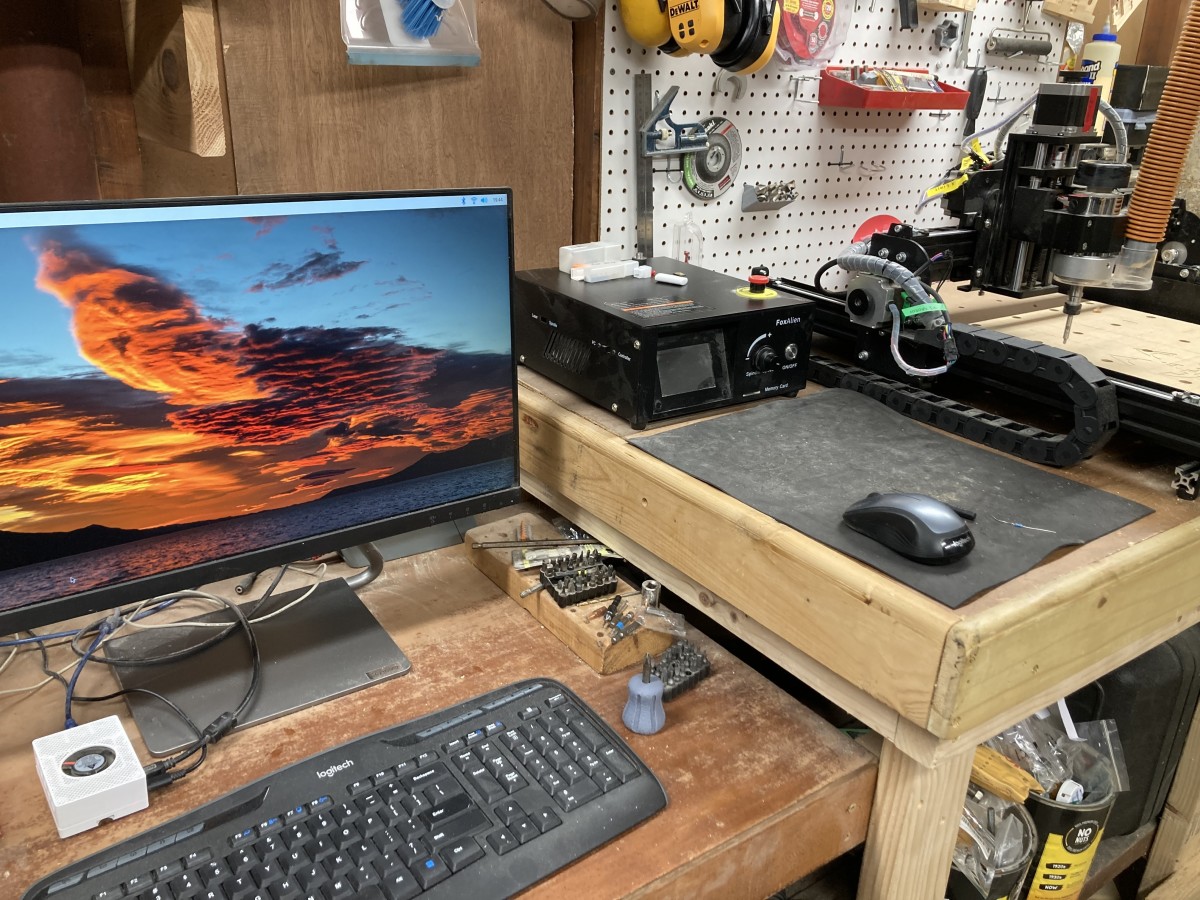
Next, you will need a computer monitor and an HDMI cable. You probably already have a monitor and HDMI cable at home. You can even use a TV if you don’t have a spare monitor available. Usually the monitor is only needed for programming the Pi. Once it is up and running, you can hide away the Pi somewhere in your home and let it do its thing!
To install the operating system, you will temporarily need access to a computer with an SD card slot (or you will need a USB SD card reader). If you don’t have another computer, you may be able to borrow one from a friend or use your local library. When there’s a will, there’s a way!
Lastly, you need a little curiosity! Having some background in computer programming is great, but if you’re a beginner, don’t worry! The Pi is designed with amateurs in mind, and there are mountains worth of content out there.
Installing the Operating System
Once you have your Raspberry Pi and SD card in hand, you are ready to dive in. The first step is to install the operating system. The Raspberry Pi comes as a clean slate, so it is up to you to load it up with software.
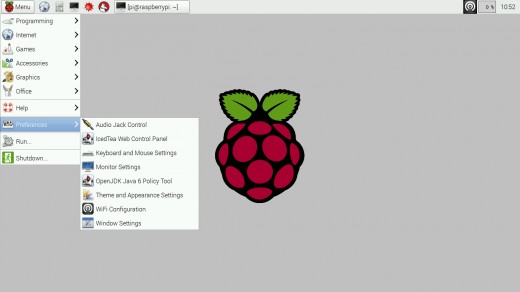
There are many variations of operating systems available for the Pi. They are all Linux based. The most popular operating system is Raspbian OS. That is the one the guide will cover, but feel free to try out different options. The process is more or less the same.
- Boot up a computer other than your Raspberry Pi.
- Download the Raspbian OS firmware.
- Download the Etcher flashing tool.
- Insert your micro SD card into your computer.
- Open the Etcher application and select the Raspbian OS file you downloaded.
- Choose your micro SD card as the destination, and flash the Raspbian image to the card.
- When it is finished, safely eject the SD card and insert it into your Raspberry Pi.
- Plug in your Raspberry Pi to the power supply and a monitor.
- Boot up the Pi!
Congrats! Your Pi is now running an operating system. It may take awhile to boot up the first time. Once it is running, you may be prompted to connect it to internet. You can either use an ethernet cable or connect it to Wi-Fi. Once it is connected to the internet, open the Terminal application. Type in this code and hit enter:
sudo apt-get update
Then, run this command:
sudo apt-get dist-upgrade
These terminal commands automatically update all the software on your Pi.
(Optional) Buy Some Accessories
The Raspberry Pi is a capable computer by itself, but to really start having fun, add some accessories! There are tons of options available:
- Cameras
- Cases
- Temperature sensors
- Moisture sensors
- Light sensors
- Touch screens
- Displays
- Electric switches
Choose a Project!
Your Pi is running and ready to go. Now it's up to you to decide what to do with it. Here are some ideas to get you started. Click the links to read a guide to the project.
Temperature Sensor - This simple solution can be great for keeping an eye on your home when you're away. This is also perfect for beginners learning the OS.
Smart Mirror - Create a mirror with a heads-up display. This project is a little more involved, but the outcome is pretty cool! You can display the weather, news headlines, or more. Your home will look like it's straight out of a sci-fi film.
Garage Door Opener - I personally have done this project. I soldered into some garage door remotes and connected a Raspberry Pi using the electric switch accessory. Then, using a website, I can send signals to the Pi, which activates the switch and triggers the doors. This project requires some soldering and electrical knowledge, but it is a lot of fun!
Home Security Camera - Purchase the camera accessory and build your own home security camera. This cheap solution offers you more control over your data than a cloud camera.
Apple HomeKit HomeBridge - This project turns your Raspberry Pi into an Apple HomeKit server. This allows you to connect your unsupported smart devices to your Apple iPhone. I have several Wi-Fi smart plugs that do not support HomeKit. I used this solution to control them over Siri! This project doesn't require any accessories, but it would be helpful to know a few Python programming basics.
Strike Out On Your Own - Do something completely new! The most exciting projects are the ones nobody has attempted before.
No matter what you do, have fun! If you get stuck, the internet is your greatest resource. Check out everyone's ideas online, and be sure to share some of your own solutions!


