A Guide to Recovering Accidentally Deleted Files


Where are my files?!!
Have you ever found yourself in a miserable position after you figured out that you accidentally deleted your business project files, family pictures, fave music or any other files important to you? I had such a frustrating experience once, and I succeeded in recovering 318 GB of files without any loss.
If you're having such a problem, here is the good news: you may probably recover your files very easily, and continue your life as it's never happened. In this guide, I'll show you how to do it step by step using a free software called Recuva.
Attention!
Once you realized the your files are missing, be careful with the following file operations:
- Don't use any defragment software on your drive. Defragging the drive may overwrite the remains of your files and may cause you to lose your files forever.
- Avoid making any file copying/moving on your drive as much as possible, as it may also overwrite traces of your missing files.

Try these before going for file recovery!
1. Do you clearly remember where your files were before you lost them? In daily use of computer, files and folders can be moved to neighbor folders accidentally. If you remember the name of any files you lost, searching the files in the parent folder may help you to find your files and save you a lot of time.
2. Have you checked your recycle bin? If you have a crowded recycle bin, you may have missed the files, make sure that the files are not in the recycle bin.
Recover your files!
So, you did everything and you can find your files? You probably have a habit of Shift+Deleting files. No worries! Let's start recovering!
Follow the steps below:
Step 1 - First, install FREE version of the file recovery software Recuva by Piriform:
- Recuva - Undelete, Unerase, File and Disk Recovery - Free Download
Piriform - Authors of the hugely popular software CCleaner, Defraggler, Recuva and Speccy.
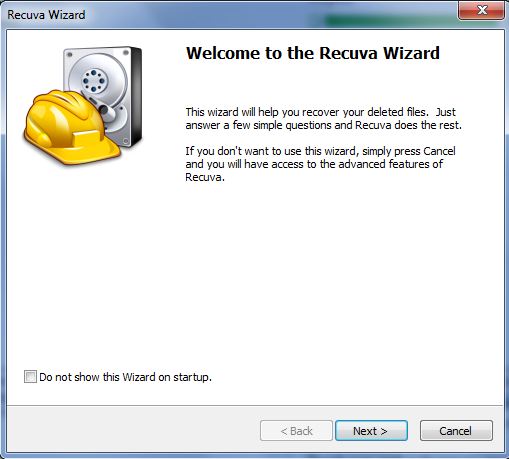
Step 2 - Run Recuva after installation. Recuva Wizard will welcome you. You can skip the wizard but it's easier with the wizard for the first time. It'll take you through all steps one by one and help you to complete scanning and restoring your files quickly. Continue with 'Next'.
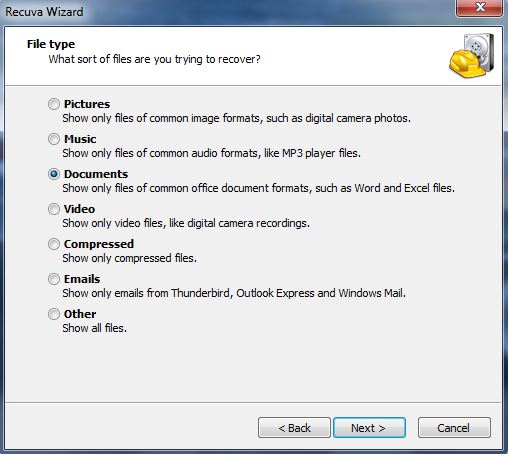
Step 3 - On the next screen, Recuva will ask you to select the type of the files you'd like to recover. This is good for saving some time on scanning, and also brings filtered scan result in the end according the file type you selected which also will help you to save some more time. If you're not sure about the file type or you have files to restore with various file types, then go for 'Other', but the process may take long depending on your system.
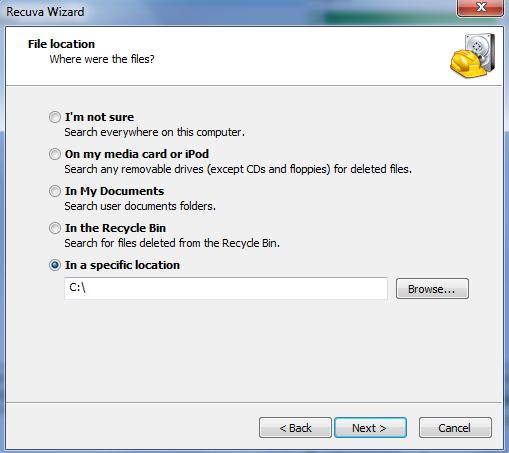
Step 4 - Select the location of the files before they were deleted or lost. Again you may select 'I'm not sure' option if you don't have any clue, this will only change the duration of the scan and length of the scan result.
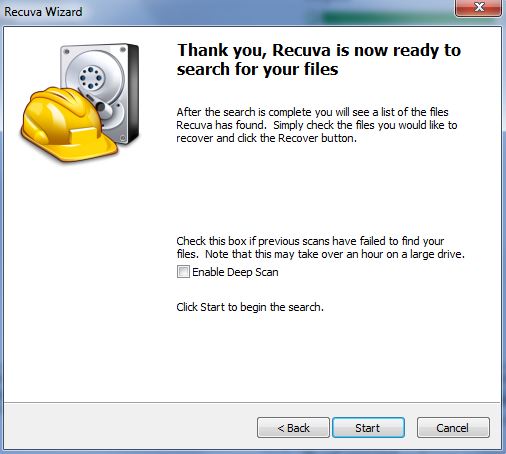
Step 5 - Ready to scan, click next.
Note: You can check 'Enable Deep Scan' if you haven't got successful result in your standard scanning. This option will allow Recuva to analyse your system deeply.
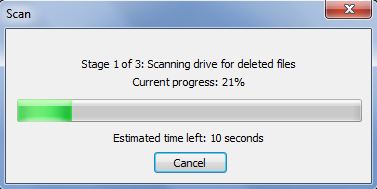
Step 6 - Get some coffee, and let Recuva do the job!
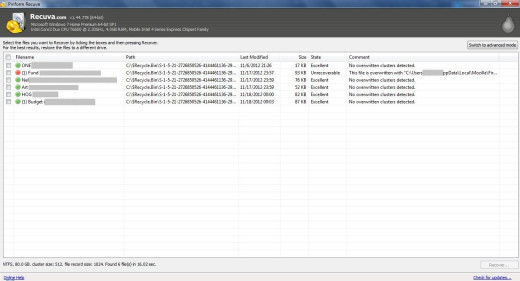
Step 7 - Assess the scan results.
Recuva will bring you a list of files deleted on your drive. The first thing you will notice is the green and red spots next to each file. Green spot represents Ok-to-Go whereas Red one represents that it's not possible to recover the file.
If you used your computer and made file or disk operations such as defragment or heavy file copy/move then this may have caused your files to got overwritten. In this case, it's not possible to recover your files.
Select the files that you would like to recover, and hit 'Recover' button. Recuva will ask you where you want to save the files, choose a directory.
This is all about recovering your files with Recuva. I hope that it will help you as it helped me.
Related

Recover Deleted Files from Digital Camera's Memory, External SD-Card, USB & Hard Drives

How Can I Recover Files, Photos & Data from a Broken Laptop or PC

How to Download Everything from Google Photos
")
J2ME .jar/.jad app download tool for the LG Rumor Touch (LG VM510)
 Free by Doing It Yourself")
How to Make an Audiobook for (Almost) Free by Doing It Yourself


