- HubPages»
- Technology»
- Internet & the Web»
- Social Networking»
Avoid last name and use only a single name on Facebook

Facebook requires their users to have a last name for must. Whereas in Indonesia, people seem to have very long names. So facebook allows Indonesian users to use it only with a single name and the last name fields can be avoided by them. But other than Indonesians many other people who don’t have a last name, also wants to use a single name for them in facebook. If you too wish to have the same, then this simple step-by-step procedure is gonna help you. Here we are altering our proxy address with an Indonesian proxy. Then the name changing process is so simple. Before that make sure you have not exceeded the maximum name changing limit on facebook.
Step-by-step procedure:
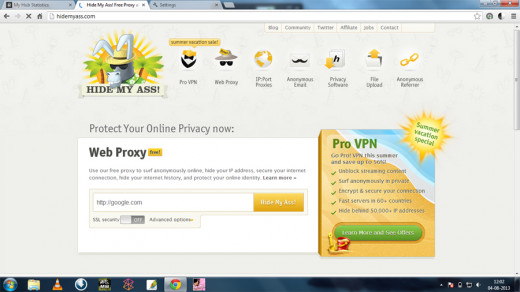
As facebook allows only Indonesians to use a single named account, we resemble ourselves to facebook as Indonesians, by altering our proxy address. So, we need an Indonesian proxy address to do the job. It is available for free at the following web address-
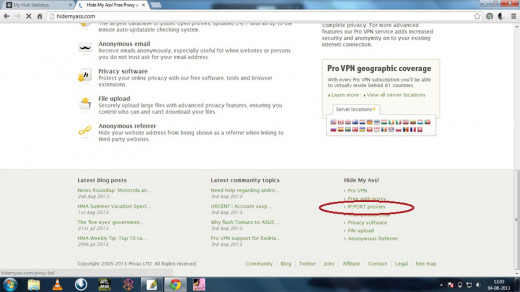
Scroll down the webpage and at bottom right, click the link saying, "IP:PORT proxies"
It will supply us a list of I.P addresses and ports of various countries. At left side, in the tab named Proxy country, we can select a specific country's I.P address. Scroll down in that tab, find Indonesia and select it. Then select Update Results
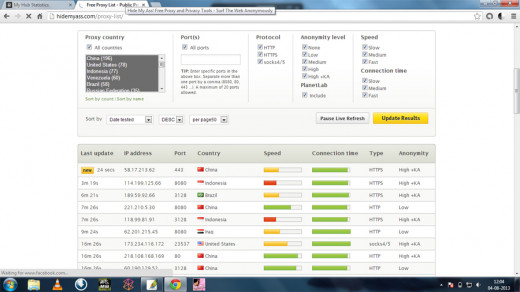
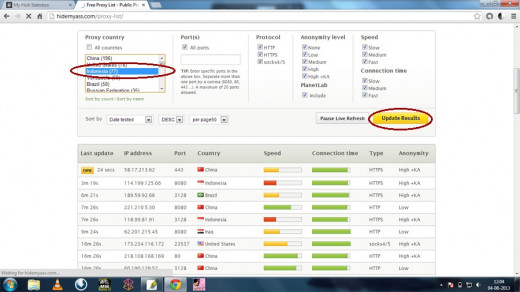
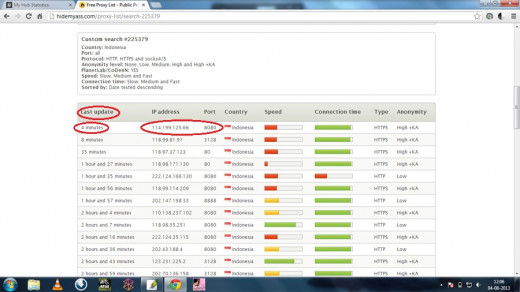
Now a list of Indonesian I.P addresses will be supplied on the page. Select an I.P address on the basis of its Last Updated time. The more recent the updated time, the more valid will be the I.P address. Here I'm selecting an I.P which was updated 4 minutes by then. Similarly select a recently updated I.P address. Copy down the I.P address and its corresponding Port
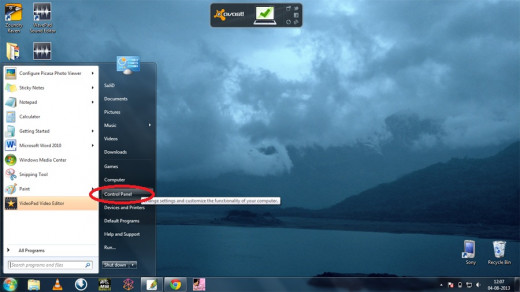
Now we are about to change our system's I.P address with the copied one. Go to Start and open Control Panel
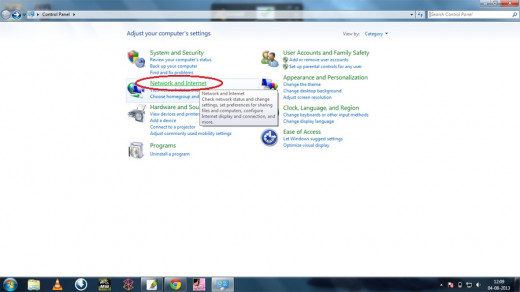
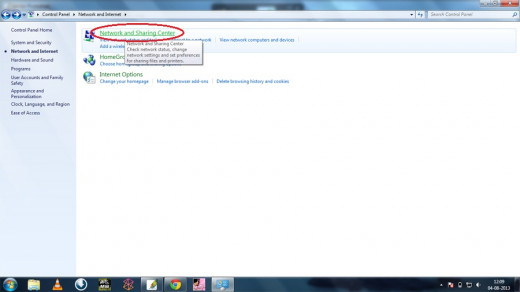
In Control Panel select Network and Internet
Then open Network and Sharing Center
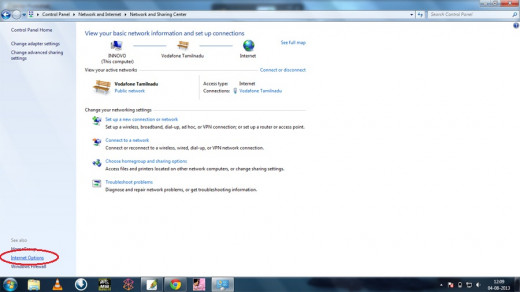
At bottom left of the page select Internet Options
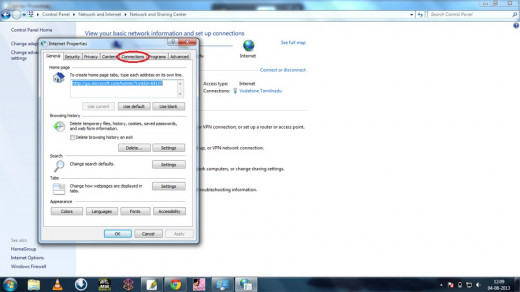
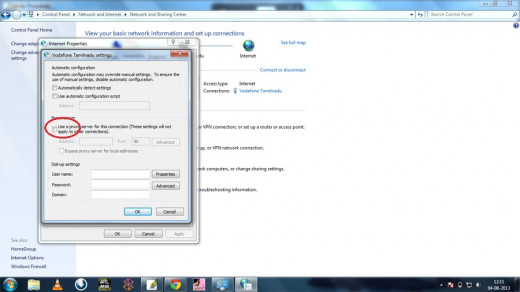
Internet Properties window is displayed. In that, navigate to the Connections menu
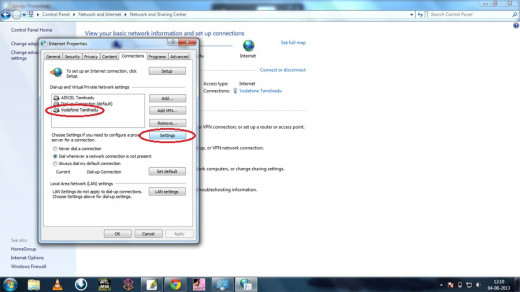
Under Connections, all the Networks will be displayed. Select the active Network connection and click Settings. Here my active network connection is Vodafone Tamilnadu.
NOTE: Here I'm using a Dial-up connection, so I click the settings button at its top left. If you are using a LAN connection, click the LAN settings button at the bottom of the window.
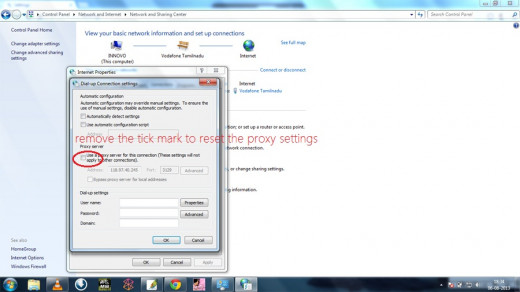
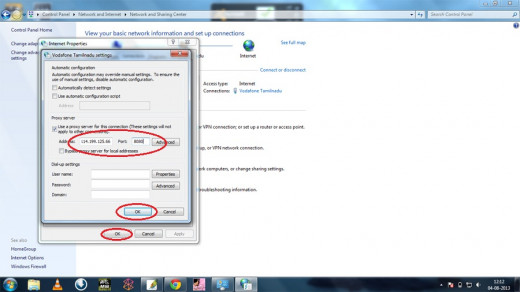
In Settings window, the Proxy address check box will remain unchecked by default. Select Use a Proxy sever for this connection
Enter the I.P address and Port that we have copied from hidemyass.com, in the respective boxes, and select OK >> OK
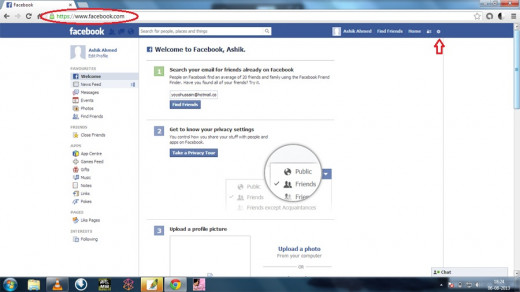
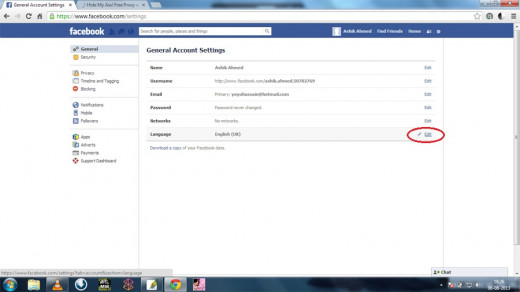
Now log on to your Facebook account and go to Account settings
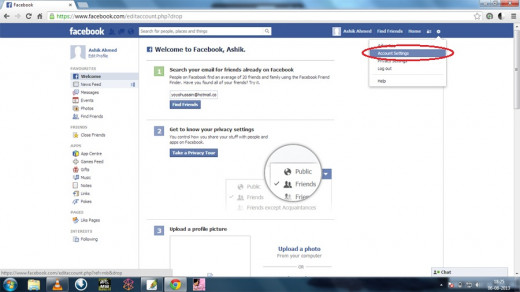
Here we make Facebook to believe that we are from Indonesia. In the Account Settings page, select Edit on the Language bar
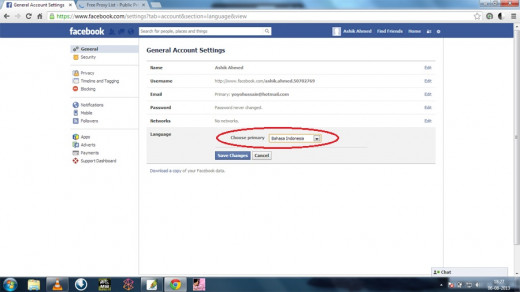
In the drop-down menu select Bahasa Indonesia and Click Save Changes
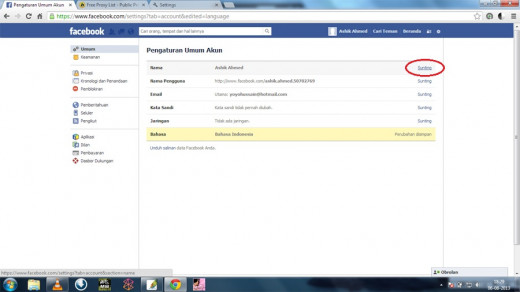
Then in the Name bar, select Sunting which means Edit
Clear the last name field and leave it empty
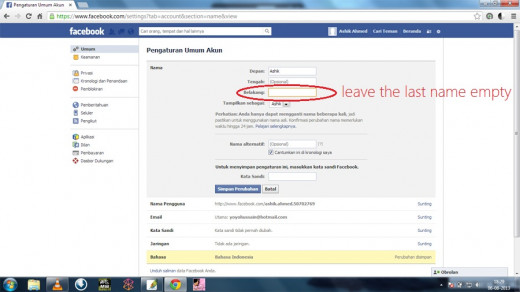
Type the password in the box named Kata Sandi which means Password
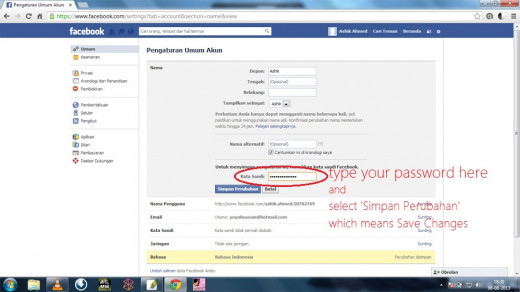
And voila! We've done it.
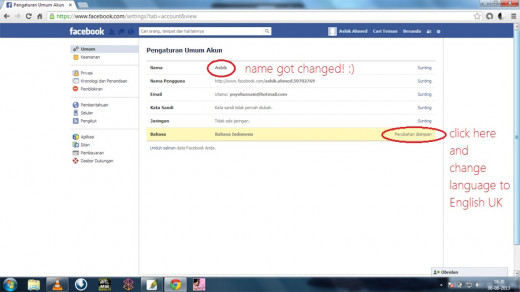
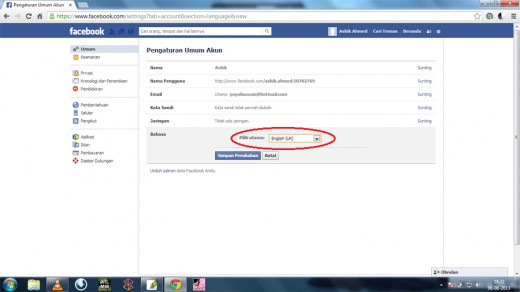
That's all. Now you may change back the language to English (UK)
Make sure to reset the I.P address. Go to Control Panel >> Network and Internet >> Network and Sharing center >> Internet options >> Connections
Remove the tick mark and select OK >> OK