- HubPages»
- Technology»
- Computers & Software»
- Computer How-Tos & Tutorials
Best Mac Apps 3: Logic Pro X, Garageband, Pixelmator, and iPhone photography basic tutorials
Get started with Drummer in Logic Pro X
Logic Pro X’s new feature gives you the power to create realistic custom drum tracks
When Logic Pro X arrived in a somewhat unexpected (yet very welcome) blaze of glory, one of its more prominent new features was a new type of track called Drummer. Created using input from professional drummers and recording engineers, the Drummer track provides a quick and innovative way to get some incredibly realsounding acoustic drum grooves into your projects.
The sounds are beautifully recorded and there’s a choice of 15 different profiles, each with their own playing style and kit sound. The grooves are so variable that it’s easy to get a basic drum track down in minutes, which is a real bonus. So if you’d rather spend your time writing tunes than programming beats, Drummer is just the thing. Here’s our start-up guide.
Step-by-step Get to grips with Drummer
1 Create Drummer track
Drummer is such an important new feature that it gets its own track type. To get started, click the ‘+’ button above the track list, select Drummer, and click Create.
2 Regional variations
The track loads, containing two eight-bar drum parts by default. Hit the Spacebar to give them a listen. Interestingly, their content is dependent on the song tempo.
3 Select genre
On the left side of the Drummer editor, you can select four different drum genres: Rock, Alternative, Songwriter and R&B. These settings affect the entire track.
4 Choose Drummer
Each genre contains several drummer profiles – hover your pointer over each for a brief description on their styles, then click a thumbnail to select that drummer.
5 Change presets
The content of each Drummer region can be changed by selecting a preset from the current drummer’s Presets list. This changes the basic pattern played by the selected region.
6 Personalise playing
Use the X-Y controller to vary the groove for the current region. Move the puck between simple and complex and soft and loud playing to get the sound you’re after.
7 Kit focus
Click on elements of the drum kit graphic to add or remove them from the pattern. You can also add percussion by clicking one of the three icons above the kit.
8 Fills and Swing
Adjust the Fills knob to reduce or increase the amount and complexity of fills that the drummer plays. The Swing control adjusts the amount of shuffle in the performance.
9 Details
Clicking this button reveals controls for the urgency or laziness of the feel, the loudness of small incidental ‘ghost’ snares and the openness of the hi-hat cymbal.
Working with Drum Kit Designer
Put together your own great-sounding, custom drum kits
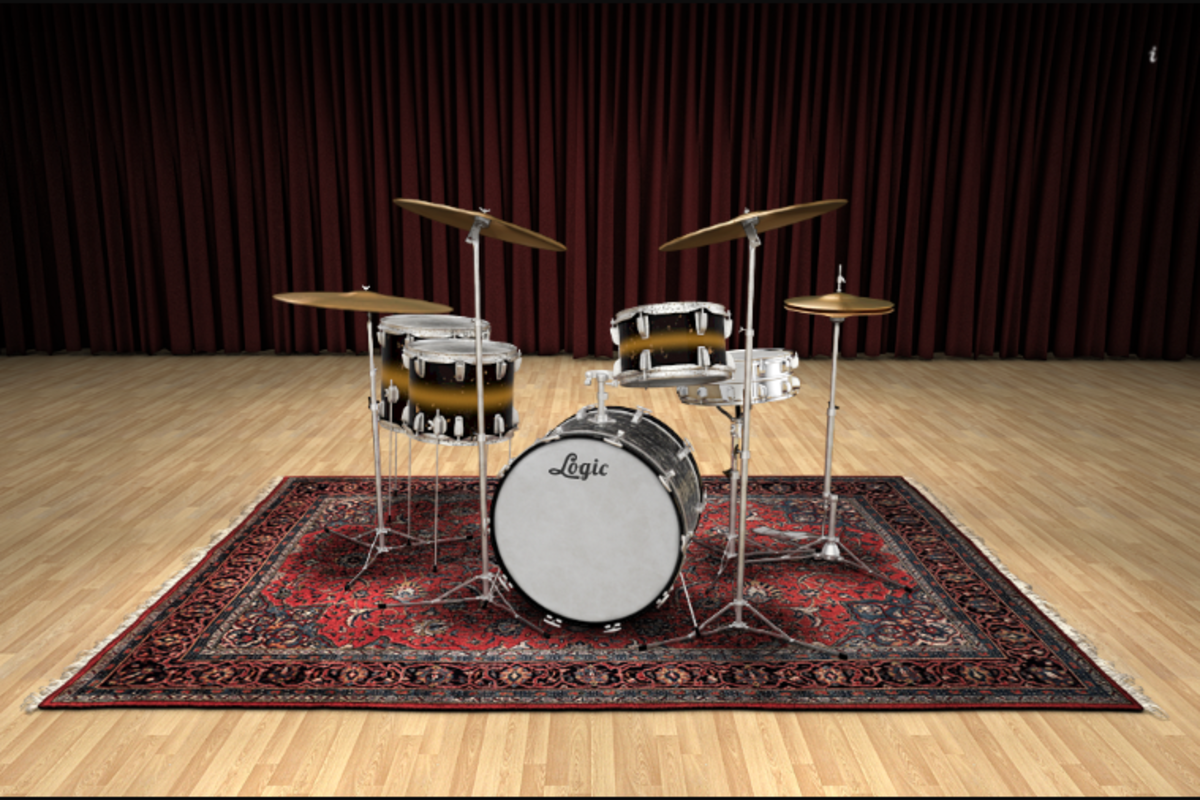
Logic Pro X’s new Drum Kit Designer plug-in is the voice of the innovative new Drummer feature, providing the sounds played by the virtual drummers. Its capabilities aren’t limited to this though, as you can load it up like any other instrument from Logic’s Software Instrument menu and use it to program your own drum tracks. Whether you choose to use it this way or with a Drummer track, there’s extremely broad scope for personalising your own kits. Initially, the simpler level is engaged by default, allowing you only basic control. Once you’ve downloaded the additional content that comes with Logic, however, the ‘Producer’ kits become available, and these offer a wider range of drums to choose from, with precise control.
Step-by-step Design your own drum kits
1 Open plug-in window
Create a Drummer track or select Drum Kit Designer from a software instrument track’s instrument pop-up menu. Click the button to open the control panel.
2 Choose kit
Select a base kit preset from the Library pane on the left-hand side of the main interface. You’ll see the 3D drum kit graphic change with each different preset.
3 Audition sounds
Each kit piece can be played by clicking on it in the 3D graphic. Two panels appear: the Exchange panel on the left and the Edit panel on the right.
4 Swap out
At this level, only the kicks and snares can be exchanged. Click on a new kick drum from the selection in the Exchange panel to swap it with the existing kick drum.
5 Edit panel
The Edit panel’s parameters vary according to the selected kit piece. For the kick and snare, hi-hat and ride cymbal we have controls for Tune, Dampen and Gain.
6 Pitch shift
The Tune control sets the drum’s pitch with a +/- 500 cents (5 semitones) range, while the Gain control affects the overall loudness from -12 to +12dB. Experiment to get it right.
7 Dampen
The Dampen control tames the ringing of the drum recording, perfectly emulating the effect of pressing your hand against the skin to deaden the sound.
8 All together now
For toms and cymbals, you can choose to adjust their settings individually, or for all toms or all cymbals at once. Again, play around with the settings until it sounds right.
9 Producer options
The Producer kits enable you to exchange toms, cymbals and hi-hats, turn overheads or room mics on or off and enable microphone crosstalk (Leak) effects.
How Use Amps and Effects with Your Guitar
Learn how to colour your live sound with amplifiers and effects units
For guitarists, we know GarageBand is a perfect solution for quickly capturing those valuable moments of inspiration. Record a track against some suitable loops, throw on some overdubs and within minutes you’ve got the basis for a sweet-sounding song. However, if you’re not yet ready to get creating anything, GarageBand is still great for just free playing. Thankfully GarageBand ’11 arrives with a versatile collection of presets that can be customized at every level to achieve unique results.
Crucially these presets are built around 12 virtual amplifiers, each modelling the sonic characteristics of some of the most iconic brands or models in music history. It is here where your raw electric guitar input can be experienced in its purist form if you are craving a more natural, organic sound. Add to this the ability to apply new AU plug-ins to the live track itself and the potential for emulating your favorite records or artists is mouth-watering.
So over this extended guide we’ll look specifically at using amps and how the core controls impact your guitar’s sound, before introducing and configuring stompboxes. Before we get started it is worth noting that you will need a suitable guitar interface for your Mac. Without it you can’t plug in to capture the signal and, in many cases, the quality of this initial capture will define the results you get.
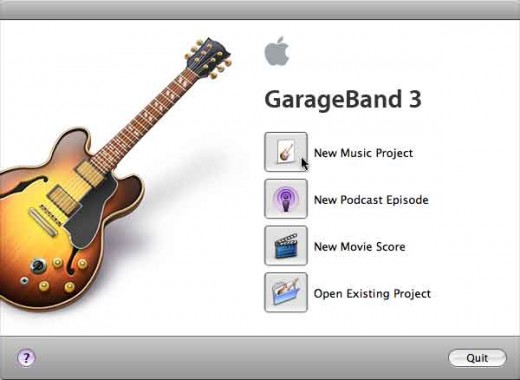
Step-by-step Using amps and effects
1 Electric tracks
Working with amps in GarageBand begins with an Electric Guitar project or adding a Electric Guitar track. You won’t have access to presets, amps or stompboxes on other track types.
2 Preset list
New Electric Guitar tracks start with a default amp preset selected, typically Clean Combo. Switch between these using the drop-down menu list at the top of the panel.
3 Switching amps
In any preset you can begin editing amp and stompbox selections directly. Click the illustrated amp, hover the mouse over and use the left and right arrows to navigate the 12 amp models.
4 Amp rear panel
On your favoured amp, click the Edit button to the right of the preset drop-down. On the lower half of the resultant panel you can edit or remove a track’s Audio Unit Effects.
5 Input options
At the top you’ll notice some important input options. The Input Source should be set to your guitar’s interface and you’ll need Monitor set to On to hear yourself playing.
6 Amp front controls
Both stack or combo amps have the same ten front controls, which appear once you click the Edit button again, now labelled Done. Click and drag each knob directly to change.
7 Sound equalisation
In addition to your guitar’s tone pots and pickup choice, you can dramatically alter EQ on the
amp. Enhance low, middle and high frequencies by altering Bass, Mids and Treble knobs.
8 Sound power
Increasing Gain adds distortion via the preamp, with Master and Output levels controlling volume and power. Master is the amp control and Output adjusts the level within the track.
9 Stompbox basics
Click below the amp in Edit view to drag any of the 15 stompboxes onto the stage. Drag them off stage to remove or simply click the silver switch to turn off.
10 Stompbox effect knobs
Each stompbox has varying controls, but like amps these are dragged to enhance the effect, set depth, rate, time, level and toggle modes. The Sync button sets the effect to your tempo.
11 Chaining pedals
Within the five stompbox slots, you can ‘chain’ or place each effect pedal in a myriad of combinations. Dragging them into a new order from left to right creates new overall sounds.
12 Save your setups
Any amp and stompbox setup that you hope to use regularly can be saved as a custom preset. Simply click the Save Setting button in the Track Info panel and give it a name.
The Varied Tools And Tricks Of Pixelmator
Use the powerful editing tools of Pixelmator to create an amazing album cover
Do you ever record your own music, or have friends who like to create tracks and send them to you? Or have you got a few albums in your iTunes library that you don’t have album artwork for and are ruining your otherwise-beautiful grid of coloured tiles? If either of these are true, or if you’re just feeling a little creative, why not try creating your own album cover to add to your collection?
In this tutorial, we’ve shown you a few techniques and ideas for you to consider when putting together your own cover art in Pixelmator, but the only limit is your imagination. Whether you use a photo and make small edits to it, or create an image from scratch, there are a few things you’ll definitely need to do. So let’s start filling out the gaps in your iTunes library.
Step-by-step Pixelmator tools and tricks
1 Resizing
First, open your image in Pixelmator and adjust its size to fit an album cover size. CD covers are almost exactly square, so choose Image> Canvas Size for now.
2 Square it off
Adjust the larger number until it’s the same as the smaller number, creating a square. The advantage of this over cropping is that it doesn’t delete the edges of the image.
3 Tools of the trade
Before you start editing, start preparing the tools you’re going to need to get creative. In the View menu option, choose all the panels you want to use for your cover.
4 Layers
Here, we duplicated the photo layer, added a black and white effect to the top layer, then used the Eraser tool to erase through to the coloured layer below.
5 Combining images
You can combine multiple images into one shot. Use the Paint Selection Tool to draw the area you want to copy onto the image, then hit Command+C to copy it.
6 Paste it
The items you paste into the main canvas will appear as separate layers, so you can arrange them however you want, and order them as necessary. Get experimenting!
7 Drawing shapes
Alternatively, you can use Pixelmator’s Pen Tool to create a shape based on the image. Click to add points, or click and drag to add a curve, then choose fill effects.
8 Title fonts
Choosing the font for your image is one of the most important parts of creating a professional looking album cover. There are plenty of options, so try a few out.
9 Make it a shape
You can also change any piece of text into a shape, which can then be edited individually. You can elongate areas, like here, to customize stock fonts and make them stand out.
How to Enhance Your iPhone Photography
Use a few quick tweaks in iPhoto to bring out the best in your iPhone snaps
There’s a reason that the iPhone is the most popular camera when it comes to uploading photos to Flickr. It’s a fantastic tool for shooting great images, and because it’s always in your pocket, it’s quick and easy to whip it out and take a shot. However, while it does a great job of taking high-quality shots, not every snap you take is going to be perfect. Often light will leak into shots that have a darker foreground and a light sky or background. Alternatively, you may find that certain areas of your shot are overexposed when you’re taking a shot that’s mostly dark, or underexposed in lighter environments. In this tutorial, we’ll take you through some simple processes for fixing the most common issues in iPhone photography.

Step-by-step Improve iPhone shots in iPhoto
1 Quick Enhance
For some photos, quickly tapping the Enhance button will be enough to transform the shot from a washed out disaster to a beautifully rich image with perfect colour.
2 Adjustments
If the Enhance button doesn’t do enough, move to the tab on the far-right to activate iPhoto’s
Adjust menu. Here you’ll find much more detailed controls to help.
3 Using the histogram
First, use the level sliders to adjust the light. Adjust the left and right sliders first, then use the central slider to get a natural colour balance. Experiment to get the best results.
4 Correcting bright shots
If your shot has come out too bright due to a strong light source, you can bring details back in using a clever combination of the Levels and Contrast sliders.
5 Use Highlights and Shadows
If you’ve lost a lot of detail in specific light or dark areas, use the Highlights or Shadows sliders to lower the brightness in these areas. It’ll make a massive difference.
6 Brighten dark shots
Photo that were taken in dark surroundings may need you to bring out more detail by increasing the Exposure to around 1.0 and moving the Contrast up slightly.
7 Reduce the noise
In dark conditions, your iPhone’s ISO will be high, causing more noise than normal in your image. To counter this, use the De-noise control to increase the softness.
8 Control the colour
Use the two colour sliders at the very bottom of the Edit panel to level out uneven shots. Images taken under old light bulbs can be very yellow, for example.
9 Creative cropping
If all else fails and there are still problems with light at the edge of the image, use the Crop tool to remove it. We’ve put together more cropping tips for you over the page.

