Chrome Browser Tricks - Part II
Chrome The Browser
Introduced at the end of the year 2008, Chrome has steadily found a niche in the browser market. With an installed base of some three hundred million computers it is rapidly catching up with Firefox as the browser to use.
Trick 6: Browser Hogs & Task Manager
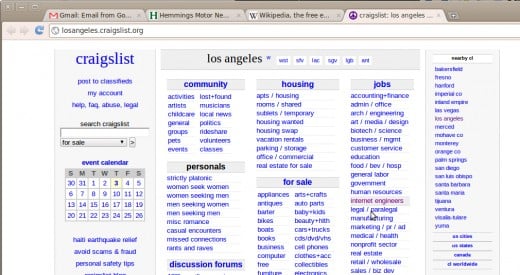
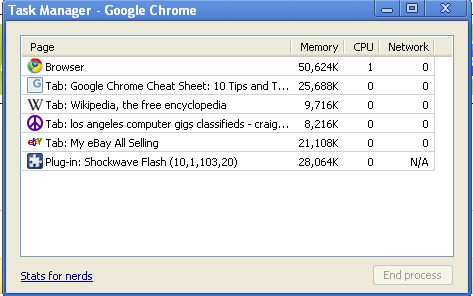
If you are like me, you use tabbed browsing to jump back and forth between pages. In this example I have four tabs running various web-pages, plus, of course, Adobe flash.
Seems something is dragging performance down, but I don't know which page. I can find out though by hitting [Shift] + [Esc] from any of these tabs. This means hitting and holding down the [Shift] key while hitting the [Esc] key; once [Esc] is hit let go of both keys.
After hitting this key combination. The browser task manager will pop up. This shows you the pages and applications running in chrome, how much memory they take up, and what percent of processing power they are hogging. Very handy.
You can also kill tabs or applications from here.
Just for fun hit "stats for nerds" at the bottom of the window for interesting information.
Trick 7: Canary in a Coal Mine
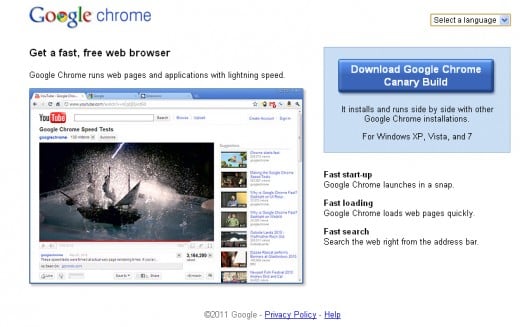
If you are like me you also want to know what's on the horizon for Chrome. There's a great way to do this. Go to the ChromeSxS page and download the "Canary Build." This is the latest beta version of Chrome currently going under test.
Clicking the button "Download Google Chrome Canary Build" will download and install the latest beta version of Chrome. Best of all it installs without disturbing your current Chrome installation. Click the link below to go there; a new tab or window opens.


Trick 8: About Whatever
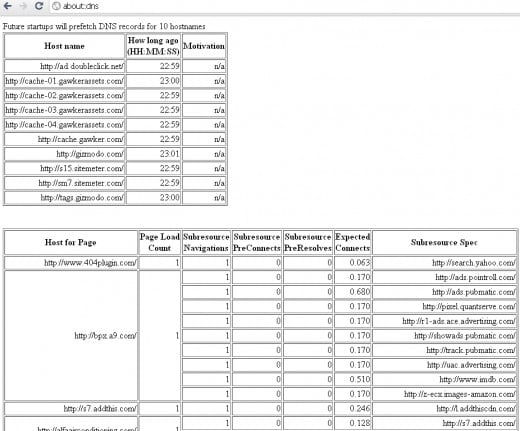
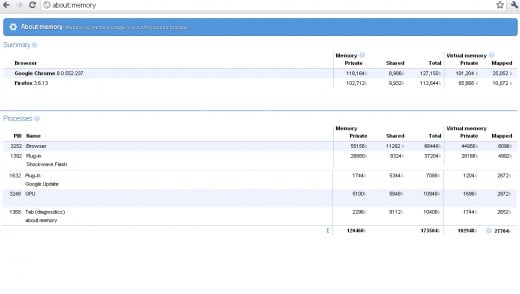
Chrome also allows you to query various states of your browser and computer. For example you can query the state of your Dynamic Name System. Chrome will also give you information about:
- about:DNS
- about:Cache
- about:Plugins
- about:Memory
- about:Crash
Just be sure to type exactly the phrases above in Chrome's Ominbar and don't put in any spaces.
Explore each of these about:???? to discover more about your browser, your computer, and how the two work together.
Trick 9: Chrome Synchronization
Do you have Chrome installed on more than one computer (or more than one login on the same computer), but want all the bookmarks to be the same between them? As long as you have a gmail account login you can do this.
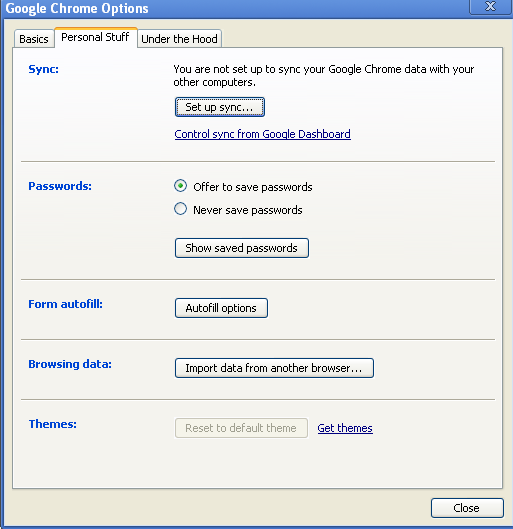
Hit the wrench on the far right-hand side of the Omnibar and select Options. From within the Options window select the Personal Stuff tab and look to the top of the window. (see image right).
Click the Set up synch... button and follow the direction. You'll have to be logged into a Gmail account to start this and once you click the button it will ask you for the account login information again. The next time you start Chrome from a different machine or account also log into Gmail with the same account information, go into the toolbar, options, personal stuff, and start synching on that machine's version of Chrome as well.
Everything you've selected to synchronize will be updated automatically every time you start any version of Chrome this has been set up on.
This even works across operating systems. I'm able to keep my Windows version of Chrome synchronized to my Linux version of Chrome.
Don't have a gmail account? Go here.


Trick 10: Shrinkage
After a while you may find you have tens of tabs all open operating at once. This can get pretty messy and the tabs become unwieldy and difficult to keep track of.
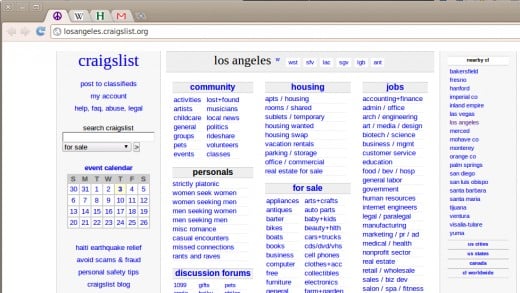
Chrome allows you to shrink the tabs to a more manageable size by allowing you to "pin" them. Simply right-click on the offending tab and click "pin tab." This will result in a tab that only has the web-sites symbol rather than its entire name. View the image at right for an example. Notice that when you pin a tab it becomes the primary tab in your browser by moving to the far left.
You can unpin tabs by right-clicking them and selecting "unpin tab."
Again, very handy.
Trick 11: Hide the Bookmark Bar
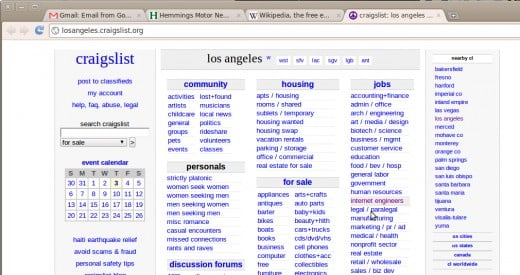
Finally, you may have noticed by now that some of my screen shots do not display the bookmark bar. This is a really easy thing to do without going into the toolkit (wrench) and making changes there.
It's a "toggle" that can be turned on or off. To do this hit [Shift]+[Control]+[B]. Each time this key combination is hit the bookmark bar will appear and/or disappear.
Disclaimer
The author was not compensated in any way, monetarily, with discounts, or freebies by any of the companies mentioned.
Though
the author does make a small profit for the word count of this article
none of that comes directly from the manufacturers mentioned. The author
also stands to make a small profit from advertising attached to this
article.
The author has no control over either the advertising or the contents of those ads.

