- HubPages»
- Technology»
- Computers & Software»
- Computer How-Tos & Tutorials
Disassembling a Laptop the Right Way
There IS a Right Way
No matter what your reason is for wanting to disassemble your laptop, or you are a fellow Computer Technician and do so for a living, I wish to share some of my knowledge on the subject in hopes that it will save you some heartache and headaches during the process.
If you take a laptop apart the wrong way, in the wrong order, it can be disastrous. You can kill your device at the worst, and cosmetically damage it at the very least. So caution is a man's best friend here. In the subsequent sections, I'll walk you through how best to take apart your laptop, and put it back together again.
1. Unplug that Power Adapter!
If you fail to unplug the power adapter, then the motherboard and all the integrated components are still receiving power while you're goofing around with screws and cd-drives. This is the quickest way for you to kill your laptop. No, wait, disassembling it while it is powered on. Much worse. I've seen someone do it, too. I don't recall why they wanted to massacre their laptop, but they did it nonetheless....
So unplug that power adapter, and next...
2. REMOVE THAT BATTERY!
Let it sit for about a minute after you remove the battery (which is always on the underside of the laptop, near the back and has release mechanisms set in place so that you can pop it out quickly). The reason for letting it sit, is that some 'juice' is still running through the veins of your PC and it takes a minute or so for that to discharge fully. Now, now you're ready to do some dirty work (in the most cautious, clean way possible!)
3. Remove those screws!
All of them. Every single one of them. But before you do that. Here's a few pro-tips on screws. Get out a blank piece of paper and put it next to your laptop. Using a writing device, as you remove screws, place them on the blank piece of paper in the spot that you removed them from the laptop. So, the paper becomes a screw-diagram for your laptop. You will want two pieces of paper, one for the bottom-side and one for the top-side. Next to each screw, write a number, starting with 1, and counting up until the maximum number of screws you have. That way, when you go to put it back together, you know exactly what order to put them back in.
So many times, so many times have I been handed a laptop that is completely taken apart, with all the screws in some little magnetic tray, and told "hey, put this back together." Yeah, it's annoying. You have to play the game of trial and error to figure out which screws belong in which holes. This can actually lead to a screw too large being in a too small hole, and whatever that connection was holding together....is now screwed, pun intended. I've had it happen.
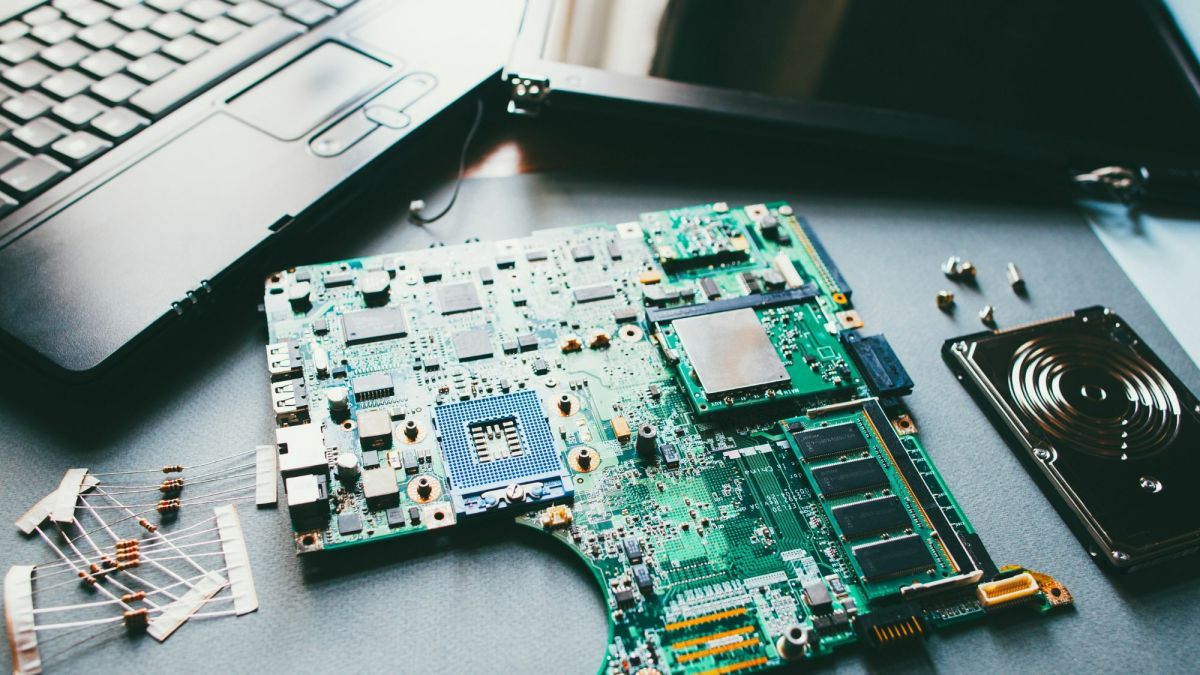
So be smart with your screw removal. Now, once all screws are removed, you'll notice that you have sections of the motherboard visible, and there are cords running here and there, usually from the screen but not always. Unless you have business with the motherboard, the CPU, or the integrated graphics chip, ignore this for now.
4. Yank it Apart (gently....please.)
Whenever you go to remove the top-side from the bottom-side of the laptop and nothing budges, that's your cue that you missed a screw. Happens to me all the time. There's always a bajillion screws, and even if you miss JUST ONE, it can prevent you from taking the machine apart. So annoying. But, if you gently pry each side along the seams, it should come apart fairly easily. Sometimes it requires a little force.
Also, sometimes you have to remove the keyboard and the power-bar (that long, narrow area directly forward of the keyboard, and below the screen) before you can successfully separate the two halves of the PC.
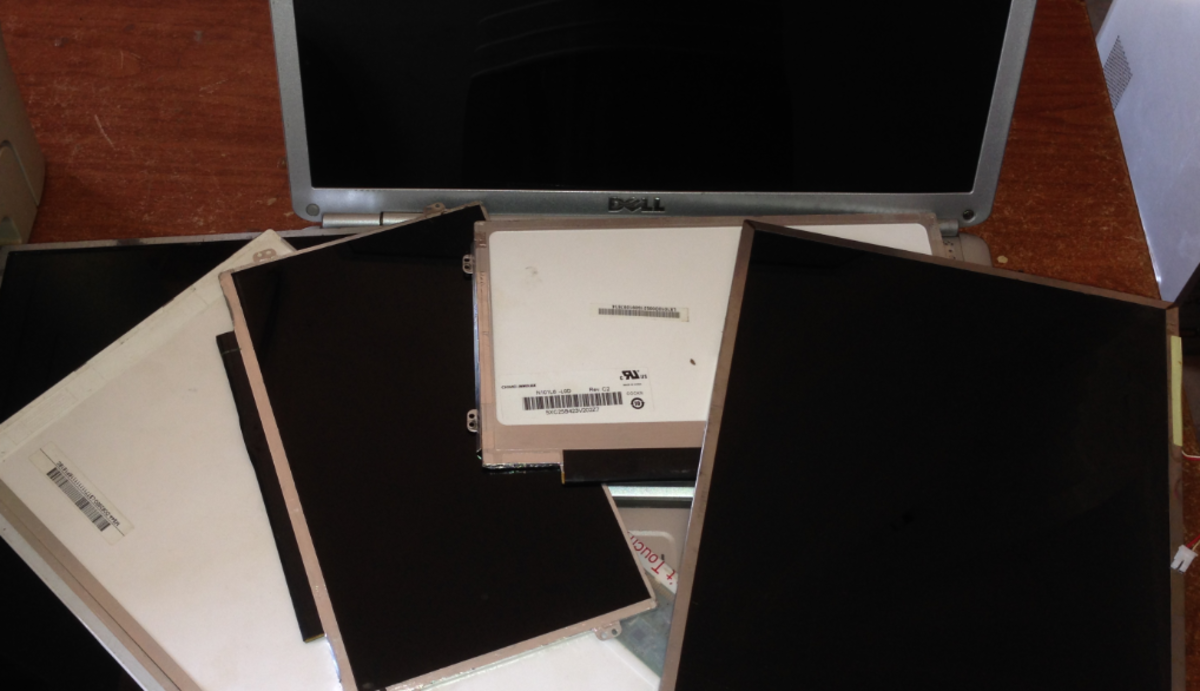
Also, on some laptops, disconnecting the hinges that connect the screen to the rest of the laptop is essential. That's the thing about laptops, they're all different. To completely disconnect the LCD/LED screen from the mainboard, you must disconnect any video cables that usually run along the hinge. Otherwise....you'll run the risk of causing a cord to break under the stress of separating the screen from the laptop, and that's just not a good idea. No video for you!
5. Assess the Situation
You now have an LCD/LED screen with its hinges and cords on one hand, and on the other hand you have your extrapolated bottom-side. It's your choice what you want to do now. You can do any of the following:
-Remove all casing for the LCD/LED screen and replace it with a new one
-Completely take apart the bottom-side of the PC, where you have several plastic pieces, a motherboard, a hard-drive, a battery, and a crap-ton of screws.
-Use this opportunity to apply new thermal paste to the CPU and GPU
-Clean! Clean out all the fan-ducts, or the entire thing if you want, using isopropyl alcohol which is non-conductive and won't harm any components
-Check your capacitors on your motherboard for any that may have burst, and your ram-slots, CPU-region, and GPU-region for signs of overheating (darkened areas, black is a bad color in this case)
-And um, just goof around with your exploded laptop now
6. Reassemble, quick!
The good thing about disassembling something is that the only difference between assembling and disassembling it is in which order you do things. So if you distinctly remember the order in which you yanked it apart, then you're good to go. If you're like ME and forgot how you did it, perhaps keeping a journal entry that you add to as you disassemble it to remind yourself of the steps you went through.
Since you are a smart person, unlike me, you remembered how you disassembled it, and are beginning to put it back together in the order you destroyed.....errrr disassembled it, you should be good to go. You have your screw diagram and order in which to start putting them back in, and your hinges are safely attached to the laptop once again as well.... all is well in the neighborhood of computerland. But....
7. Test it.....and pray you didn't screw it! (another pun!)
You have your battery installed again, and power adapter plugged in. Now....press the On button.
If you see LIGHT, then it is GOOD. That's the first good sign.
If the screen boots up and you see the BIOS prompt, this is GOOD. Second sign.
If you make it to your operating system unhindered, this is AWESOME. Third sign.
If it fails along the way, you know you did something wrong. What you did wrong....oh now that deserves an entire hub to go through the list of what could go wrong in dissecting a laptop. But I'll assume that your dissection went well and you saw what you wanted to see, and now you're in Windows, or Linux or OS X or whatever and having a blast reading my article right now. Yeah. That's exactly how it happened! Thanks for reading, and I hope you fellow geeks out there who share my passion for computing and messing around with them, got a kick out of this, and those curious beginners, I hope this article is an accurate guide toward your drift toward the FUN-side of computing. Hardware is where it's at, yo!

![How to Remove Kaspersky Password Protection? [Easily Recover] How to Remove Kaspersky Password Protection? [Easily Recover]](https://images.saymedia-content.com/.image/t_share/MTc2Mjk3NDcwOTAzNTkyMTI2/how-to-remove-kaspersky-password-protected-easily-recover.png)
