- HubPages»
- Technology»
- Computers & Software»
- Computer How-Tos & Tutorials
How to clean your Lapton Keyboard


What a terrible day!
After my busy daily work, the only thing I want to do is to have a good rest. But unfortunately, I accidently spilled some Pepsi on my Laptop.
I shutdown my laptop immediately, and waited for my laptop to dry. One hours later, I found that everything is ok except for the keys on the left hand side, they are very sticky. When you press a key, it will stay down for a long time.
What a terrible day! What shall I do?
Clean the keyboard by myself
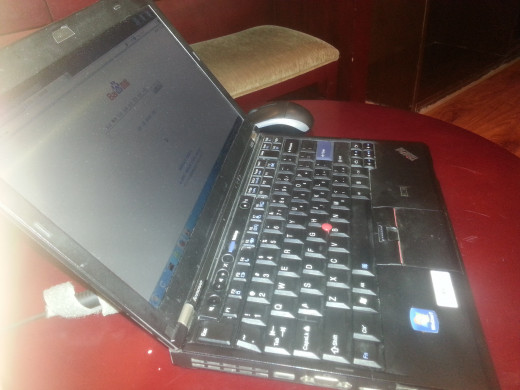
My Lapton was ThinkPad X220. And I have used it for over 2 years.
What will you do if you have been in this situation? Will you find somebody to clean your keyboard and pay more than $300? For me, I won't. I descided to clean it by myself.
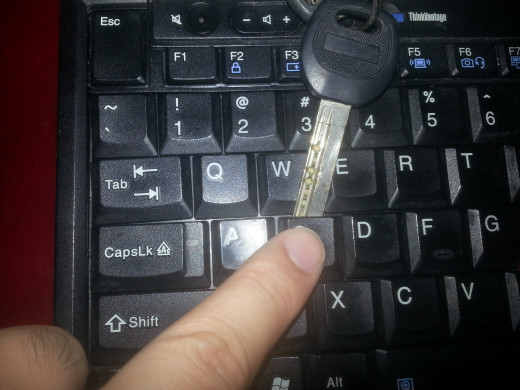
1. Remove the key cap
Remember to shutdown your Lapton. This is very important. No one wants to get documents removed when they are cleaning their keyboard.
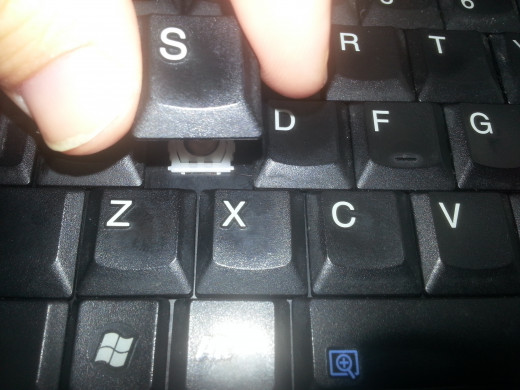
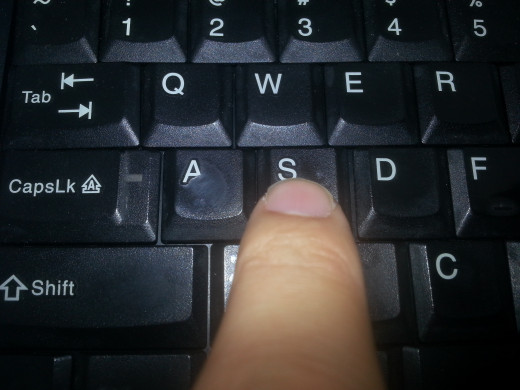
Then, you need to remove the key cap. Start by pressing down on the key in front of the key you wish to remove and insert a flat object such as a car key or a small flathead screw driver below the key. Once below the key twist it or push down until the cap pops off.
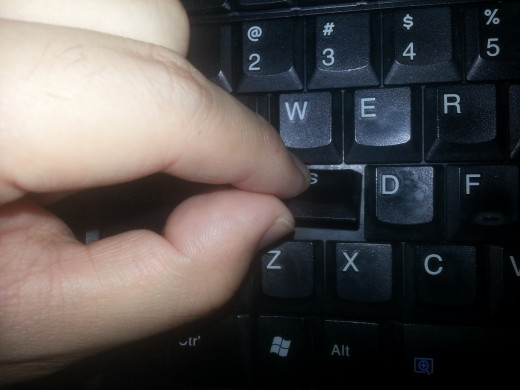
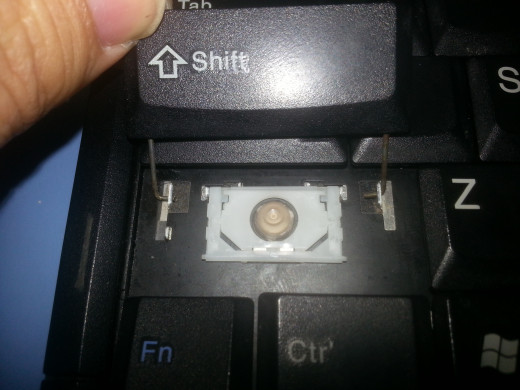
After you have done this, you will get the Key cap removed from the key retainer as in the following photo. If you want to remove more than one cap, repeat this process until all caps are removed.
Be careful, when you remove the key cap of "Shift" and "backspace", there are metal stents behind the key cap.
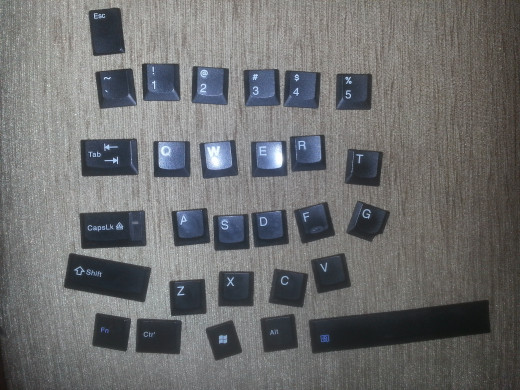
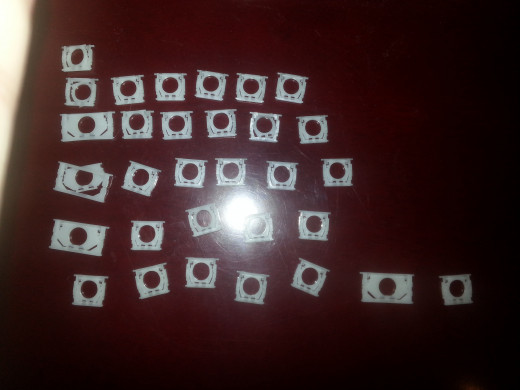
In the following photo, I had removed all the key caps I need.
Remember, never threw key caps all away. Or you can't find all the key caps when you want to install them.
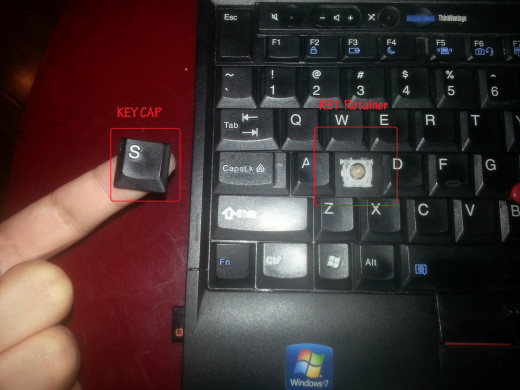
2. Remove the key retainer
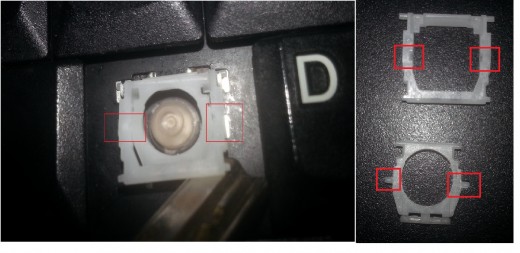
Take a closer look at the key retainer, it’s connected to the keyboard at four different points. Different Lapton maybe different here, but there will always be four points.
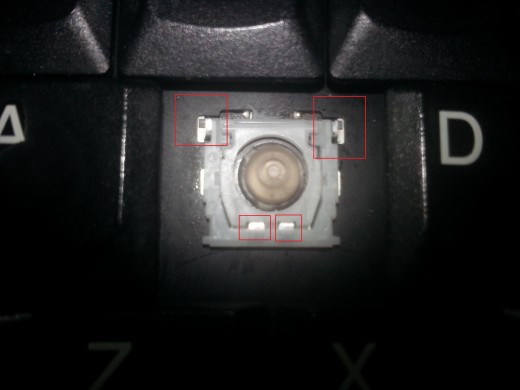
Each Key retainer has two components. They are connected to each other in the middle. You can see this in the following photo where I marked their connections red.
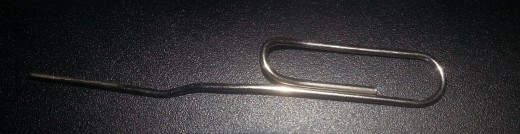
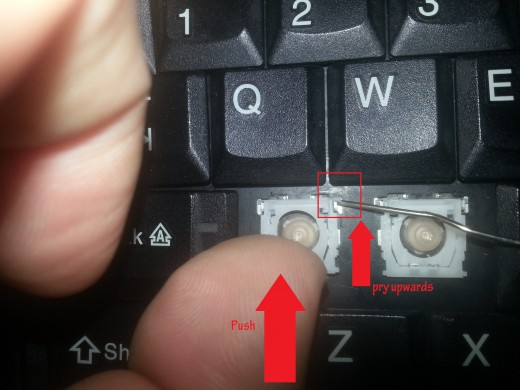
To remove the key retainer, you may use a paper-clip.Take a paper-clip and straighten it out. Then, push from the bottom and use the paper-clip to pry upwards. Be careful, if you can't remove it easily. Stop trying. Never damage the key retainer.
If you can get the right side up, the left side will be the same.
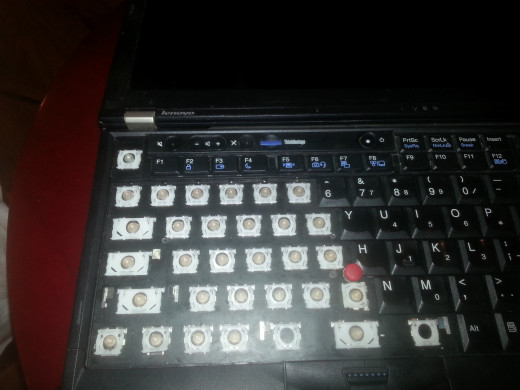
At last, I have removed all the key retainers. You can see what the keyboard looked like in the following photo.
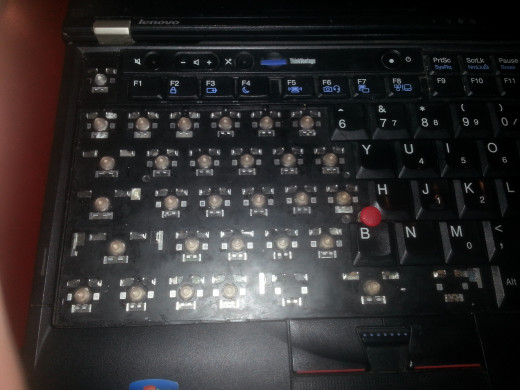
The same as the last step, I have to say, never threw key retainers all away. Or you can't find all them later.
3. Clean the keyboard
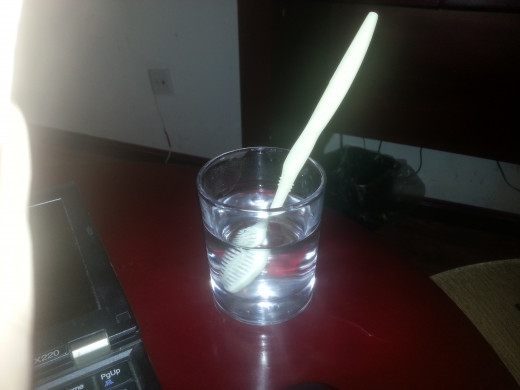
Once the key has been removed, you can begin to clean it. I prepared a glass of water and an old toothbrush. Put the toothbrush into water, and then brush the keyboard.

After I had brushed the keyboard carefully, I waited for my keyboard to dry. And then, the only thing I need to do was to install everything back.
4. Install the key retainer back
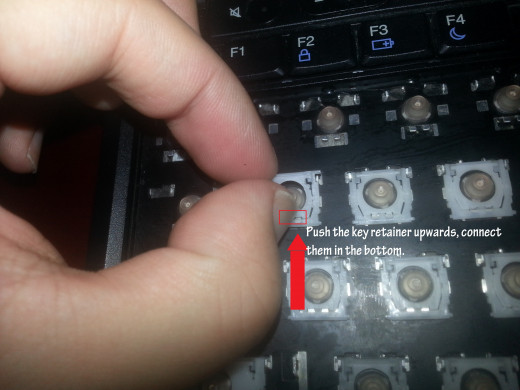
First, put the key retainer back into its position. Push the key retainer upwards, connect the key retainer and the keyboard in the bottom. Then, press the key retainer in the top, connect the key retainer and the keyboard in the top.
5. Put the key caps back
Put the key caps back into their position. And then press on the key caps until you can hear a click. That means the key has been installed perfectly.
6. Ending
At last, when I have installed all my key caps back, I found my keys working perfectly. And you can see it's very easy for you to clean the keyboard by yourself. So next time, when you spill some drinks on your Laptop. Don't worry, never try to find an expert to help you. Try to fix this by yourself. Trust me, you will make it.


