How to Add Audio Files to Your Website
Searching the internet you may notice that some of the sites you visit have different backgrounds and specialized add –ins. Some of them even seem to talk to you. Having audio on your website is a great way to get people to interact with it more on a one on one basis. Some use it to play music others uses it as advertising gimmicks. With this new interactive feel on a website you can get people to stay and find out that much more about your site and the products or services you have.
Now the question is how do I do that? How do I add audio to my website? First off it is very simple and I’ll explain how. You will need to start with some simple basic design tools that are inexpensive and most of the time free. Then you can add any type of audio file or recording that you like.

Most of the files that are used in this type of interaction are created with .WAV files. So when you create the recording or music makes sure the file you are greeting is in that format. This not only allows the browser to read it better it also allows the most users to hear it since it comes as a default in most computers browser functions.
If you are looking for alternative selections since .WAV files can be somewhat large and harder to download you can also use .MP3. But, make sure you listen to them because sometimes converting the wave file can cause it to be distorted or lose a significant sound quality. But, with most people on some type of broadband now size seems to be less and less of a priority. You can get more information about editing files for websites from the multitudes of software that are available out there but not necessary.
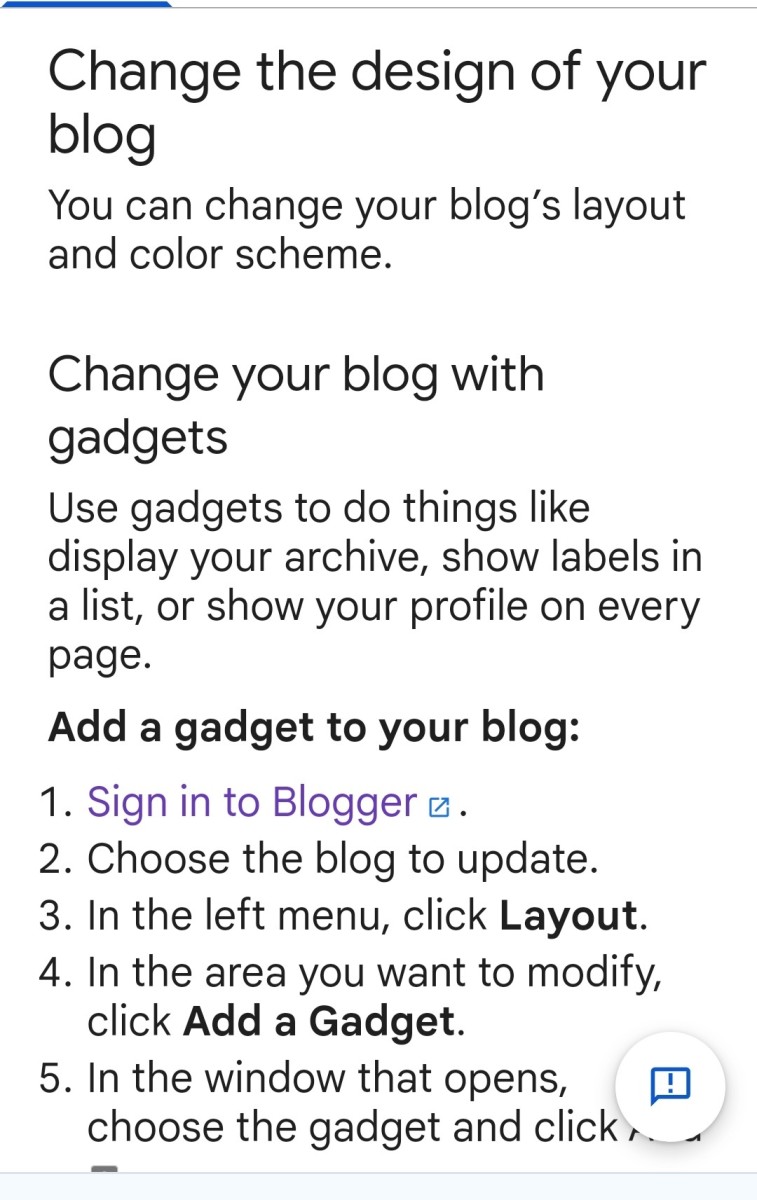
Once you have your audio file in the format that you desire to have. I am assuming that since you have a website that you already have at the very least a basic knowledge of HTML or PHP which most websites are built in. If you are using Dreamweaver or a FrontPage interface then this is even easier because they have Install functions for you already. Even word press or blogger provide upload options to automatically put the files in for you. Once you have the file uploaded or installed via a plugin then it is just a matter of setting the proper customization of the player itself.
I am sure you have seen players on other websites with the huge play stop rewind ect.. buttons all over the place. They just demand that you use them but the secret to audio on a web site is not to get people to quickly close the page but to offer a little more insight into your products or services at their leisure. So remember not to auto play the files when the persons page loads because if they have their speakers up loud it may just be annoying. But, instead allow them to hear it if they so choose to. Choosing from the multitudes of customizable web players is a matter of personal preference and choice so take your time to find the one that best suits your website.
For example one of the great benefits for using audio to help interact with your clients is to create links at the sounds of words. Let me explain, When you are recording your file and say you talk about a newsletter that you can have them subscribe when that audio is laying and it says the word “newsletter” a pop up box with then appear and allow them the option to subscribe to it. How would having this option benefit you? How many more subscriptions could you get for your newsletter? Tons, it’s been proven over and over.
Once you have done this once or twice adding audio to your website should not take a lot of time and most of the time will be done in less than an hour. So get going and try it on your site I’m sure you will be happy with the results.


