- HubPages»
- Technology»
- Communications»
- Smartphones»
- iPhone
How to Add Box, Dropbox, Google Drive, or OneDrive to Apple iPhone or iPad Files App
Introduction
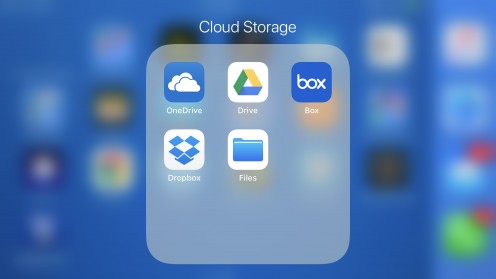
The Files app was introduced on Apple devices as part of the iOS 11 rollout in September 2017. The app gives you a central location on your iPhone or iPad for accessing and searching content across multiple storage services, include Box, Dropbox, Google Drive, OneDrive and iCloud Drive. By default, the only storage service available in the app is iCloud Drive, but you can easily add other third-party storage services to the Apple Files app.
Steps to Add Box, Dropbox, Google Drive, or OneDrive to Files App
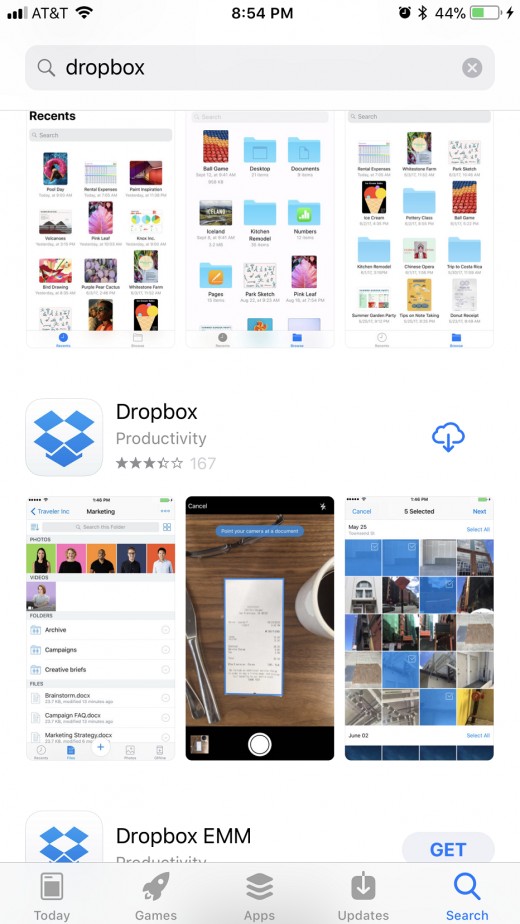
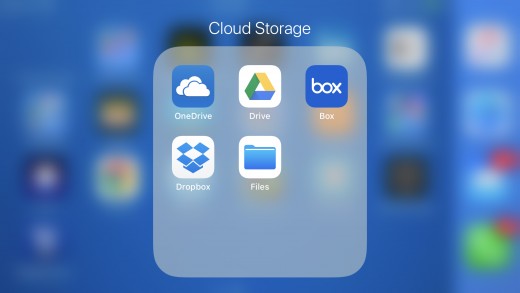
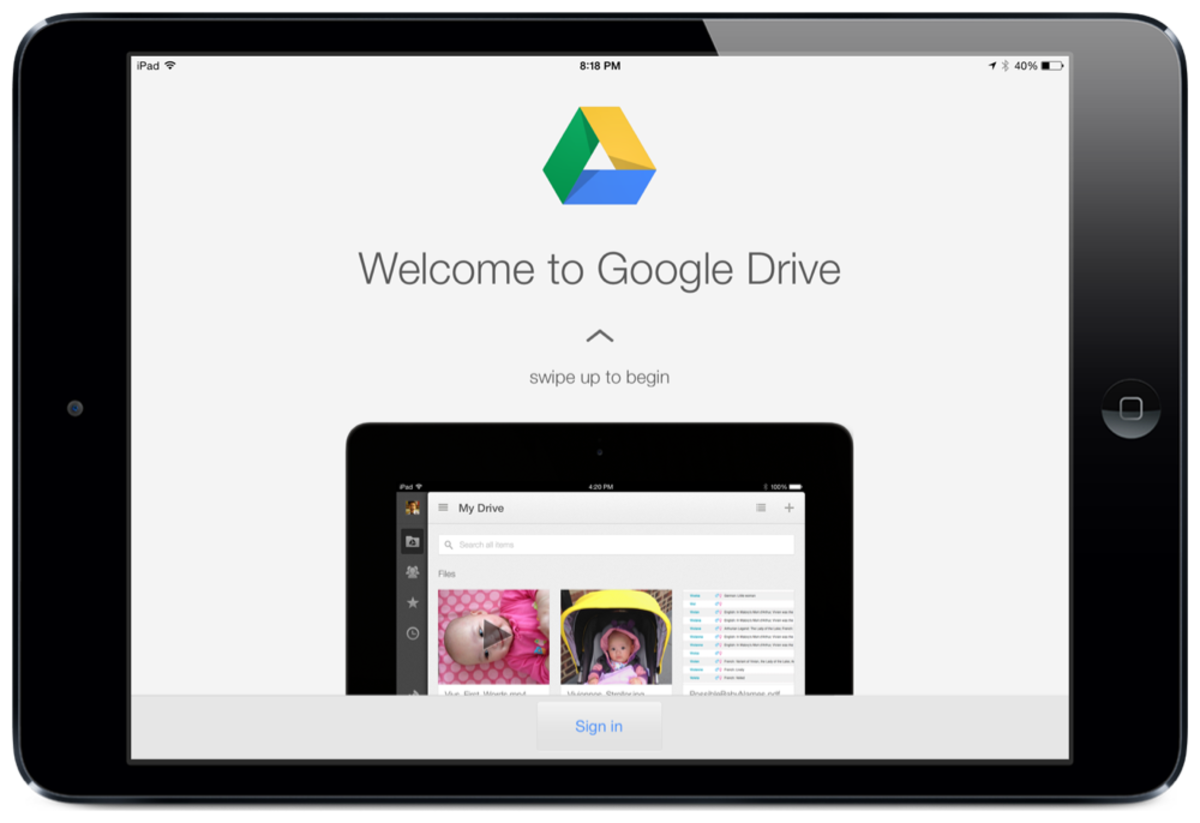
- Install the app associated with the service you want to add to the Files app on your iPhone or iPad on your device. For the sake of this example, we'll use Dropbox. Until you install the app associated with that storage service on your device and log in to it, that service won't appear in the list of available storage services in the Files app.
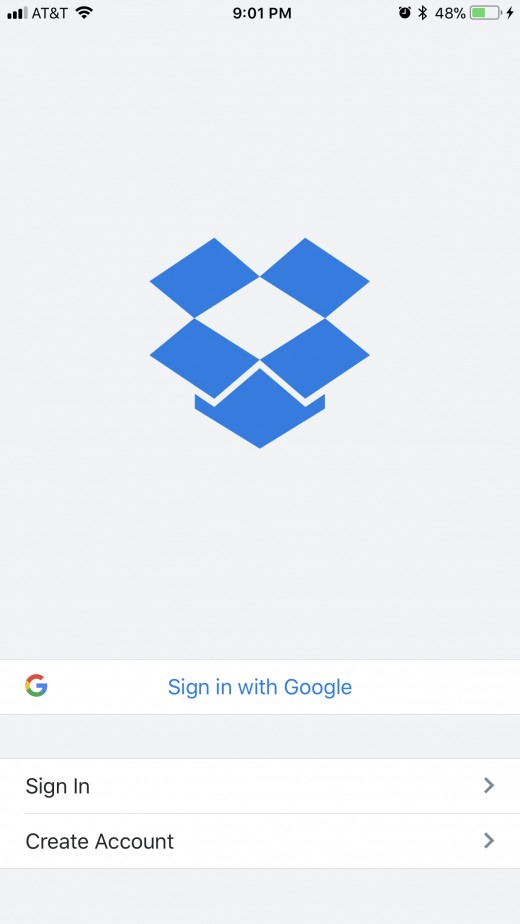
- Open the app associated with the storage service you just installed on your device, and then sign in to that service with your username and password associated with that specific service.
- Launch the Files app on your device. The Files app opens, by default, to display the contents of your iCloud Drive.
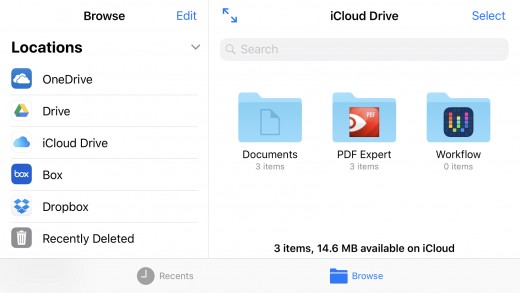
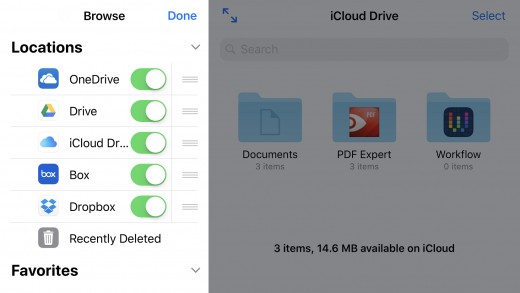
- Tap the blue "Locations" icon in the upper left corner of the screen. You'll arrive at the Browse screen, which displays a list of all of the storage services associated with your Files app. If you don't have any storage service apps installed on your Apple device, you would just see the iCloud Drive. Right now we can see Dropbox, along with the other storage services I've set up on my device.
- Tap "Dropbox," or any other storage service in this list where you recently installed the app associated with that service on your device. If you haven't already signed in to the app at this point, an authentication screen will appear and you'll need to sign in to the app associated with the service before you can access that service through the Files app.
- Tap the storage service you just added to see the items and folders associated with that storage service.
- Additionally, if you don't want a specific storage that's installed on your Apple device to be accessible through the Files app, tap the blue "Edit" button in the upper right corner of the screen. Green toggles will appear to the right of each storage service in the list.
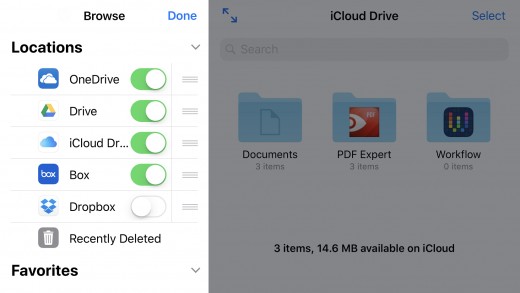
- Slide the toggles of any services you want to deactivate within the Files app to the left so that those toggles are entirely gray. Toggles associated with active services will have a green background.
- Tap the blue "Done" button in the upper right corner when you're finished. Any storage services that you deactivated will no longer be accessible through the Files app. However, you can always go back and reactivate them at any time through the Edit menu. No information is deleted as a result of this process, and any files available within your storage service will be accessible the next time you reactivate the service.


© 2017 Max Dalton

