- HubPages»
- Technology»
- Computers & Software»
- Computer How-Tos & Tutorials
How to Build Your Own Desktop PC, Part 2

As you start unboxing individual parts for your personal computer(PC), make sure to keep track of what goes with what. There will be tons of extra little items, manuals, how-to instructions, cables, and screws. It's best to open the parts of the computer as you go, but that will be your personal preference. Make sure to read all the how-to manuals as you get to each new part and/or step, this will give you a better understanding of each piece of the PC and how yo install it. Of course, not everyone reading this will have the same parts, so this guides instructions may not match exactly what you will be doing, that is another reason the manuals will be very important to read.
Reminder- Read how to installation instructions for each and every part, every installation will be slightly different.
Relax, stay organized and have fun, here we go:
- Prep PC case- Unbox the PC case, keeping all the extras and paperwork in order. Take off side panels. Place the case standing up or laying down, whatever works best for you. Set aside.
- Install I/O shield- Unbox motherboard, put aside for now. Take the I/O shield and install into the back of the PC case in the correct spot in relation to the mobo. It snaps into place.
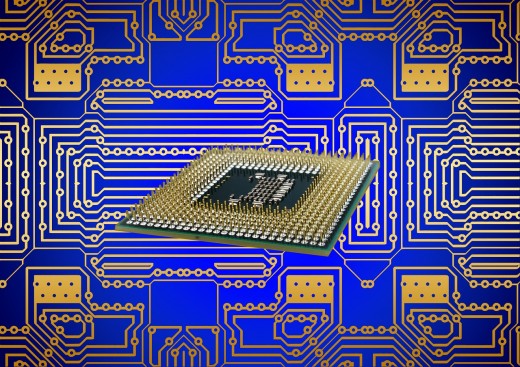
- Install CPU- Take the motherboard and remove from the anti-static sleeve, place it on your flat working service with the anti-static sleeve underneath the mobo. Push the small metal arm out and up, remove the plastic cover. Unbox CPU, being very gentle and hold on the edges. Take the CPU and line up the little triangle on the corner with the triangle on the mobo. Let gravity do the work as it drops in gently. No pushing needed. Close the metal arm and lock in place.
- Install memory- Refer to mobo's manual to see which slots to use, unbox memory sticks, unlock the slot clip and insert stick and lock the clips. (sometimes step 4&5 need to be switched depending on which needs to happen first)
- Install CPU cooler- Unbox CPU cooler which is comprised of a heat sink, fan, securing bracket and back plate. After reading instructions, the back plate should be secured to mobo first following directions on where and how to connect it. Unclip the fan from the heatsink, it is easier with it off. If the heat sink has pre-installed thermal paste remove the plastic covering it, if not, you will need to apply a thin coat(apply a small pea size on there and the pressure when you install it will spread it out evenly) on yourself. Orient the heat sink to line up vertically and press firmly into place screwing in until secure. Next, slide to mounting bracket into place between the mobo and the heat sink and screw into place. Reattach the fan onto the heat sink. Now make sure all wire connections are made.
- Install motherboard- Have all the screws and other items that came with the PC case and the mobo ready to go. Take the standoff screws(the screws with threads and also a spot for other screws to screw into) and using the small standoff tool supplied screw them into the PC case where the holes are labeled(XLATX, EATX, ATX, MicroATX or Mini-ITX), depending on the corresponding size of your mobo. Then take the mobo and screw it into the top of the standoff screws using your screwdriver and at the same time lining up your I/O shield that you secured into the case earlier.
- Install power supply- Unbox power supply. Place into the case and secure with screws supplied. Orient with the fan pointing out of the case, unless it won't have good airflow, like if it's sitting on a carpet, then point it inside the case.
- Install HDD, SSD or SSHD- Unbox items and according to your PC case layout, it should be fairly straight forward where they are secured, but they are all different depending on which case you have. After they are installed, make wire connections refer to mobo manual a that will have a diagram and point out where the connections need to be secured. You can install any optional optical drives you may want and make proper connections.
- Install case fans if not already pre-installed- Locate where to place fans and secure properly or just plug in the ones pre-installed onto the mobo, using the diagram.
- Make all power connections- From the power supply(Modular- connect each part individually)there will be wiring for each part, connect the disk drives and mobo, again referring to mobo instructions as to what power the mobo needs.
- Optional video card and/or sound card- Find the first x16 PCIe slot on your motherboard(Long slot closest to the CPU socket) and remove the expansion slot coverings. Some video cards use a dual-slot design, which means you need to remove the cover plate directly left of the PCIe slot, and the one above it. To take them off, simply unscrew the thumbscrews and slide them out. Align your graphics card’s PCIe interface with the slot and press it into place. When it’s pushed in, redo the thumbscrews to properly secure in place.


Make sure all wires are out of the way of fans, do not zip tie anything and do not close everything up. You will want to attach a keyboard and a monitor to your setup. It is now time to power on your newly built PC and test it out. Plug it into the wall, make sure the power switch on the power supply is set to on and press the power button on the PC case. The PC should start up and you will see the BIOS screen on the monitor.
If nothing happens or the BIOS screen isn't up on the monitor, turn off power, unplug from wall and go back and make sure all connections are firmly secure, it was probably just something was loose.
You should have a working PC at this point, now you can proceed to use the zip ties to neatly secure all the wiring and make it look nice and neat inside. This also helps with airflow, so it is important to do. Close it all up and start installing your operating system and any software you need. It is recommended to fill out all warranty cards and keep all the paperwork, spare parts and boxes for a while just in case something is faulty.
Congratulations are in order, you just completed your very own PC build. Pat yourself on the back.
Related

Building the Best $650 Budget Gaming PC: Power and Performance Without Breaking the Bank

Why You Should Try Linux Once in Your Lifetime? Even If You Have Windows!

How to Build a Simple Toy Catapult in Minutes

Building a Photo and Video Editing PC on a Budget Q4 2023

Easy Kitemaking: How to Build a Tetrahedral Kite


