- HubPages»
- Technology»
- Internet & the Web»
- Social Networking»
How to Create a Custom Facebook News Feed: A Simple Step-By-Step Guide


Do you remember the days when you enjoyed scrolling through your Facebook news feed? Now that many of us have been a member of the most popular social networking site on the internet for several years, we've accumulated a great number of friends, who are comprised of a lot of people that we don't actually know in-person.
More often than not these days, you'll find posts and stories on your news feed that you'd rather not see. It's caused arguments, negative reactions, and has prompted people to block or unfriend others. This has made it less than desirable to log onto Facebook as often as you might like.
But there is a solution to this issue! Many people don't take advantage of this feature on Facebook, but I can tell you from experience it makes scrolling much more enjoyable. It's easy and even fun to create your own news feeds - as many as you want - customized by your preferred desires. Follow the simple steps below and start enjoying Facebook again!
(It's recommended that you follow these steps on your computer or tablet, not on your phone.)
Step 1 - Interests
On the left side of your Facebook news feed Page, you'll see a variety of categories. Scroll down until you find "Interests" and click on it.
Step 2 - Click "Add Interests"
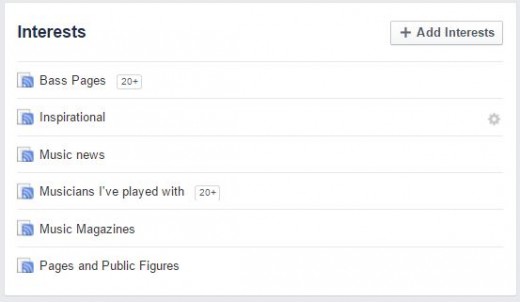
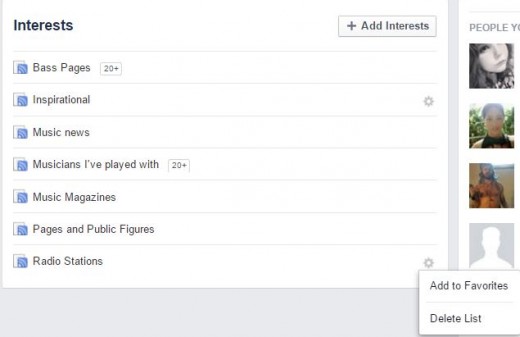
A box will appear called "Interests." If you haven't created any in the past, the only thing on the list that you'll see will be "Pages and Public Figures." (The screenshot below shows Interests that I already have on my personal list.) In the upper right corner, you'll see a button with a plus sign next to the words "Add Interests." Click on that.
Step 3 - Create List
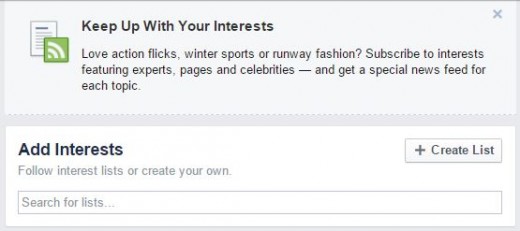
The next page that comes up will give you the option of creating your own list (at the top of the page) or following lists that have been created by others. The existing lists are broken down by categories (Art, Entertainment, Food, etc.). For our purposes we want to simply click "Create List."
Step 4 - Search for People or Pages for your Custom List
This is where it starts to get fun!
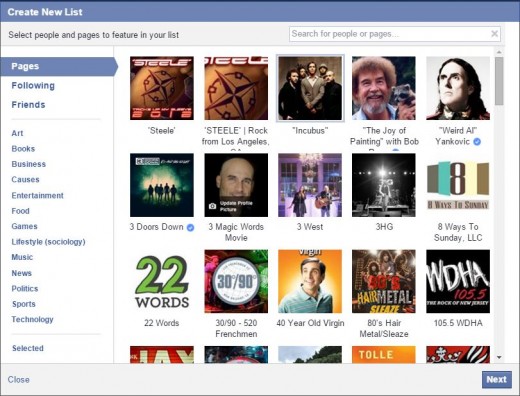
You have the option of choosing from Pages you've already "Liked," people you are following, or people on your friends list. Below those choices, there are a list of categories to choose from as well that consist of Pages that you may not have already "liked" or even known about.
For this tutorial, I'll be selecting from Pages that I've already "liked" to create a new custom list, but you can choose whatever you want.
Simply click on the thumbnail image of the Page or person that you want to add to your list, and a check mark will appear in the lower right hand corner of the thumbnail. If you change your mind, just click it again and the check mark will disappear.
Scroll through the options and click as many as you like. You can mix Pages and friends in the same list if that is what you prefer. When you feel like your done, click "Next" on the bottom right hand corner of the page. (You can always go back in and add more or remove any later.)
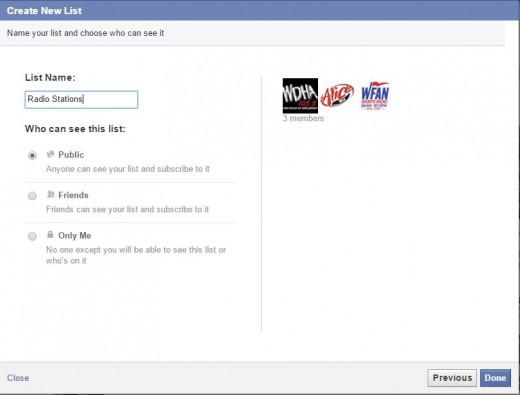
Step 5 - Pick a Name
For this example, I've selected a few Radio Stations that I want on my list. I only chose three to make a simple news feed, but you can choose as many as you like.
In the field that says "List Name," choose a name for your custom list. It can be anything you want. Do you have a bunch of friends that enjoy cooking? You can call your list "Food Friends." Do you have a number of Pages that are dedicated to space exploration? You can call your list "My Astronomy." The possibilities are unlimited.
Below the name field, choose the privacy setting for your list. You can have it be Public so that anyone can follow it, you can make it so that only people on your friends list can see it, or you can select Only Me so that your list is private.
When you're happy with your selections, click "Done."
Step 6 - Add to Favorites
For easy access to your new list, you'll want to add it to your Favorites.
Go back to your main news feed page and scroll down again to "Interests" You should see your new list under the heading. Hover to the left and click on "Add to Favorites." Your new list will now appear near the top of the page under the "Favorites" heading.
If you don't see your list there, click on Interests again and your list should appear. (If it doesn't appear right away, give it a little time and try again. Sometimes the update doesn't happen right away). Hover to the right of your list name and click on "Add to Favorites" in the drop down box.
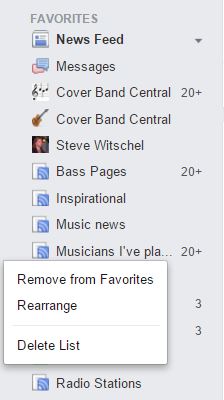
Step 7 (Optional) - Rearrange Favorites
If you create a lot of new Interest Lists you can now rearrange them in your Favorites by order of preference.
Hover to the left of one of your custom lists and click on "Rearrange." You can now move everything around by clicking and dragging each list to your preferred spot in your Favorites. When your finished, click "Done" at the bottom.
That's it!
Now anytime you log on to Facebook, just click the list from your Favorites that you're interested in scrolling, and you have your very own custom news feed to peruse!
If you have any questions, please ask in the comments below, and if you enjoyed this article and/or found it helpful, please share it!
Thanks!