How to Host A Website from Home Using Apache, PHP and MYSQL

It is possible to host your website from home. In this article, I am going to show you how to do this. This tutorial is written for Windows users, however, I will also include some guidance for Linux. No programming or web hosting experience is required, however, it can surely help in the process.
Please note that it is recommended to use a hosting company to host any type of website. However, since you are reading this, I am not going to waste your time trying to convince you not to do so. Actually, there are some strong reasons to host a website yourself:
1. You will learn how to set up a web server. You will have hands on experience on server administration. If you become good at it, you will have good opportunities to find a job in this field.
2. You will have a dedicated web server with full control over the website and your database. Cheap hostng plans provide shared hosting only and have a lot o limitations. You can of course hire a webserver only for your site, however this is usually quite expensive.
Preparation
First of all, you need a rock solid internet connection that works 24 hours/7days a week. Nowadays, this is not so difficult to find. Second, you need a spare computer that you can use for a web server. I recommend you to use it as a web server only. Third, you need to install a web server on your computer. Finally, you need to port forward your router. Stay with me and let's go through the details now.
Static vs Dynamic IP Address
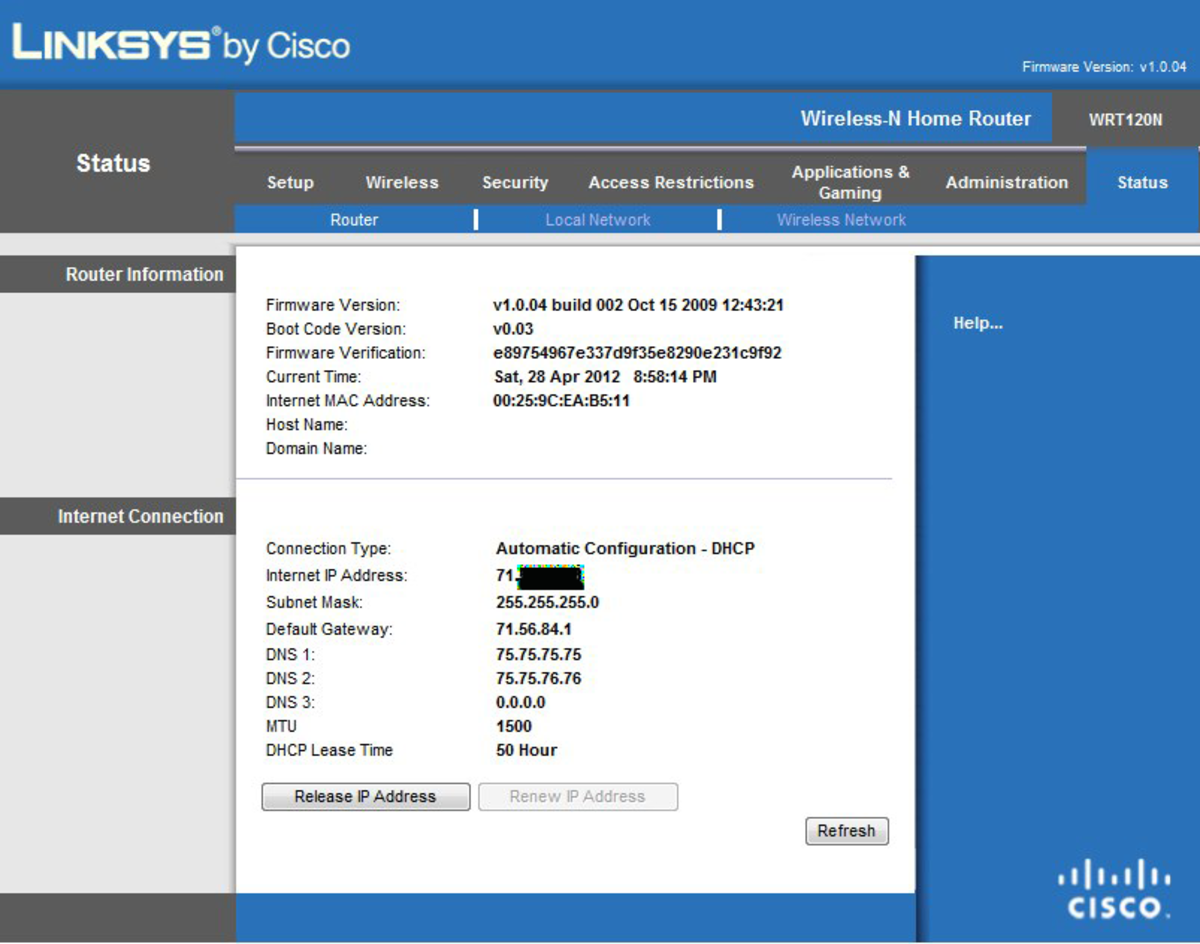
Before you start, you need to find out whether your network has a static or a dynamic IP address. "Static" means that the external IP address of he router (public IP address of the network) does not change. On the countraty, if you have a dynamic IP address, it will change over time. Some ISPs set up dynamic IP addresses that change over time. In our case, it is highly recommended that you are assigned a static IP address. You can read more about the differences between static and dynamic IP addresses here. Having a dynamic public IP is a serious issue, because people from outside your network will need this address in order to visit the website. This means, you need to change your configuration each time the network changes its address. Surely, we do not want to do this. Now, go on and check whether you have a static or dynamic ip address. The easiest way is to call your ISP and ask them whether your ip address is static or not. You can check what is your exact public IP address here. Let's hope it is static and you can skip the next paragraph.
If you have a dynamic IP address, check with your ISP, if they can provide you with a static one. If they cannot do that for free, you can also check this option: noip.com. I haven’t used their service but they seem quite promising. They provide a free solution for those of you who have a dynamic IP address.
Install Web Server
Find a computer that you can use as a dedicated web server. Due to security reasons, I highly recommend to use it for this purpose only. An old laptop that you rarely use would be a good option.
Choose OS for your web server
The operation system for the web server is another important consideration as it can highly influence the page load time of the site and the user experience. We all want a site that loads fast, right? If you have experience with Linux, then you can use a Linux distribution. From my experience, Apache works best on Linux. If you do not feel comfortable with Linux, you can use Windows to create the web server. You do not need to install Windows Server, a standard Windows version will do. If you plan to host a small web site, I would recommend at least 4 GB of RAM available, so you do not have to worry about server response time. If your old computer is far from that, you should consider using a lighter operating system such as Linux Lubuntu or even Windows XP. These OS-s are much more resource efficient than Windows 7 or Windows 8, and from my experience Windows 2003 Server runs better than Windows 2007. Now, let us continue with the installation process.
Install the web server
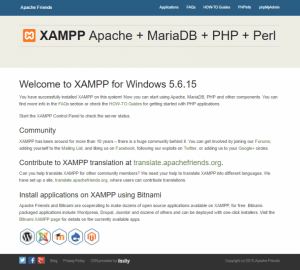
Localhost means to install your web server locally so that it is available on your machine. You need to install a web server (Apache 2), database (Mysql) and programming language (PHP) to be able to use it and host a dynamic website such as Wordpress. In Windows, you can use XAMPP, a software package that comes with all the programs preconfigured for you. For this tutorial, I will keep things simple and show you how to do it with XAMPP. However, for security reasons, I would recommend a manual installation of Apache, PHP and Mysql. You can also consider setting them up on a linux distribution (LAMP). Here is a nice tutorial how to do it on Ubuntu.
Now, let’s go on with XAMPP. If Windows Firewall warnings come out during installation, it is very important to grant all access to all the applications. Otherwise, your web server may not work.
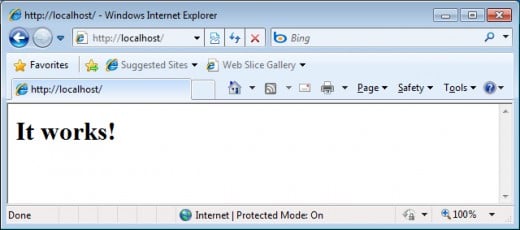
When you finish, open the browser and type http://localhost/. You should see the following page:

This means that you web server is working!
Optional: You can also create a test.php file to check how things works.
Open Notepad and paste the following code:
<html>
<head>
<title>PHP Test</title>
</head>
<body>
<?php echo '<p>Hello World</p>'; ?>
</body>
</html>
Save the file as test.php (all files) and copy it to the XAMPP htdocs directory (C:/xampp/htdocs). Now, when you type http://localhost/test.php in the browser, you should see the “hello world” message. Use the same principle to upload your website.
You can also create a info.php file to check the php version of the web server:
<?php
phpinfo();
?>
Now go to your browser and it should show you the php version. Note that this file poses a security threat because it discloses too much sensitive information about your server. Make sure that you delete it afterwards.
Set up a static IP address for your web server
Once you have installed the web server on the computer, you must set a static internal IP address. PCs have IP addresses which they use to connect to the router. This should not be confused with the external IP of your network, which we have already discussed. Every time the computer establishes connection to the Internet, it gets a new IP address from the router. This is how DHCP works. DHCP is the predominant way of establishing internet connection because it is just so easy. It does not require any configuration on the user’s side. You just go to your frend’s home, take out your laptop or smartphone, ask for the WIFI password and boom – you have connection to the internet. Your friend’s router takes care of everything, so you never have to worry about static or dynamic IPs. However, this is not the case when you need to set up a website. Your network configuration is quite possibly the same – it is dynamic by default. The router defines the IP address of the PC.
Static IP means that your computer has an IP address that is manually set by the user. The router does not assign an IP address to that device, instead, it uses it to connect to the internet. Why do we need a static ip in this case? For the same reason we needed a static ip for the network. In this way, each time you type http://yourIpAddress/, it should resolve to your site. Here is a very nice article that will guide you through the whole process:
How to Set up Static IP for Windows XP and Windows 7
When you are done with this step, all computers from your home network should have access to the web server. Check whether this is the case. Go to the web browser and type the IP address we have just configured. If you have a database, you may need to change the URL of your website in the MySQ from http://localhost/ to http://yourIpAddress/
Do Port Forwarding
Now that you have access to your web server on the internal network, you need to go to the next level and allow computers outside your home network to access the localhost. This is done via port forwarding.
Port forwarding allows you to access a computer behind a router. The idea is that when someone types the public IP address of your router in his browser, the device redirects the request to the IP address of your web server (the internal IP address that we set above). What you have to do is go to your router's settings, open port 80 and bind it to your internal IP address. Here, however, it can get a bit more complicated because there are hundreds of different router models.
Fortunately, there is a great web site called https://portforward.com/. Here you can search by router model and you will most likely find detailed explanation on what to do in your specific case. Log in to your router and change its settings. Once you have properly set it up, restart the router and the site should be online! In this way, whenever a browser requests your external IP address, the router will redirect it to the internal IP address of the web server.
Troubleshooting
This should be the way to approach this. However, keep in mind that some things may not happen as planned and you may encounter some unforeseen obstacles along the way. For example, in my case, I only had access to the website outside the network, but not from a computer from my home network. I spent a lot of time wondering what the problem is. It turned out that some routers require additional configuration to be accessed internally (NAT settings), while others simply cannotdo that. Luckily, I found a solution to this problem as well. For example, if your internal IP address is 192.168.0.50, you need to add the following line to the hosts file on your computer:
192.168.0.50 http://yourwebsite.com/
Secure your Server
Think about methods to protect your web server as much as possible. This part is out of the scope of the article, however, this is very important part of the configuration, that yu should not skip. It is imperative to assign a password to PhpMyAdmin. Think about implementing php scripts to protect the server from ddos attacks. Use reCaptcha to stop bots. Do not install an ftp server unless you know what you are doing. Regularly back up your site to an external hard drive. Regularly update your site. Remove any sensitive information from the server that can be exploited by hackers. Always store your data on an external hard drive.
Enjoy your new accomplishment
Now is the time to congratulate you and for you to finally enjoy your new achievement. Creating a home web server is far from an easy task for beginners and there may be quite a lot of obstacles along the way. However, this is an excellent opportunity to learn more about networking and web servers and you should definitely be content by yourself for learning how to do this.
About the author: Atanas Yonkov is a web developer, blogger and an amid dreamer. You can read more about his work on his personal website. In his spare time, he enjoys playing the guitar and hiking.
© 2017 Atanas Yonkov


