How to Remove Computer Viruses

How to Remove a Computer Virus

How to Remove a Computer Virus
Removing a virus is a very difficult task. Modern viruses can be nearly impossible to completely remove. When trying to remove viruses, it is important to have a limit to how much you will try. After trying to removing the virus a certain amount of time, or attempts, you should do a wipe and reload. When you do a wipe and reload, you may backup your data, as data backups rarely transfer viruses. This can be a daunting task for some people, and they would rather work on removing the virus first. That is fine, but realize that you may not be able to remove the viruses.
Safe Mode
Step 1: Preparation
Before you begin trying to remove the virus, you should make sure the system is prepared and properly equipped.
First, you should backup your data. You do not know what data may be damaged during this process. The goal is to leave all your data unharmed; however, it is safer to properly backup your data.
Then, you should install portable security software on a flash drive. It is best to have a backup plan. You should boot into safe mode to remove the virus. This prevent you from installing software. You should install security software to your flash drive. If you cannot install software on your computer (perhaps the virus is preventing this) use another computer. It is important to have portable versions of antivirus, antimalware, registry cleaners, and system optimizers. You should be able to find free versions of these online.
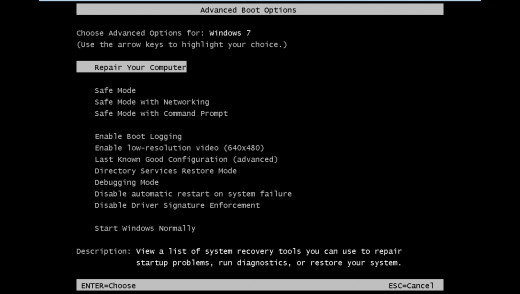
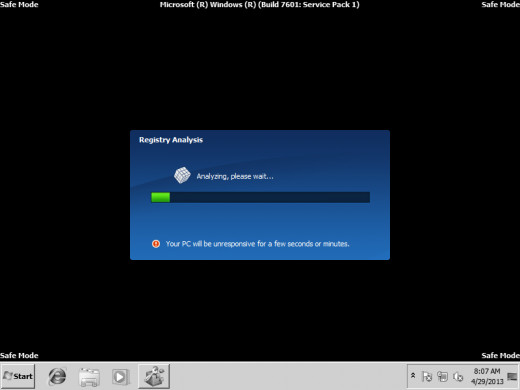
Finally, when you are ready to begin the removal process, you should boot into safe mode. This will ptop many startup services from starting up and prevent many programs from starting. This should be able to prevent the virus from starting. To boot into safe mode, restart your computer. After the BIOS screen, but before the Windows logo, tap F8. This will take you to the Advanced Boot Options page. Move down to Safe Mode with Networking, and hit Enter.
System Restore
Startup Programs
DNS Servers
Account Password
IE Settings

Step 2: Protect you System
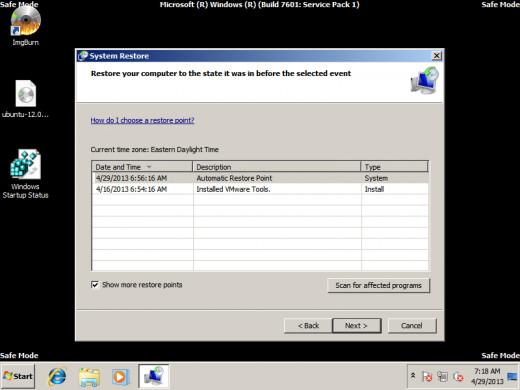
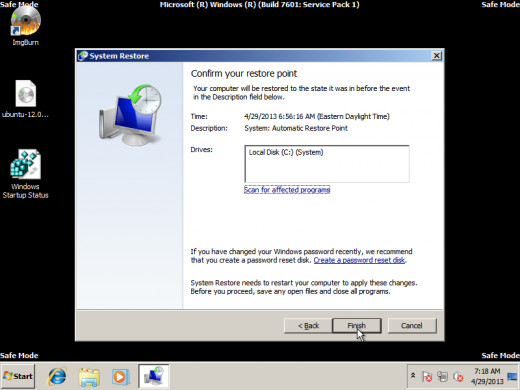
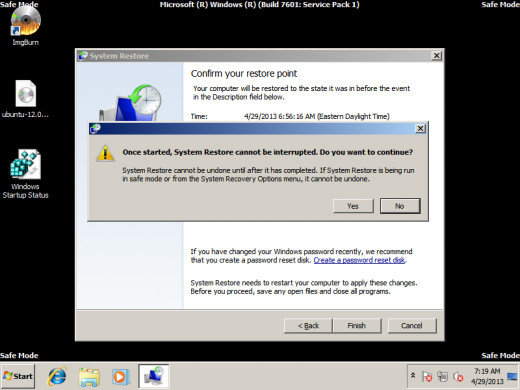
Next, you need to secure your system and contain the virus. The first step in this process is to do a System Restore. Open the Start menu and type Restore, then select System Restore. Alternatively, you can go to Start > All Programs > Accessories > System Tools > System Restore. Run through the System Restore. Select a Restore Point to a few days before you first noticed the virus. Click Next. Click Finish. System Restore will restore settings and programs, but not files. The System Restore will reboot your computer.
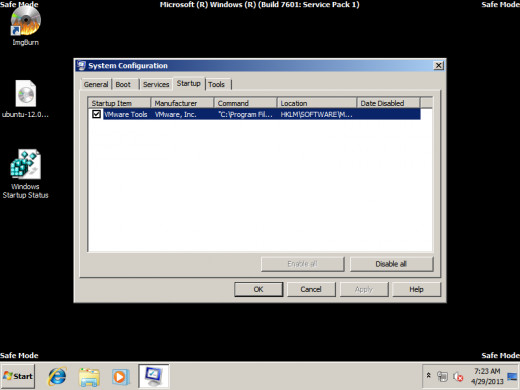
When the computer reboots, stop suspicious software from starting up. Go to the start menu and type msconfig, then his Enter. When the System Configuration dialogue box opens, go to the Startup tab. Uncheck any nonessential startup programs. Cllick Apply.
Next, change your DNS server. Viruses can change your Host File, and your default DNS server. The DNS server and Host file map domain names to IP address. It is what tells your computer what website to go to when you type it's domain name. Websites are actually IP addresses. The website name is just a link to that IP address. Viruses can change these settings to redirect common website domains to different IP addresses making you go to the website they want you at.
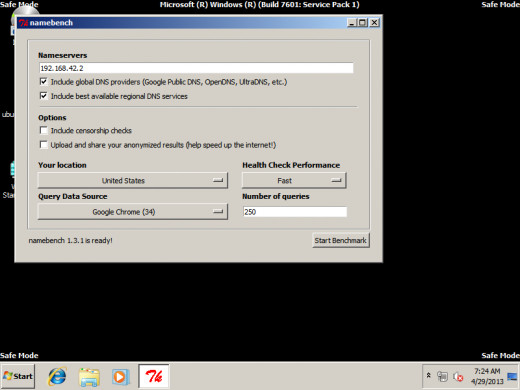
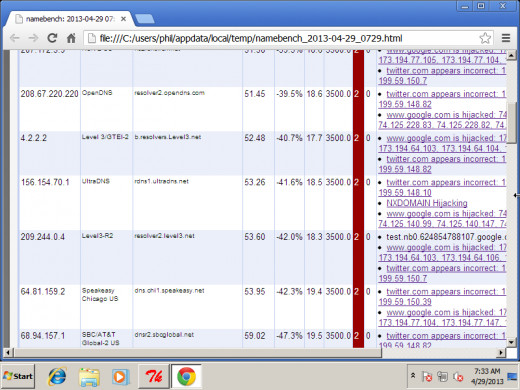
Before you change your DNS servers, you need to know what to change them to. Google has a program called namebench that tell you what server would be best for your system. Run the program. Click Start Benchmark and it will run the scan. This may take a couple minutes. It will then tell you what the best DNS servers are, and their IP addresses. If it says you already have the best server(s) choose openDNS or UltraDNS. OpenDNS should be 208.67.220.220. UltraDNS should be 156.154.70.1.
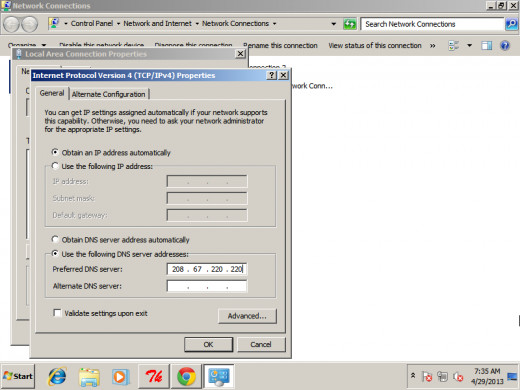
Next change your default DNS server(s). Click Start, and type "network connections" and hit Enter. Right click on your active network adapter and click Properties. Click TCP/IPv4 and click Properties. Select the radio button for "Use the following DNS server addresses:" Type the two addresses given by benchmark, or use OpenDNS and UltraDNS. Click "OK".
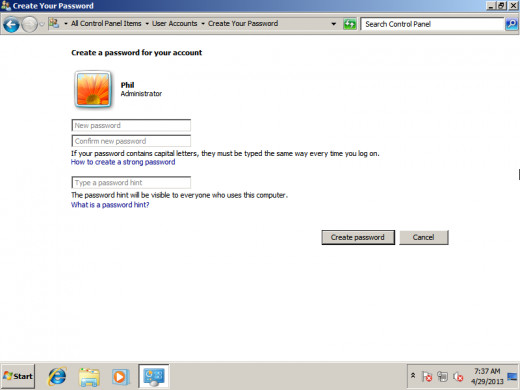
After changing the DNS servers, change or assign your Administrator account password. Click start. Type "User Accounts" and hit Enter. Click "Change our account password" or "Create a password for your account". Type your new password and confirm it. Click Create Password.
Lastly, reset your internet options. Open Internet Explorer. Click Tools > Internet Options. If you cannot open Internet Explorer, open internet options from your control panel. On the Advanced tab, click Reset. When the reset dialogue opens, check "Delete personal settings" and click Reset.
Un-installation
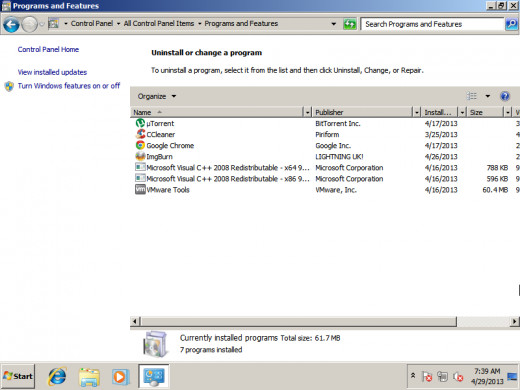
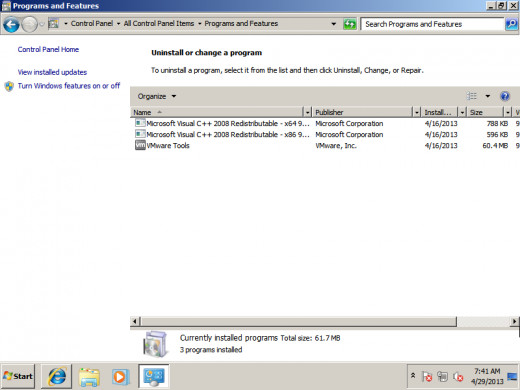
Step 3: Uninstall Software
Next, uninstall all nonessential software. This includes free software, suspicious software, all security software, games, toolbars, software than can change settings, and any software that you can reinstall. A lot of software can be hiding viruses. The software also could contain viruses itself, even if you do not know it. Also software can get in the way of what we try to do later.
To uninstall software, go to the control panel. Click Programs and Features. Look through the list of software and uninstall anything nonessential. This included security software. Get rid of any security software.
CCleaner Optimization
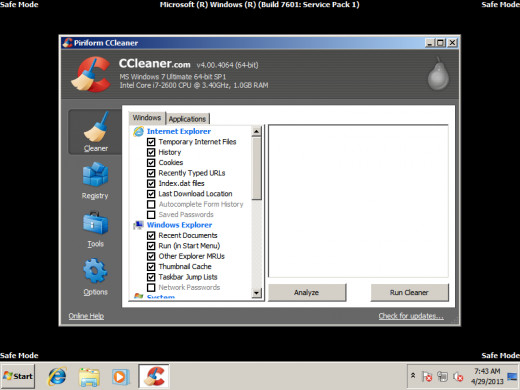
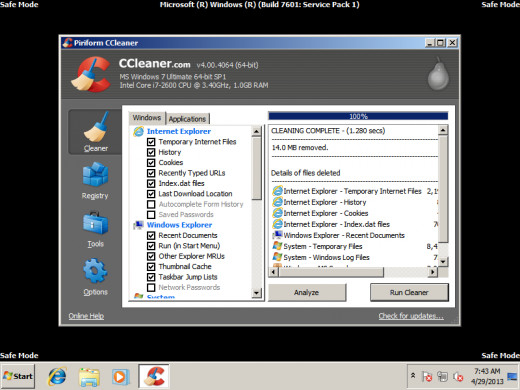
Step 4: Optimize the PC
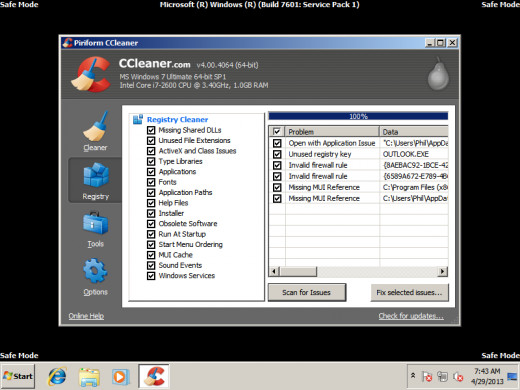
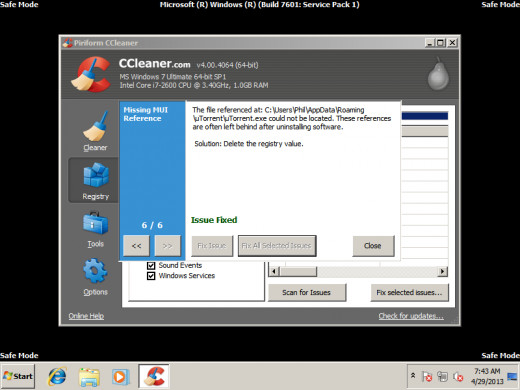
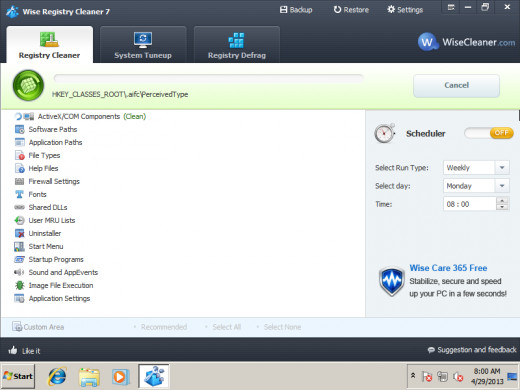
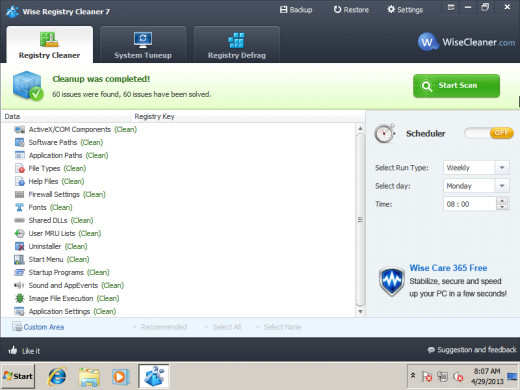
Next we will optimize the computer. To optimize the computer, we will remove all temporary files and cleaning the registry. You can use a free program called CCleaner to do this. With CCleaner, in the Cleaner section, click Run Cleaner. After the cleaner runs, run it again. In the Registry section, click Analyze. After it analyzes your registry, click Fix selected issues. When the dialogue box opens, click Fix All Selected Issues. After it fixes these issues, run the scan again.
For more information on optimizing your system with CCleaner, click here.
For information on optimizing your system without CCleaner, click here.
Step 5: Install Security Software
The next step is to install security software. We need to software we will use to remove the viruses. If you already installed the software onto a flash drive, skip this step. You should install antivirus software, antimalware software, registry cleaners, and firewalls. With antivirus software, it is best to only install one. Otherwise they will fight each other. After you install the software, do not run it.
System Updates
Step 6: Update Your System
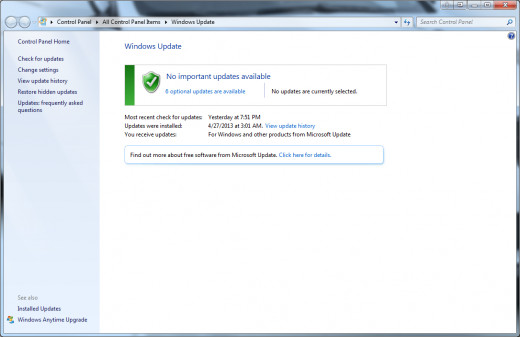
Before running the scans, update all the remaining software on the system. Do the updates in the following order:
1. Windows
2. Other Microsoft programs (such as Office)
3. Adobe (reader, flash, etc.)
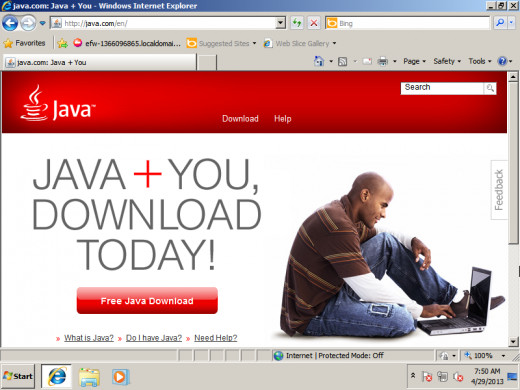
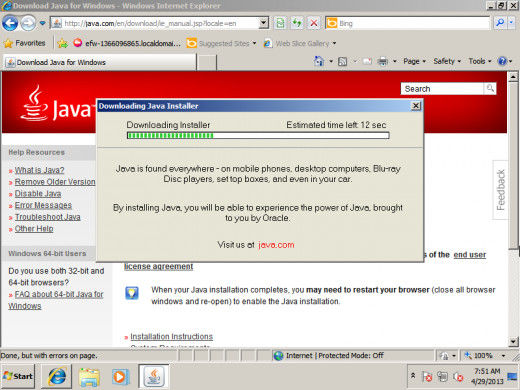
4. Java (easiest way to update is to reinstall)
5. All remaining software.
After updating software, set the software to automatically update.
Scans
Step 7: Run Scans
Step 1-6 were just preparing the system for this step. This step takes the longest. Now, run the scans. Antimalware and Antivirus software can run simultaneously. Then run the registry scan. After the scans, reboot your system. Then run the scans a second time and reboot.
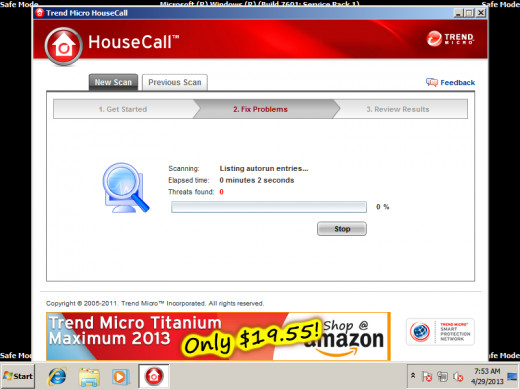
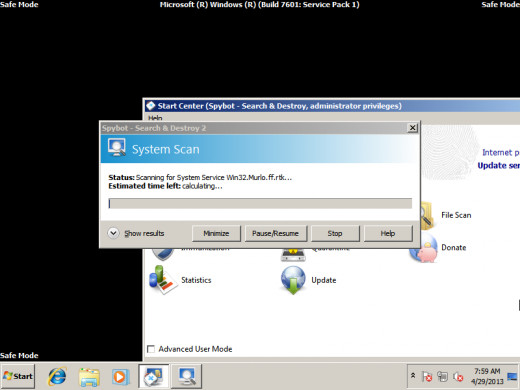
For my antivirus, I used HouseCall. Avast is a great alternative. For my antimalware, I ran Spybot - Search and Destroy. Malwarebytes is a great alternative. For my registry cleaner, I used Wise Registry Cleaner. Auslogics Registry Cleaner is a great alternative.
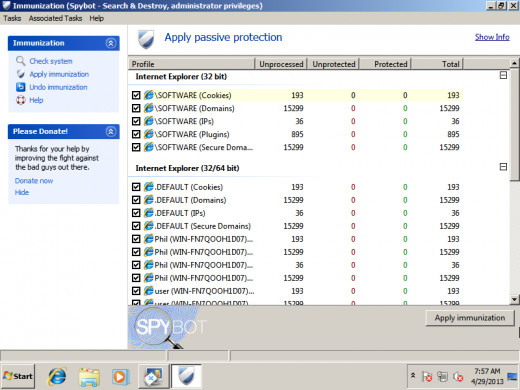
If you use Spybot, remember to immunize your system before the scan. For all software, it is important to run the full system scans, not quick scans.
Hopefully, after this process, the viruses are gone. If they are not, move onto step 8.
Step 8: If That Did Not Work...
If that did not remove the viruses, try using different software to run the scans. Some software will catch things others will not. You may need to do a Google search to find the best free software for the scans.
If that still did not work, do a Google search on your specific viruses. There are many online guides to how to remove specific viruses.
If you still have the viruses, You will need to do a wipe and reload.Complete reinstall your operating system. Wipe your drive first, do not merge a new OS with your old one. Do not install your new OS over your old one. Simply wipe your drive, and install the operating system.


