- HubPages»
- Technology»
- Computers & Software»
- Operating Systems
How to Remove Windows 8 User
Introduction
Over time, if a Windows 8 computer is shared between other people in your household or common area, a large number of user accounts can exist on that machine. As part of general house cleaning, it's good practice to remove user accounts where the user will no longer be accessing that Windows 8 computer. You can remove user accounts on your Windows 8 computer through the Control Panel.
Cards Against Humanity: The Party Game for Horrible People


Do you like Windows 8?
Process for Removing Windows 8 Users
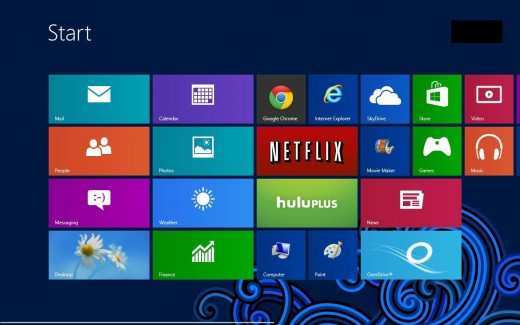
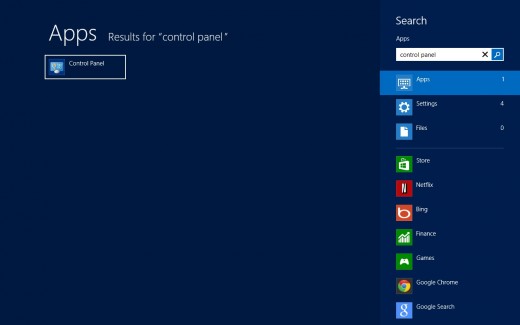
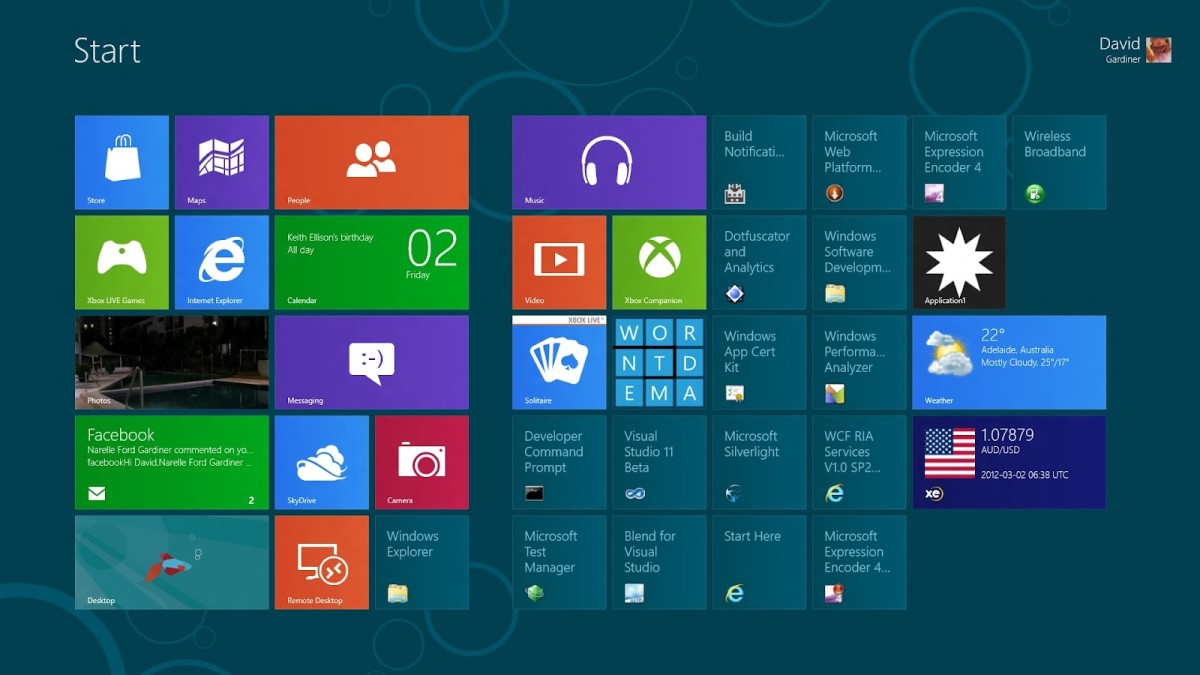
- Press the "Ctrl" and "F" keys at the same time while viewing the Windows 8 Start screen to open the Search screen.
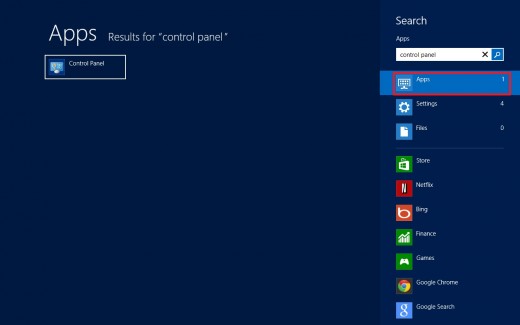
- Enter "control panel" in the Search box in the upper right corner of the Search screen. Ensure that Apps is selected beneath the Search box.
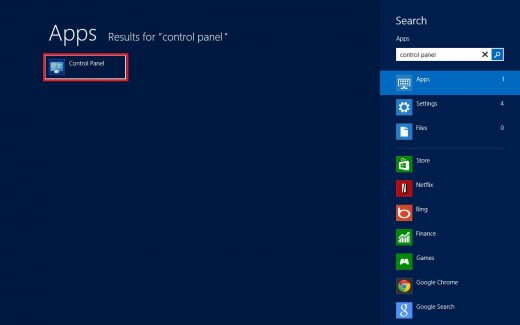
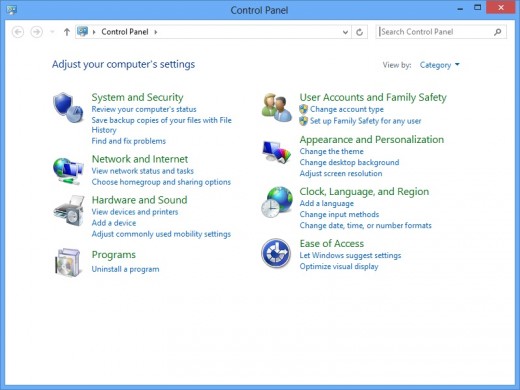
- Click the "Control Panel" icon that appears in the list of search results on the left side of the screen. The Control Panel dialog box opens in the Windows 8 Desktop app.
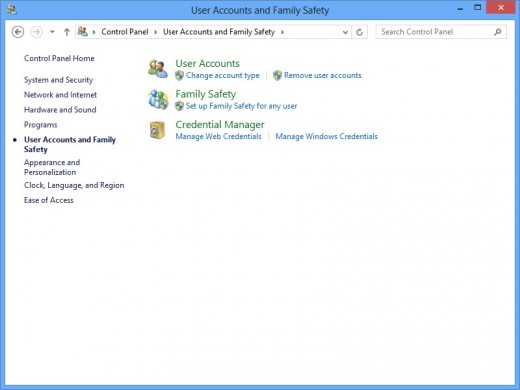
- Click "User Accounts and Family Safety" to open the User Accounts and Family Safety dialog box.
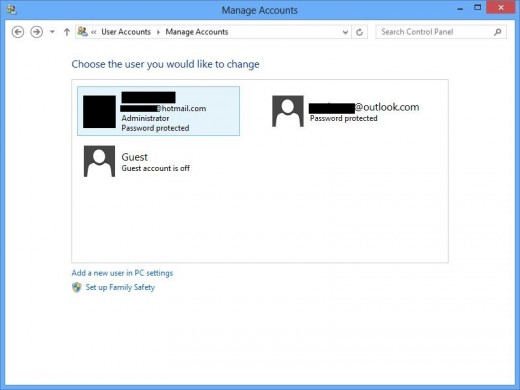
- Click "Remove User Accounts" in the User Accounts section. The Manage Accounts dialog box appears, listing all of the user accounts that are set up on your Windows 8 system.
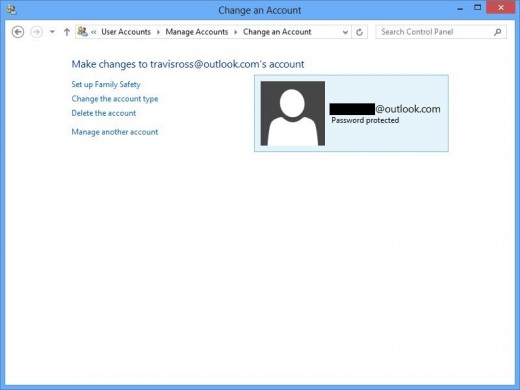
- Click the name of the user accounts you want to remove from your Windows 8 computer. The Change an Account screen appears for that specific Windows 8 user account.
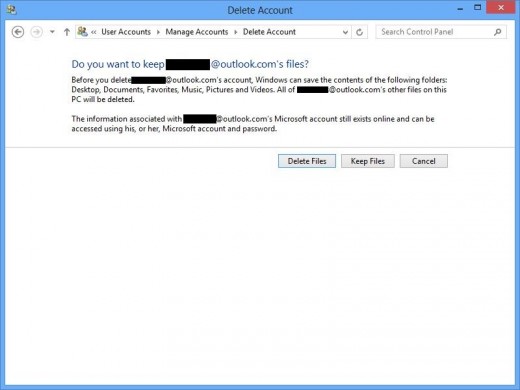
- Click "Delete the account." Another dialog box appears, asking if you want to keep the personal files associated with that user's account on your computer.
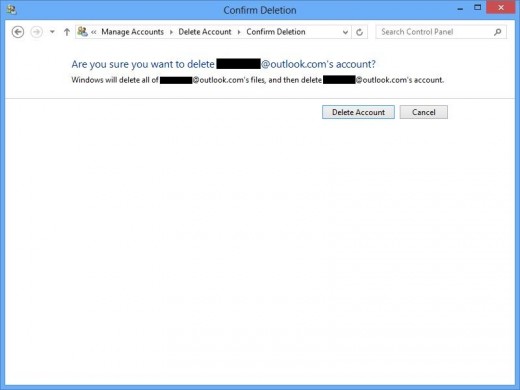
- Click either "Keep Files" or "Delete Files." After making your selection, another dialog box appears asking if you're certain you want to delete this user's account on your Windows 8 computer.
- Click "Delete Account." That user account will no longer be available on your Windows 8 computer.


