How to Remove the Required Title from Blogger Images
Introduction
Blogger requires that your provide title text for images you add to your blog. However, that title text can be an unwanted eyesore. Additionally, while it's easy to see where you would think this would free up space and tighten up the images on your blog, it does not. There will still be a small directly above your image where the image title would otherwise be. You can remove the title using specific code. And if it ends up that you were happier with the image titles, you can quickly delete the inserted code snippet and reinsert your image title.

Before You Begin
Similar to what you should always do before making any changes to your Blogger blog, you should save a copy of your site's template. You can do this using the following instructions:
- Follow Steps 1-3 below to arrive at the My Blogs page.
- Click "Layout."
- Click "Backup/Restore" in the upper-right corner of the site.
- Click "Download Full Template" in the dialog box that appears on your screen. This will download your site template to your machine.
In the event that you do make changes to your site that cause the site to not working properly, this will give you a template that you can re-upload to your site that will revert your blog to its working state before you made any changes. While there is virtually no risk associated with hiding the image title on your Blogger blog, it never hurts to be safe.
How often do you blog?
How to Remove the Required Title from Blogger Images
1) Navigate to your Blogger website and then click "Sign In" in the upper right corner to log in if you're not logged in already.
2) Log in using your Google account if you're not currently logged in.
3) Click the name of your blog from the list of blogs you manage after your list of blogs appears. The My Blogs screen appears.
4) Click "Layout" on the left side of the screen. Your blog's layout appears on the right side of the screen. Take note of the location of any images you currently have in your blog by looking for the Image gadgets.
5) Click "Edit" on any one of the Image gadgets to open the Configure Image screen for that particular image.
6) If you erase the existing title you have plugged in and try saving that particular Blogger Image gadget. You'll get an error message that says a required field must not be left blank.
7) Enter the following in the Title field: <!– –>. Don't worry. It's not the end of the world if you make a typo and you will not cause any major problems with your website's code if you enter this incorrectly.
8) Click "Save" to save your Blogger Image gadget that includes the content in the Title field to prevent the image title from showing up in Blogger.
9) Click the orange "Save Arrangement" button in the upper right corner of the Layout screen to save your changes and then click "View Blog" to see your blog. Take notice that the required Title text that previously appeared above your image is no longer there.
10) Repeat this process for any other Blogger images you want to remove the required Title text from.
Risks
The risks to following these steps to remove the image titles on your Blogger blog are fairly minimal. The worst-case scenario is that you type the code snippet to remove the image title incorrectly and that text actually ends up appearing as the title of the image -- something you can quickly go back in and correct. There is no limit to the number of images you can remove the title for; you can do it for one, some or all.
Tips
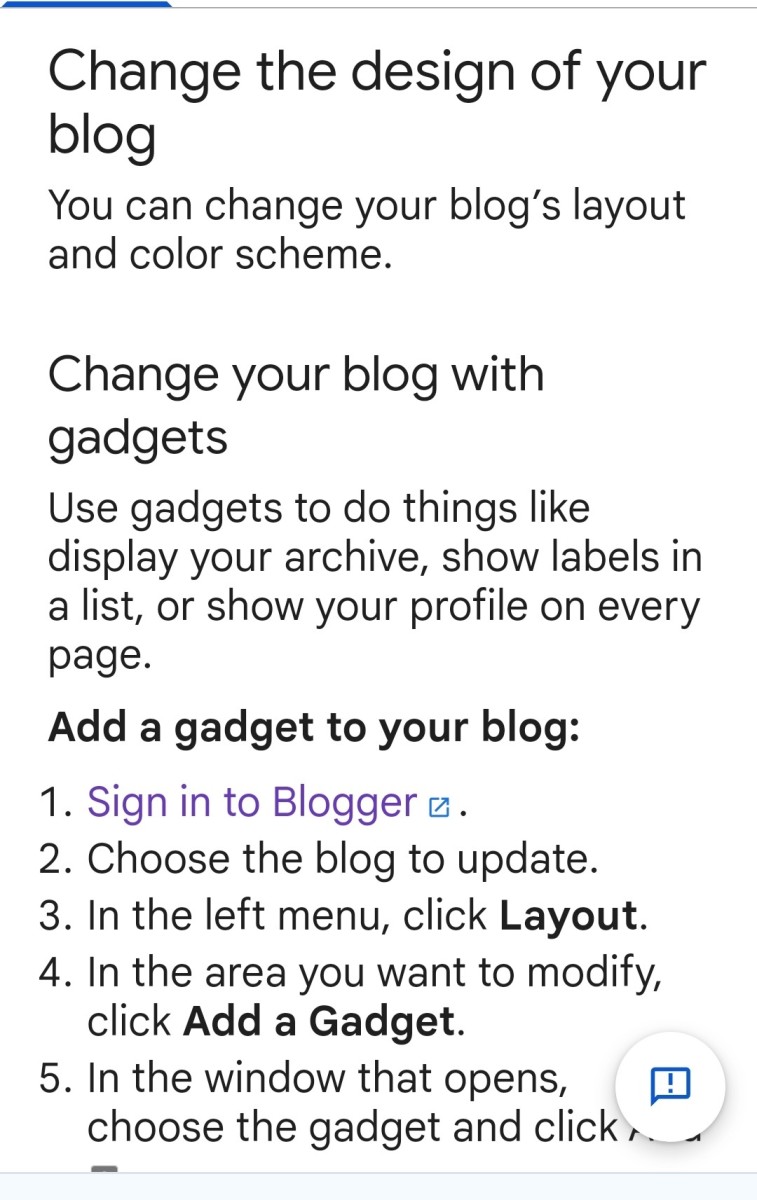
Inserting a snippet of code is not just something you can do to remove image titles on your Blogger blog. You can also use code to make just about any change you can think of to your site. For example, you can place advertising on your site from a variety of sources using supplied code snippets, you can change the design of your blog, add social sharing widgets, and much more.
© 2014 Max Dalton


