- HubPages»
- Technology»
- Computers & Software»
- Operating Systems
How to Set Up Windows 8 Dual Monitors
Introduction
If one screen isn't enough for you in Windows 8, the operating system makes connecting a second monitor a painless experience. After connecting the second monitor to your Windows 8 computer, you can use a keyboard shortcut to open a fly-out menu that gives you options for how to use the connected display and then it's up to you to choose how you want to use it. You can further tweak each monitor's settings within the Control Panel.


Process for Setting Up Dual Monitors
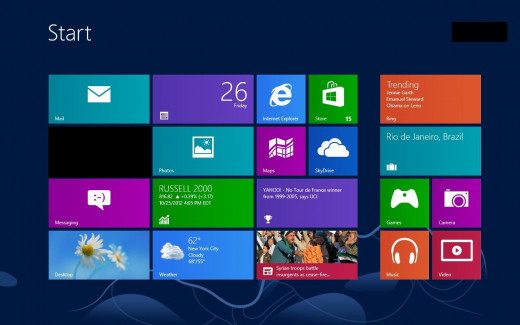
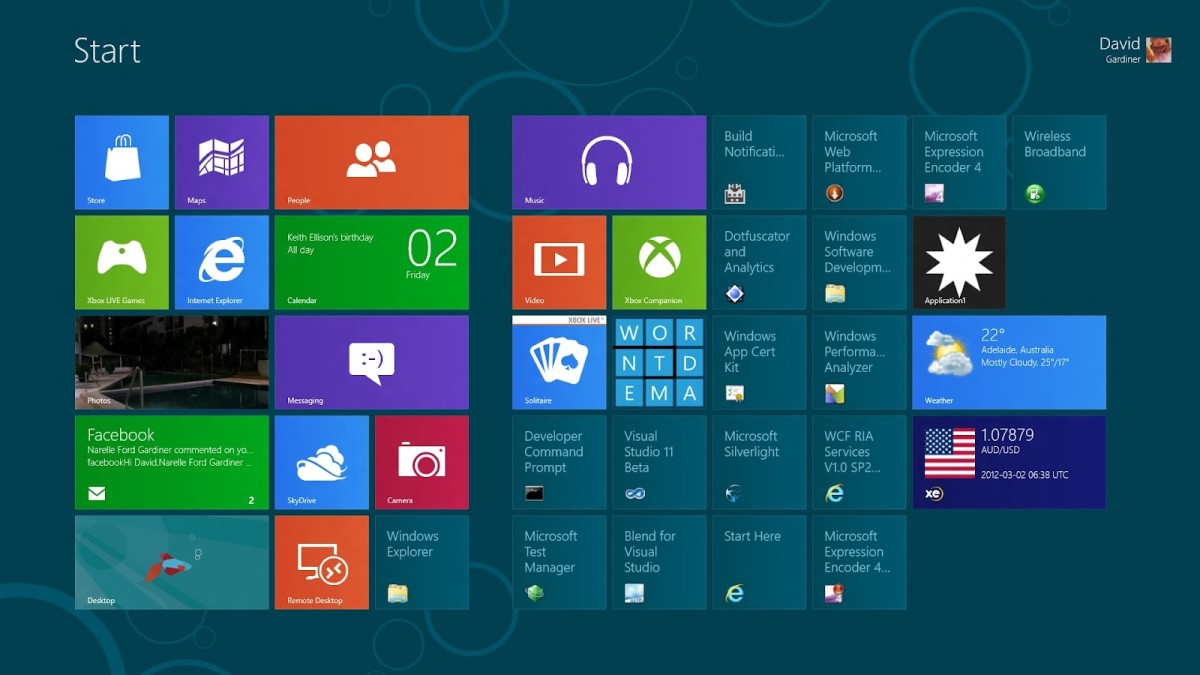
- Navigate back to the Windows 8 Start screen if you're currently away from it. You can do this by pressing the "Windows" key.
- Plug one end of the cable video cable you're using to connect your computer running Windows 8 and the external monitor in to one of the corresponding video input ports on the external monitor. It doesn't matter if the external monitor is a TV, projector, computer monitor or some other output device.
- Plug the other end of the video cable in to your computer that's running Windows 8.
- Ensure the external monitor is on and set up to display the input port where the video cable connecting the computer and the external monitor is connected. By default, your primary monitor will be duplicated onto the external monitor.
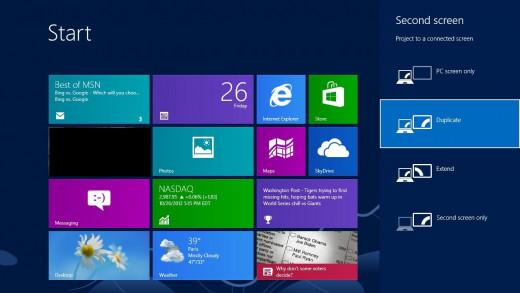
- Press the "Windows" and "P" buttons correspondingly on your Windows 8 computer. A Second Screen menu flys out from the right side of the Start screen.
- Click "PC Screen Only" if you want to output your computer's screen to what's designated as your primary display; click "Duplicate" to output the same image to both monitors; click "Extend" to extend your desktop digitally from one screen to the other (in Windows 8, this means the Desktop app be open on your secondary monitor); or click "Second Screen Only" to output the computer's display to the secondary monitor only. Your settings are changed automatically.


Changing Dual Monitor Settings
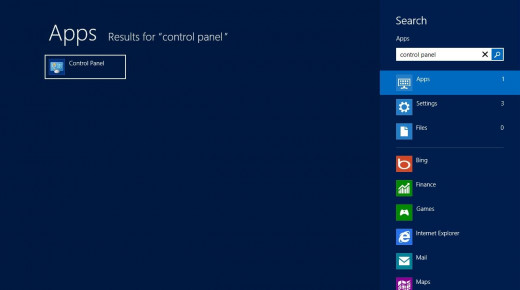
- Navigate to your Windows 8 Start screen and type "control panel." You'll automatically be taken to the Apps screen where you can see the search results for your query on the left side of the screen.
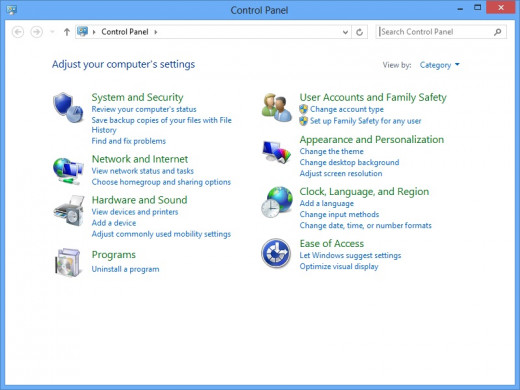
- Click "Control Panel." The Control Panel program window opens in the Desktop app.
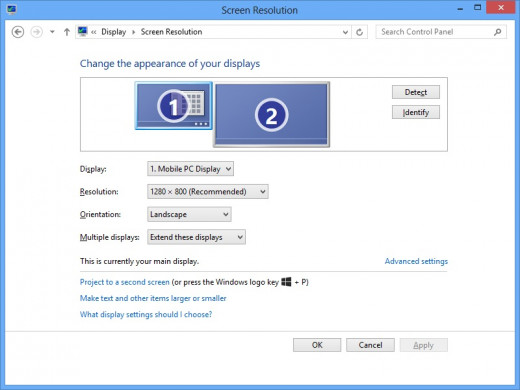
- Click "Adjust Screen Resolution" in the Appearance and Personalization section. The Screen Resolution dialog box opens.
- Select the display you want to change the settings for in the drop-down menu to the right of display. From there you can change the resolution for the selected display, the orientation and also how that display is used.
- Click "Apply" after making your changes to save your settings, which are applied automatically.

